How to Crochet Doggy Bandana for Gifting
Learn how to crochet a beginner-friendly mesh doggy bandana with classic granny stitch, perfect for summer, with this step-by-step tutorial for beginners. It also explains how to make durable i-cords to tie the bandana securely around your dog’s neck. With clear instructions, slow pacing, and visual guidance, this project is perfect for crochet novices wanting to crochet adorable accessories for their pets.

Crochet a Dog Bandana Tutorial
Introduction
- The creator mentions going slow throughout the tutorial to accommodate beginners, while intermediate or advanced crocheters may grasp the pattern sooner.
- Grace emphasizes that this project is easy and suited for all skill levels.
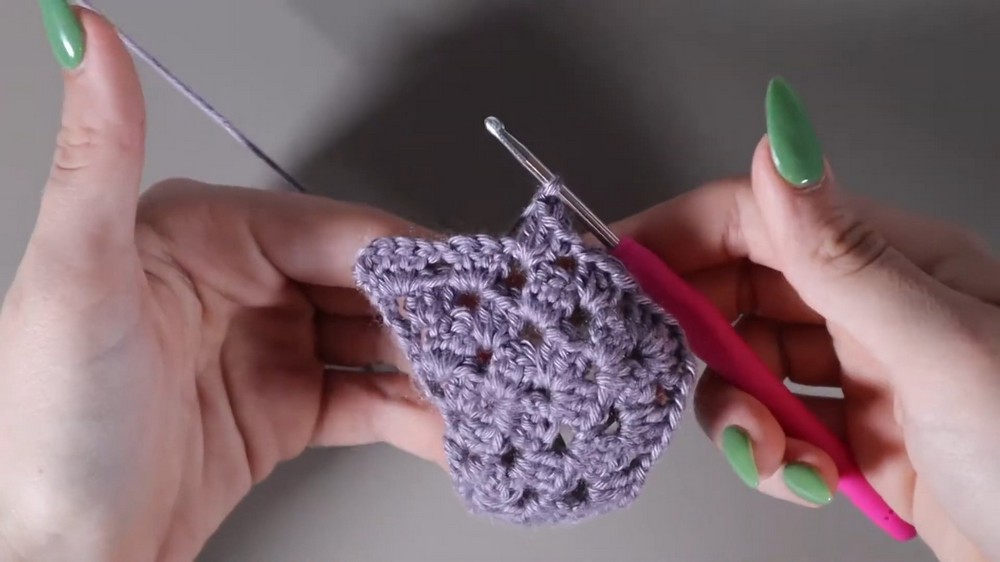
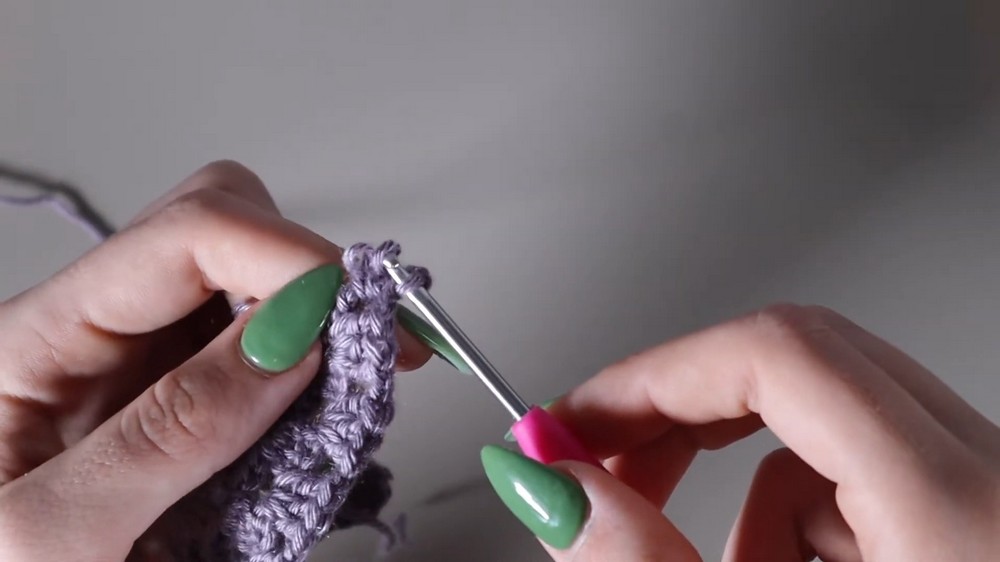
Starting the Project: Magic Circle
- The tutorial begins with creating a magic circle, a foundational technique in crochet.
- The tail end of yarn is laid across the fingers, and the working yarn is wrapped around.
- The hook is inserted under the first loop and the second loop is pulled underneath to form the circle.
- A chain is added to secure the magic circle, although this chain does not count toward the pattern.
- The circle is tightened by pulling the tail end slightly.
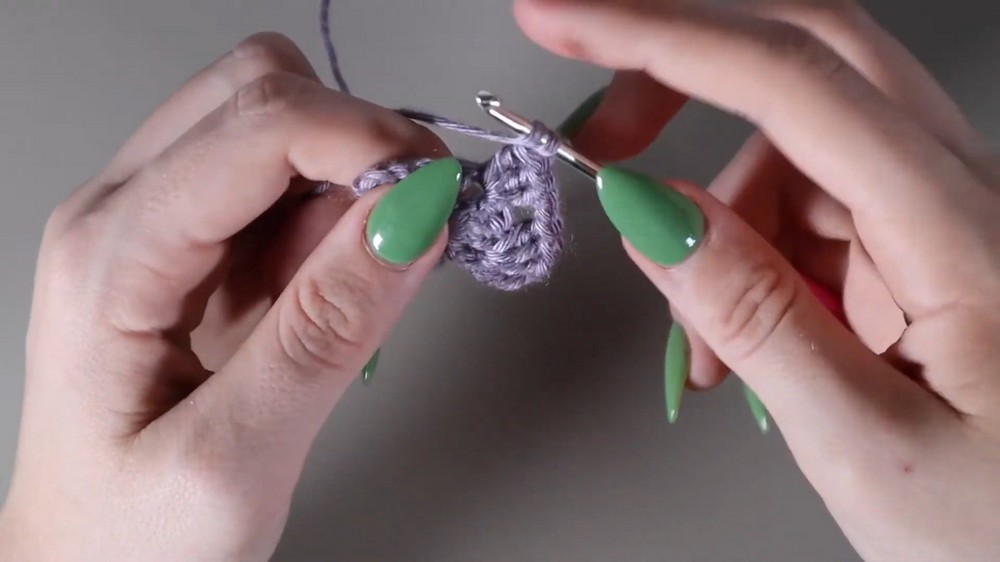
Row One
- The tutorial guides the creation of the first row, forming the base of the triangular bandana.
- Grace describes how to start with a double crochet, offering two methods:
- Chain two to simulate a double crochet.
- Use a technique to mimic a real double crochet.
- The row is built with patterns of double crochets, chains, and careful tightening of the magic circle to achieve a triangle shape.
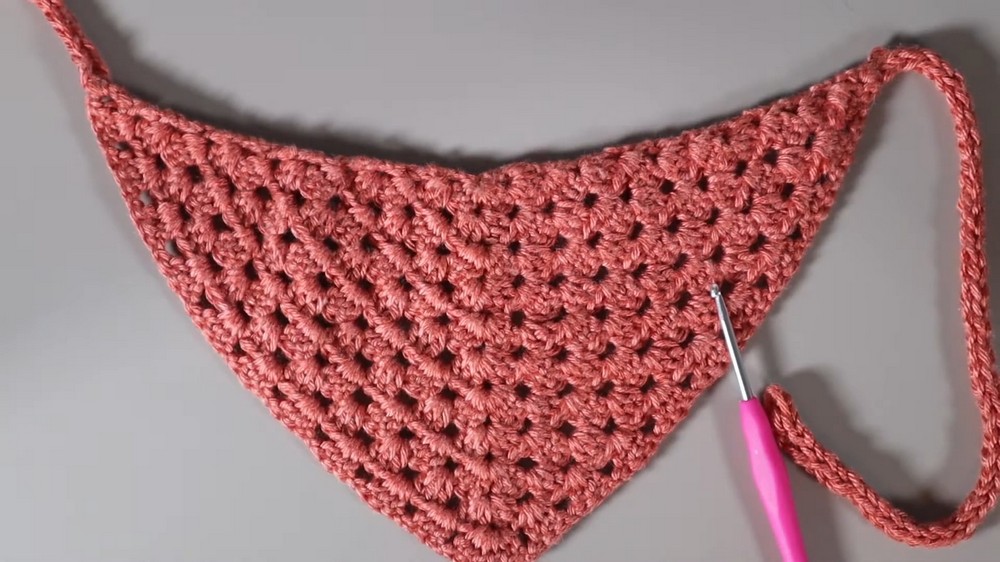
Row Two
- Row two begins by turning the work and creating another double crochet.
- Grace outlines the process of forming clusters of three double crochets separated by chain spaces.
- A triangular formation continues to develop, and the “apex” pattern emerges clearly:
- At the apex (peak), three double crochets are followed by one chain and three more double crochets in the same space.
- Grace explains the importance of chaining after clusters to maintain proper structure.
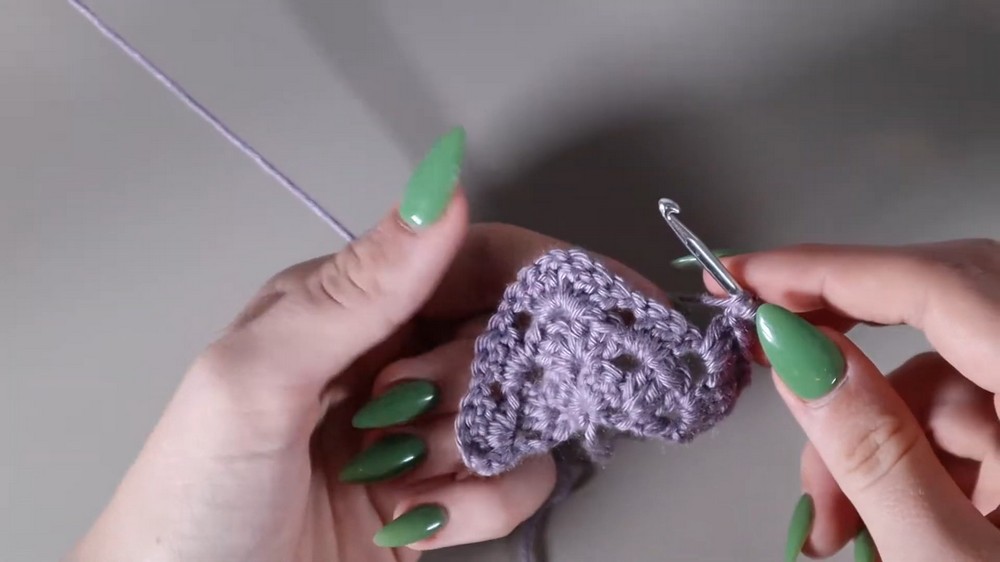
Subsequent Rows
- Rows three and onward follow the same foundational pattern as row two:
- At the beginning and end of each row, a single double crochet is placed.
- Clusters of three double crochets within chain one spaces continue along the sides of the triangle.
- The apex repeats the pattern of three double crochets, chain one, and three more double crochets in the same space.
- Grace notes that with each new row, more chain spaces are added to expand the triangle further.
Customizing the Bandana
- The bandana’s size is customizable—the user continues repeating rows until reaching the desired dimensions.
- Grace highlights the importance of following the consistent apex pattern to ensure the triangle shape.
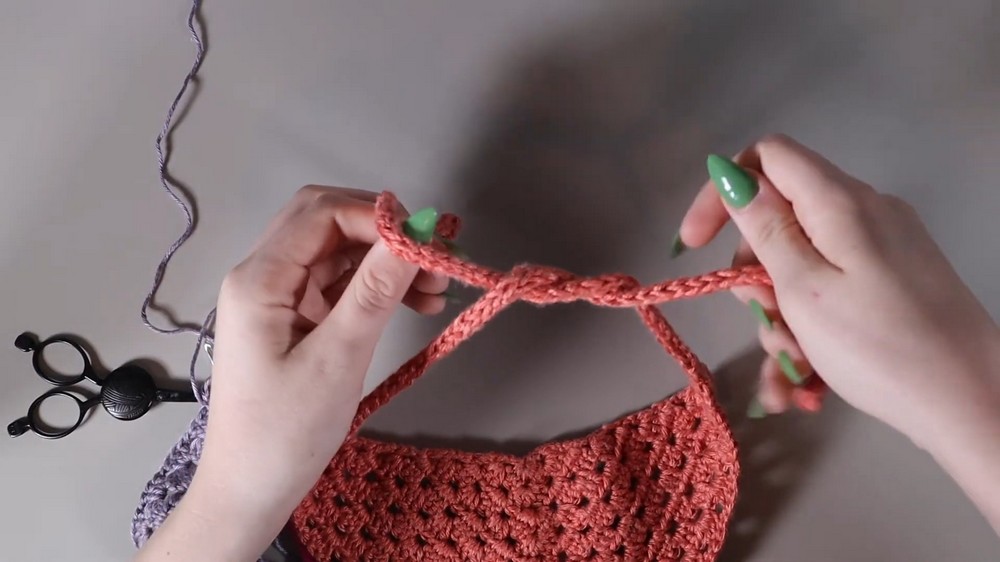
Creating the I-Cords
- The next step involves adding i-cords to both ends of the bandana for tying around the dog’s neck.
- Grace demonstrates the i-cord construction process:
- Loops are carefully stretched and manipulated to form the cord.
- The cord is extended to a length sufficient for tying securely.
- Methods for finishing and securing the i-cords are covered, ensuring both durability and neatness.
Final Thoughts
- The bandana is shown as a finished product, complete with i-cords for tying into a bow.
- Grace encourages viewers to experiment with different colors and make multiple bandanas.
- A positive and motivational closing invites viewers to leave questions or comments and stay tuned for future crochet tutorials.
Conclusion
- This project, despite its beginner-friendly nature, results in a stylish and functional item for dogs.