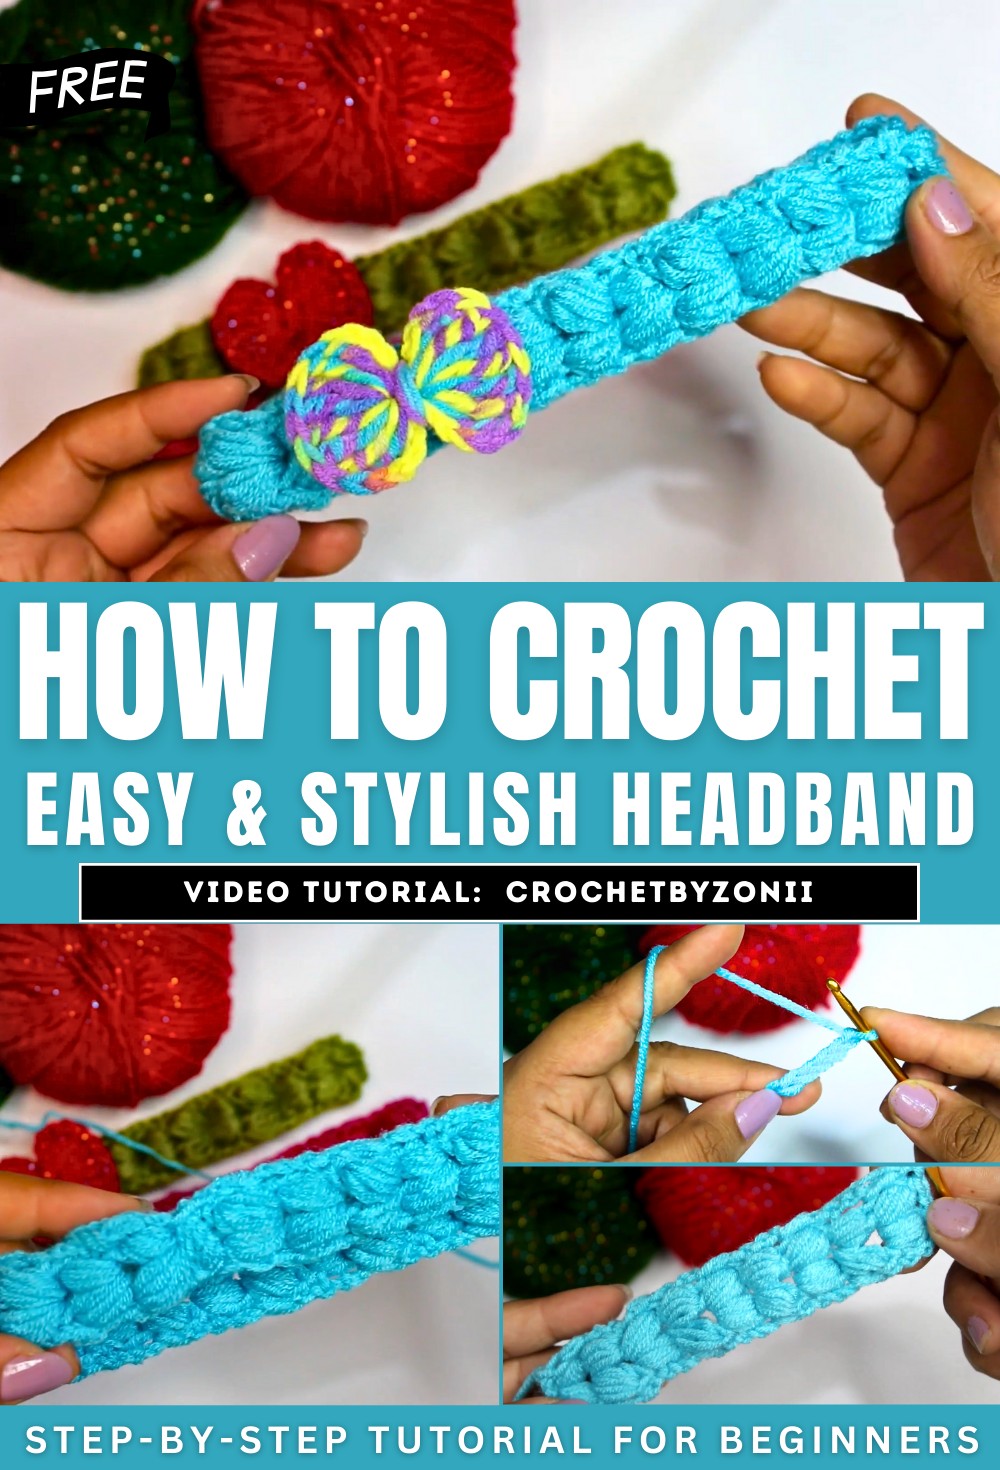
How to Crochet Easy Bow Headband for Beginners
Learn how to crochet a headband, belt, or bag strap with a stitch-by-stitch tutorial for beginners and experts. The video begins by demonstrating how to start with a chain of eight stitches using a 3.5 mm hook and medium yarn. The next steps involve making a puff of five rounds in the middle chain, creating a chain of one, and then another puff of five rounds in the same chain space.
The tutorial then shows how to make one double crochet in the last chain, turn the work, and repeat the process until the desired length is achieved. The video concludes by showing how to join the two ends of the strip together with a slip stitch and how to attach a decorative element like a flower. So, follow through with us for the complete tutorial.
How to Crochet a Headband Tutorial
This video provides a step-by-step tutorial on how to crochet a versatile strip that can be used as a headband, a belt, or a bag strap. The creator guides you through the entire process, from starting the piece to finishing it, while highlighting a unique and visually appealing puff stitch pattern.
Getting Started
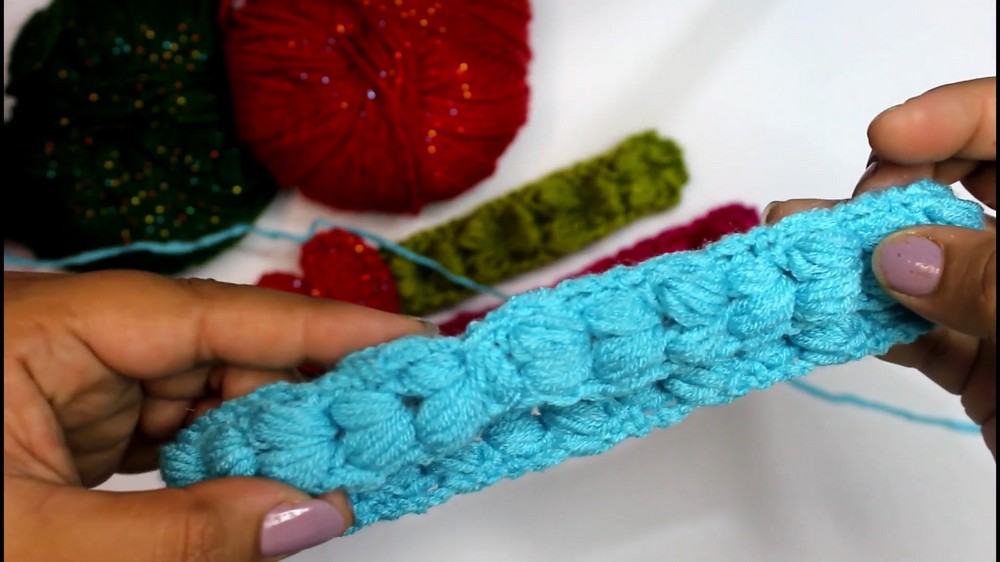
The tutorial begins by showing you how to create the foundation for the strip using a crochet hook and medium-weight yarn. You start with a chain to establish the initial width of the piece. The creator demonstrates the first step of the pattern, which involves creating a puff stitch into a specific chain.
Crocheting the Pattern
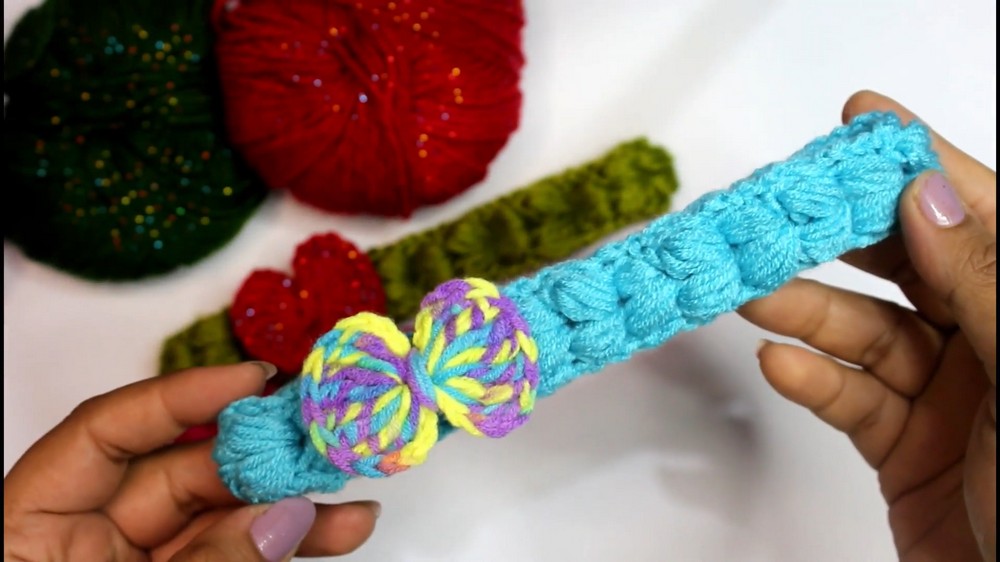
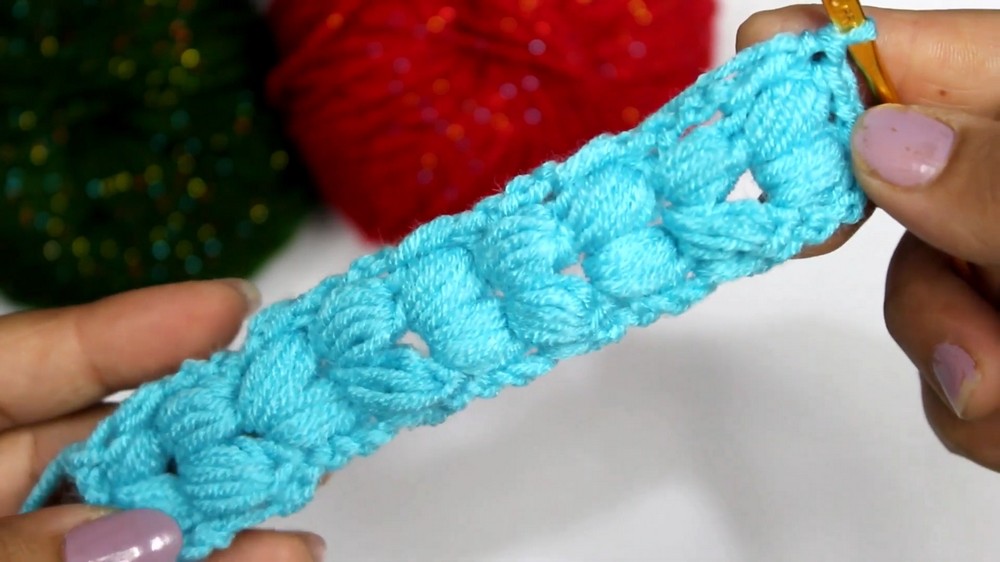
The main part of the tutorial focuses on repeating the pattern to achieve the desired length. The pattern involves creating a series of puff stitches, each followed by a chain stitch. The creator shows how to work another puff stitch into the same chain space before moving on to the next section. The video also explains how to incorporate a double crochet stitch at the end of each row. The process is then repeated, turning the work each time, until the strip reaches the length you need for your chosen project, whether it’s a headband, a belt, or a bag strap.
Finishing and Assembly
Once the strip has reached the desired length, the creator shows you how to finish the piece. For a headband, the two ends of the strip are joined together using a slip stitch. The video also demonstrates how to secure the loose ends by cutting the excess yarn and weaving it in to create a clean finish.
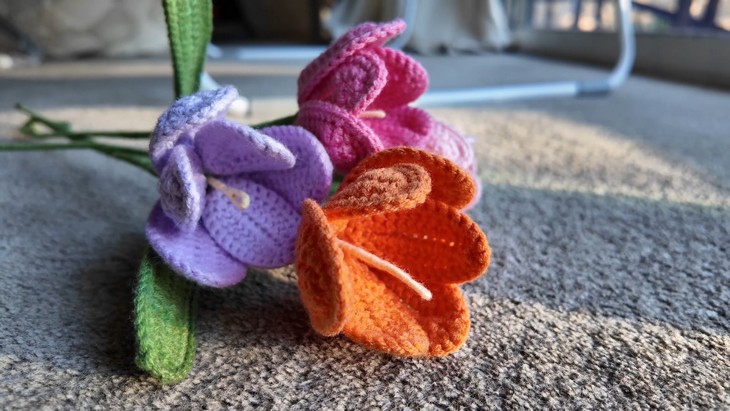
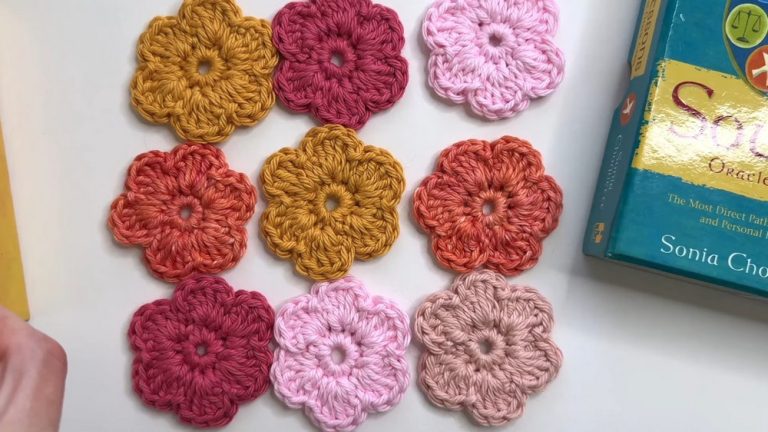
The creator also mentions that you can attach a decorative element, such as a flower or a bow, to the finished strip to personalize it and add a unique touch.