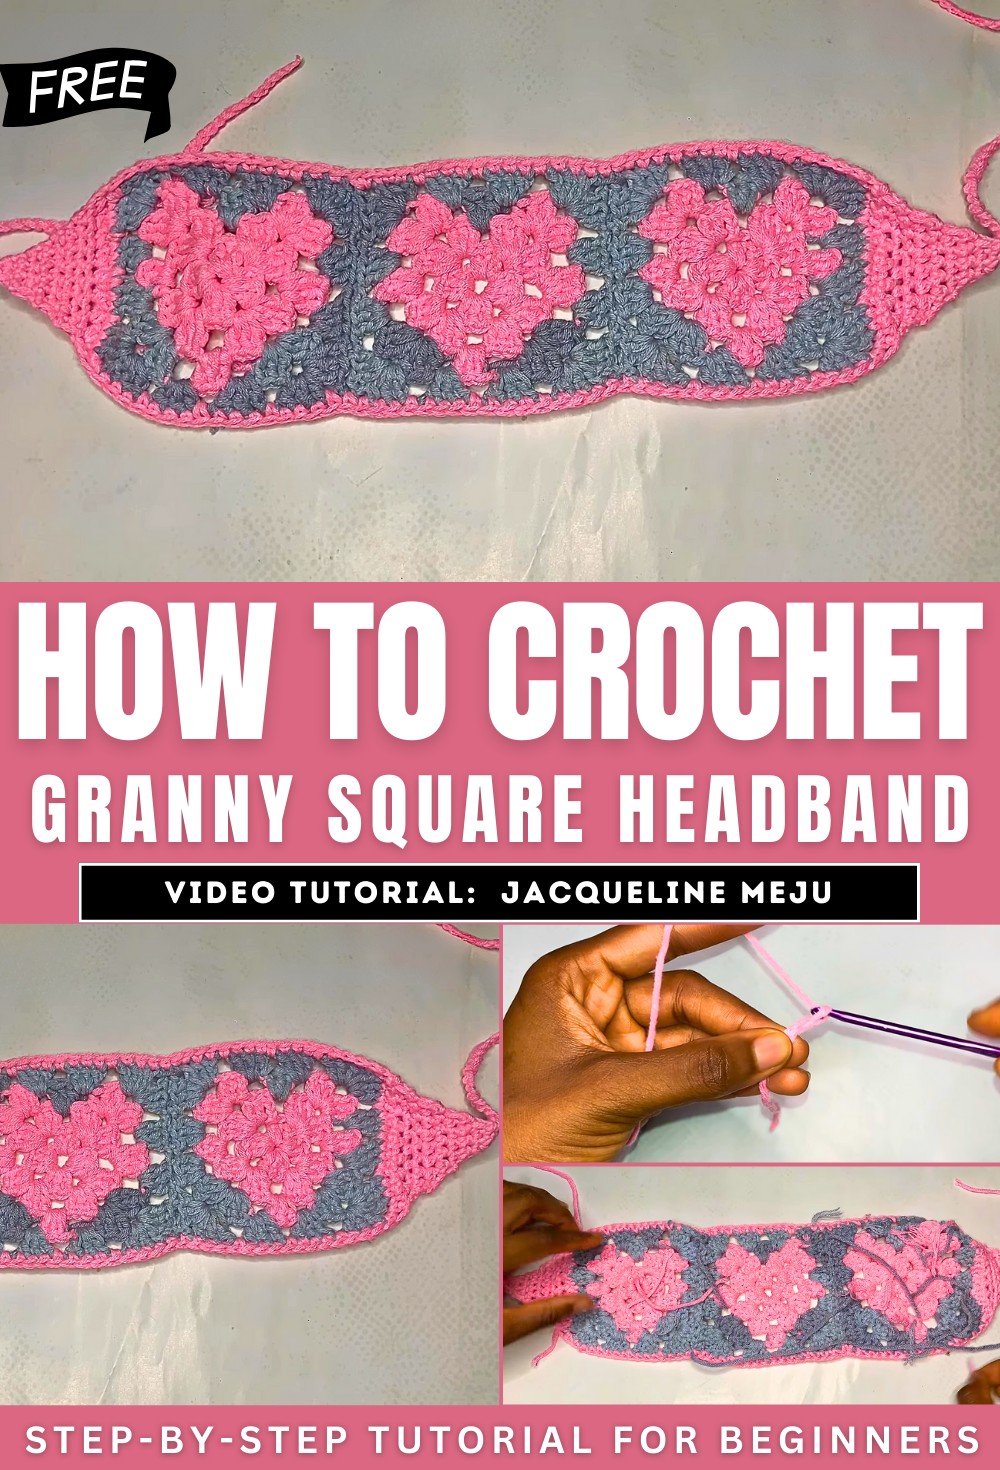
How To Crochet Granny Square Headband for Beginners
With a step-by-step tutorial, learn how to crochet a heart granny square headband step by step for all skill levels. Using a 3.5mm crochet hook, two yarn colors, scissors, and a yarn needle, she demonstrates techniques such as creating a magic ring, double crochet stitches, and changing yarn colors for vibrant designs. The process includes creating three heart granny squares, sewing them together, and adding straps with decreasing rows.
Jacqueline wraps up by detailing how to hide loose ends for a polished finish. Perfect for beginners, the headband is both stylish and customizable. So, follow through with us for the complete tutorial.
Heart Granny Square Headband by Jacqueline
This tutorial by Jacqueline demonstrates how to crochet a heart granny square headband step-by-step. It covers the process of creating heart-shaped granny squares, joining them together, and adding finishing touches to form a stylish and functional headband. The tutorial is beginner-friendly and includes various crochet techniques, tips, and recommendations.
Materials Needed
- Two contrasting yarn colors (details provided in the description box of the video).
- 3.5mm crochet hook.
- Yarn needle.
- A pair of scissors.

Getting Started
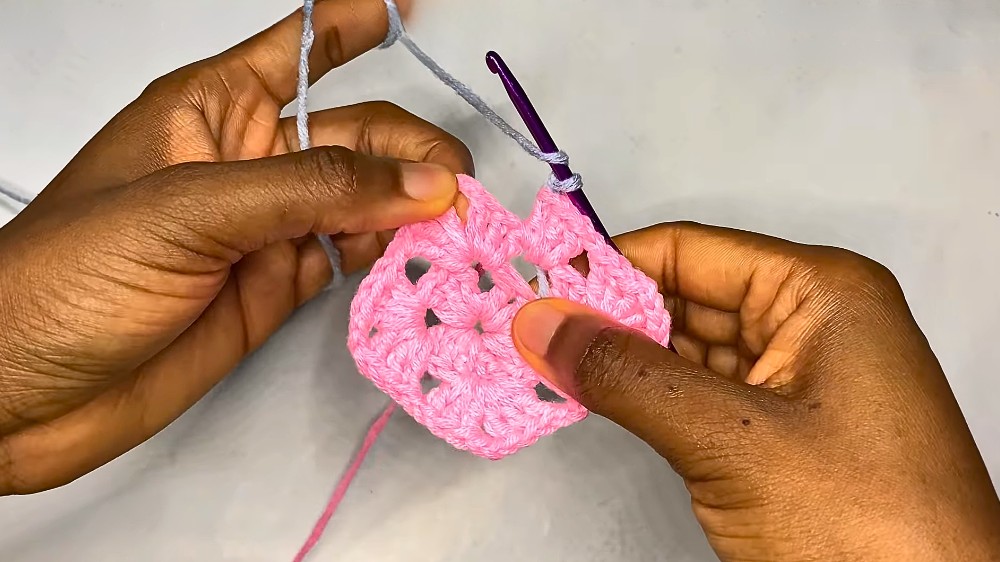
Creating the Magic Ring
- The tutorial begins with instructions for making a magic ring, which serves as the foundation.
- Step-by-step guidance is provided for chaining and forming the base to start the granny square.
Round 1: Designing the Core
- The first round involves working double crochet stitches into the magic ring.
- Spaces are created between groups of stitches to establish a square shape, forming the “heart” structure.
- The round is closed with a slip stitch to maintain the square’s structure.

Building the Granny Square
Round 2
- Jacqueline explains how to slip stitch to the corner of the square before starting the new round.
- Double crochet groups are worked into the corners, separated by chain spaces.
- This round establishes the square’s framework.
Round 3
- The process includes crocheting additional rows by expanding the pattern while maintaining the square shape.
- A second yarn color is introduced for a contrasting effect.
- Jacqueline demonstrates how to seamlessly switch between yarn colors without leaving loose ends.
Subsequent Rounds
- Additional rows add definition and dimension to the heart pattern.
- The tutorial highlights strategies for alternating yarn colors and managing yarn at the back of the work.
Creating the Heart Squares and Joining
Making Multiple Squares
- Viewers are instructed to repeat the process and create three heart granny squares of the same size.
- Detailed instructions on replicating the process are shared to ensure uniformity among the squares.

Joining the Squares
- The squares are joined from the back using a yarn needle.
- Jacqueline demonstrates how to align the squares properly and sew them together using the outer loops of the stitches to maintain the design’s integrity.
Finishing the Headband
Adding Single Crochet Borders
- Single crochet stitches are used to create neat edges around the combined squares.
- Special attention is given to the corners for consistency.

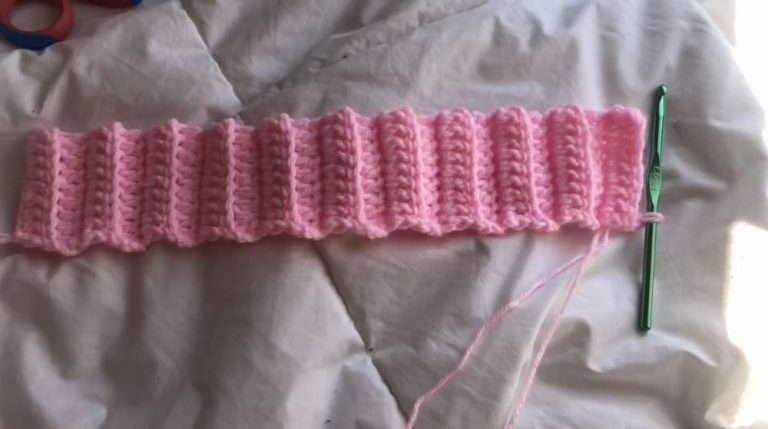
Making Adjustable Straps
- Straps are added at both ends of the headband using decreasing rows of single crochet stitches.
- Optional: Chains can be created and thickened with slip stitches for added durability and style.
Securing Loose Ends
- Jacqueline explains how to weave in any loose ends using a yarn needle.
- She ensures that the headband has a polished and secure finish.
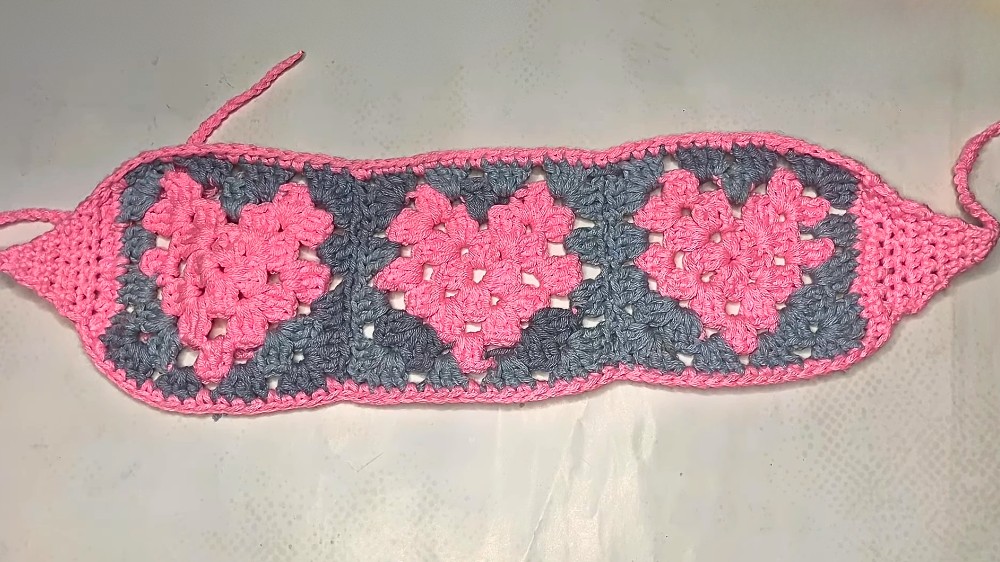
Final Result
- The finished product is a heart granny square headband that is both stylish and comfortable to wear.
- Jacqueline encourages viewers to personalize their headbands with different color combinations.