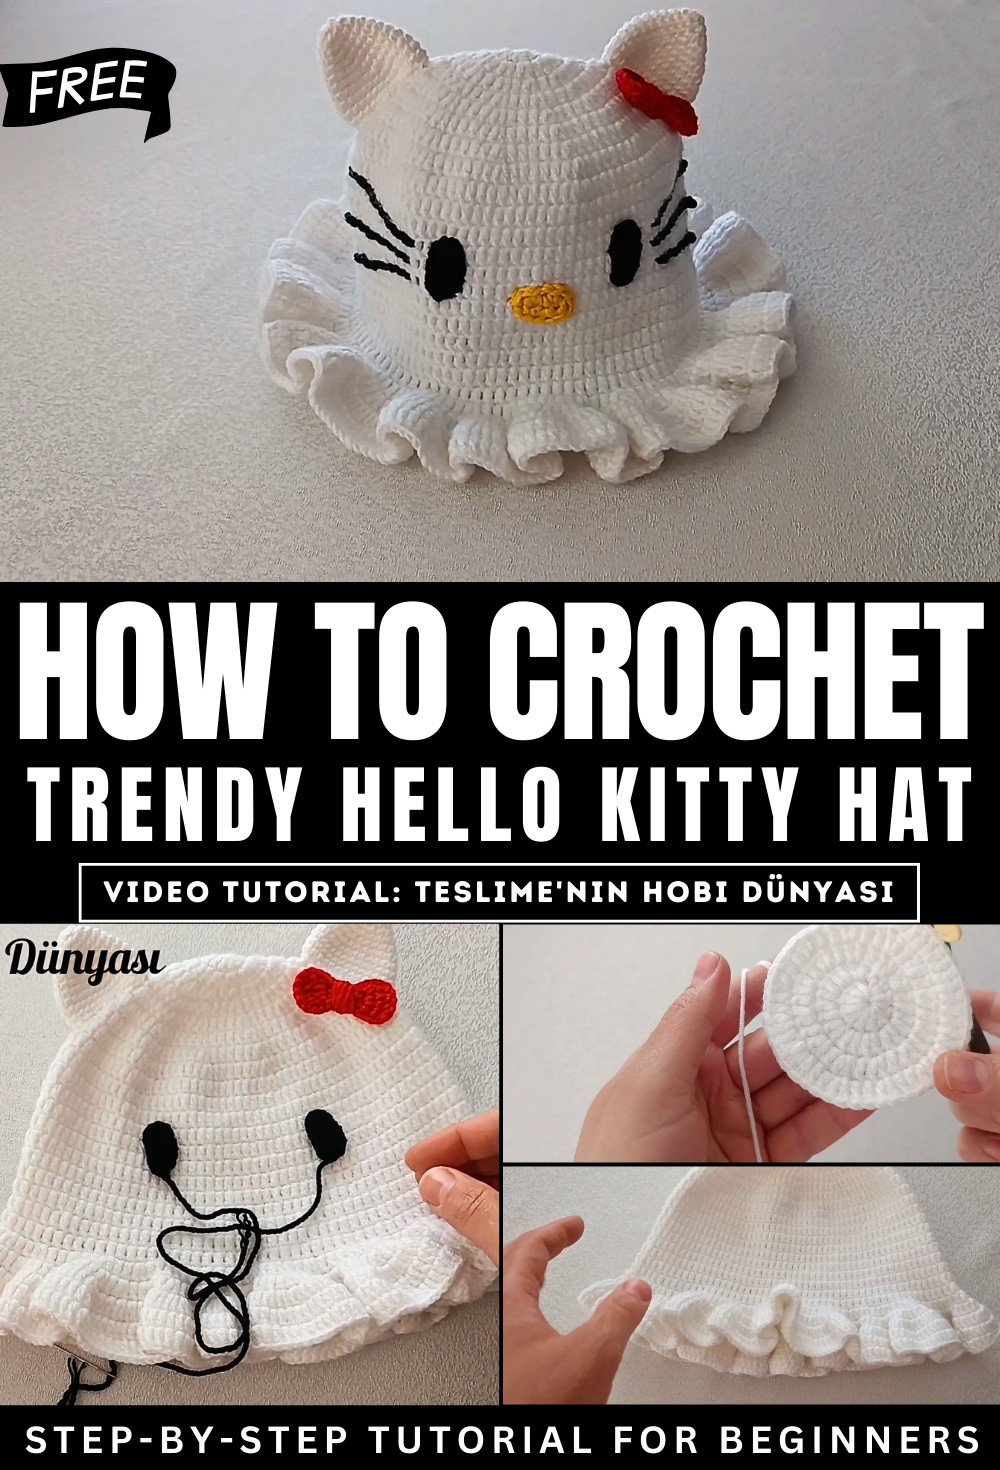
How to Crochet Hello Kitty Trend Hat for Beginners
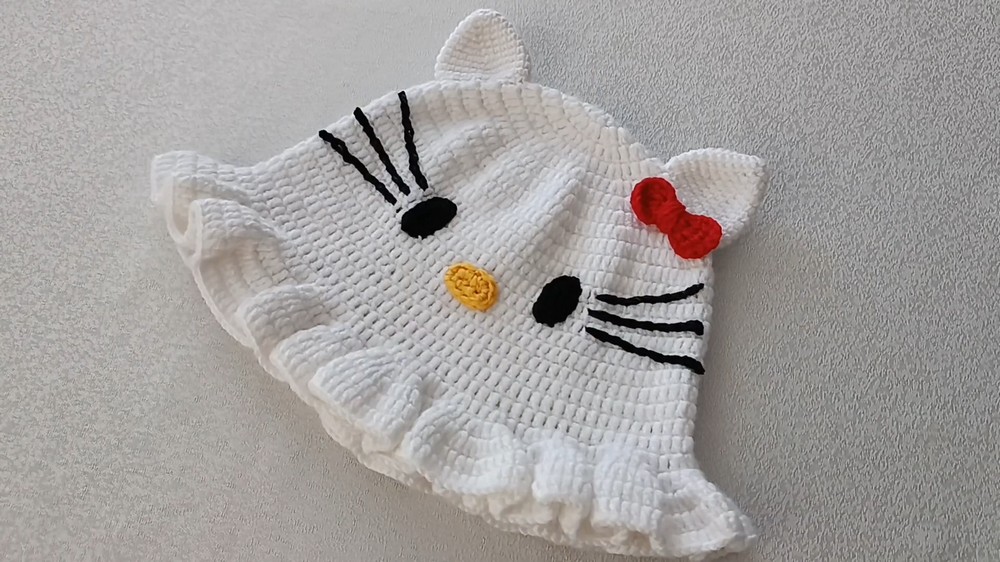
Learn how to crochet a “Hello Kitty” themed hat, perfect for crocheting for kids in any size. The host, Teslime, guides viewers through each step, from creating the hat’s base to adding decorative features. The tutorial starts with a magic ring containing double crochets to form the hat’s base. The following rows have a pattern of increasing stitches to expand the hat to the desired size, which in this case is 15-15.5 cm in diameter. Once the correct size is reached, the tutorial advises crocheting several rows without any increases to create the main body of the hat.
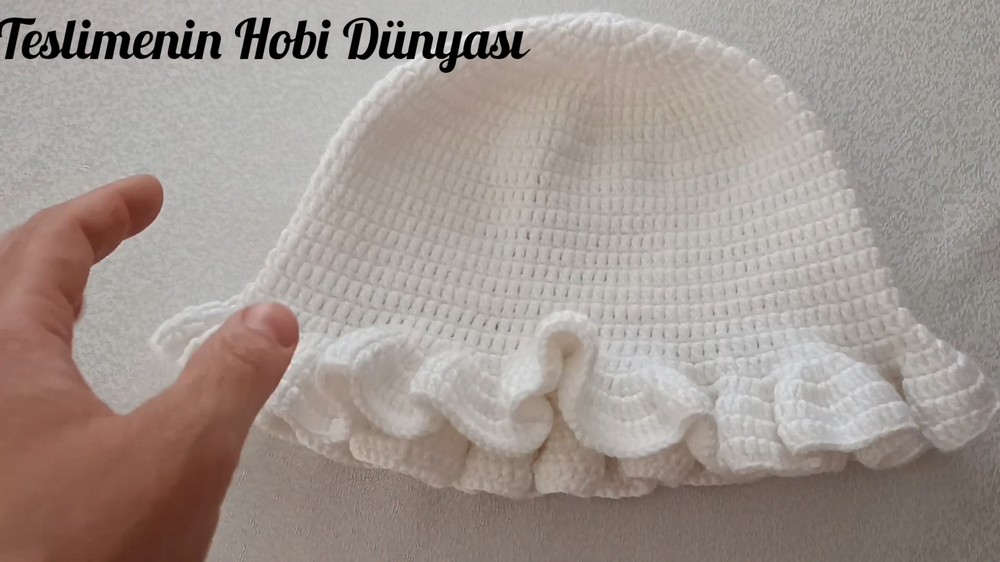
Next, the video shows how to create the ruffled edge of the hat by increasing stitches over several rows. The tutorial then provides step-by-step instructions for crocheting the ears, nose, eyes, and bow, all of which are separate pieces. The final part of the video demonstrates how to attach all the crocheted pieces to the hat using a blunt needle to form the final “Hello Kitty” design.
Introduction to the Tutorial
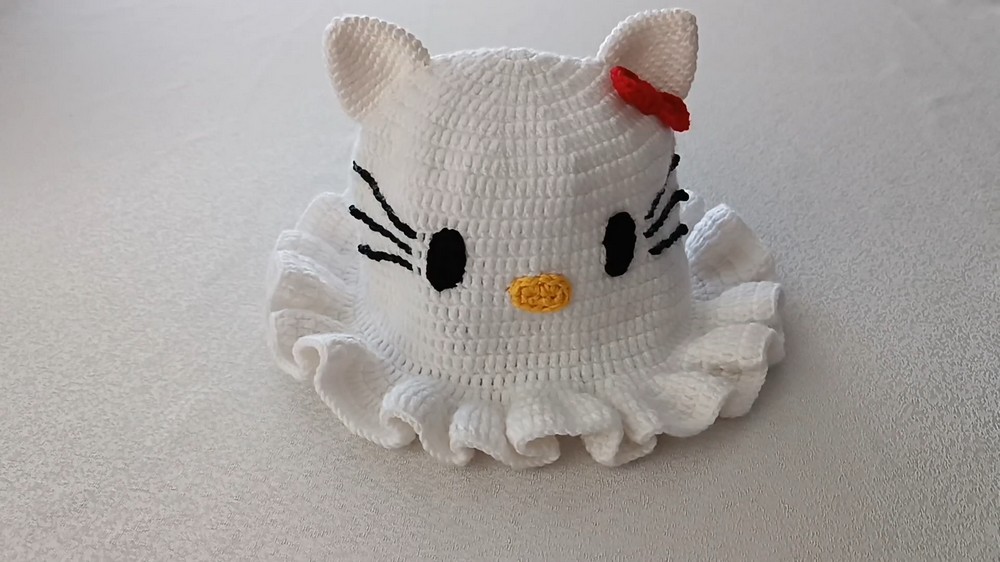
This video provides a detailed tutorial on how to crochet a Hello Kitty-themed hat. The host guides viewers through each step, from creating the hat’s base to adding decorative features. The finished hat is a great project for those who enjoy crocheting decorative items.
Materials
The required materials for this project are:
- Lamia Baby yarn
- A 2.5 mm crochet hook
- Additional scrap yarns for the embellishments
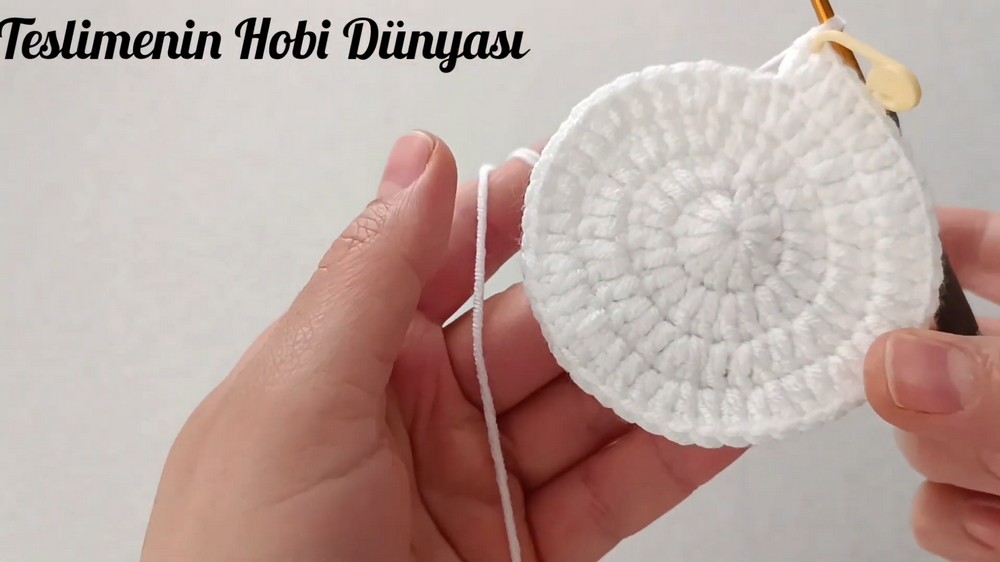
Hat Base
The hat starts with a magic ring. The second row involves crocheting into each stitch to expand the hat’s size. The following rows continue to increase with a specific pattern to grow the hat. This increasing pattern continues until the hat reaches the desired diameter. Once the correct diameter is reached, you will crochet additional rows without any increases to create the main body of the hat.

Hat Embellishments
The tutorial provides step-by-step instructions for crocheting the different parts of the hat’s face:
- Ears: The ears are made with white yarn, starting with a magic ring and increasing in subsequent rows to create a triangular shape.
- Nose: The nose is made with two strands of yellow yarn.
- Eyes: The eyes are created in the same manner as the nose, but with black yarn.
- Bow: The bow is made with red yarn, using a magic ring and a pattern of chains.
Assembly
The video concludes with the process of attaching all the crocheted pieces to the hat using a blunt needle. The pieces are carefully placed and sewn in place to form the final Hello Kitty design. The host also shows how to add details like eyelashes to complete the look.