How To Crochet Honeycomb Stitch Bag – Free Pattern & Tutorial
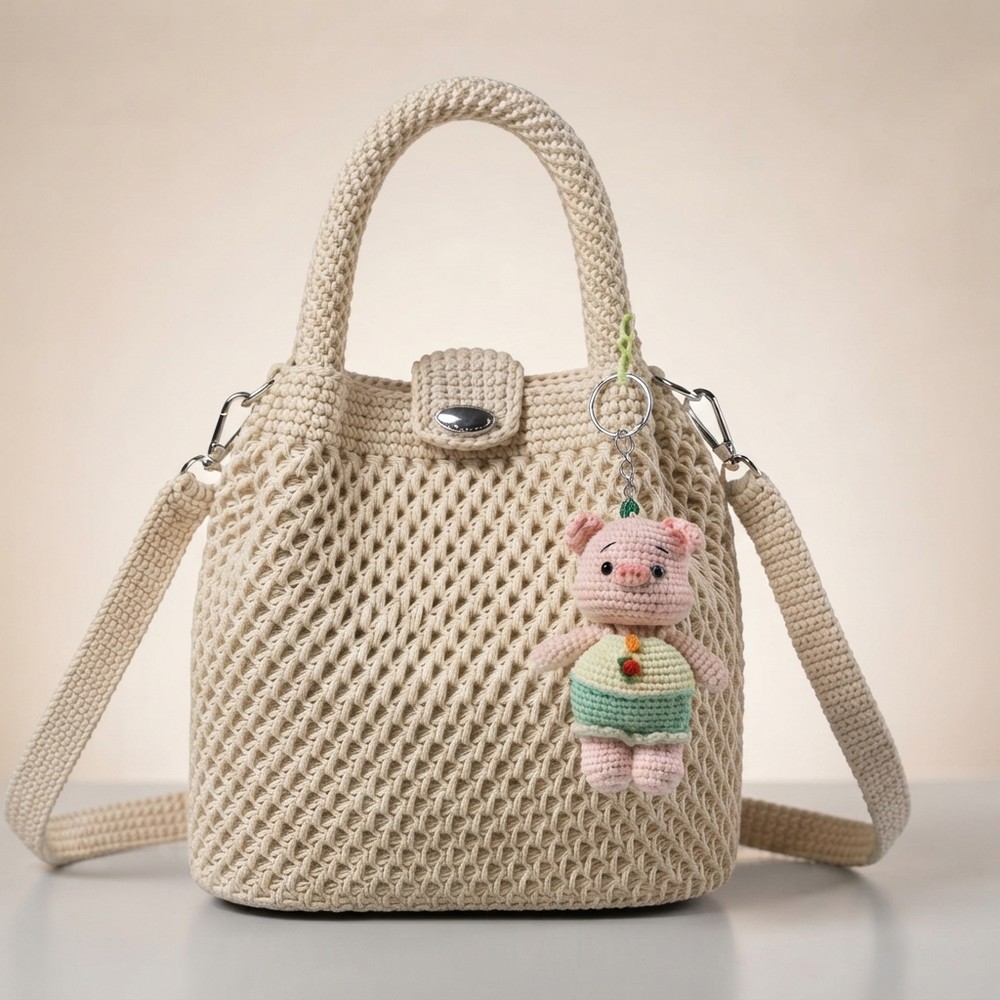
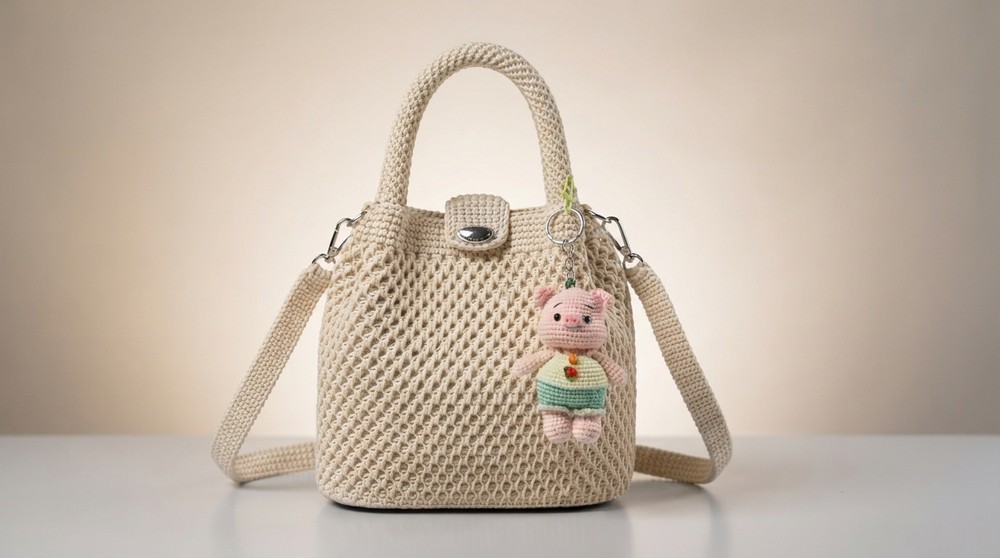
Stitch the Free Crochet Honeycomb Stitch Bag Pattern in cream so the raised stitches stand out on a small purse you can carry to brunch or on a day out.
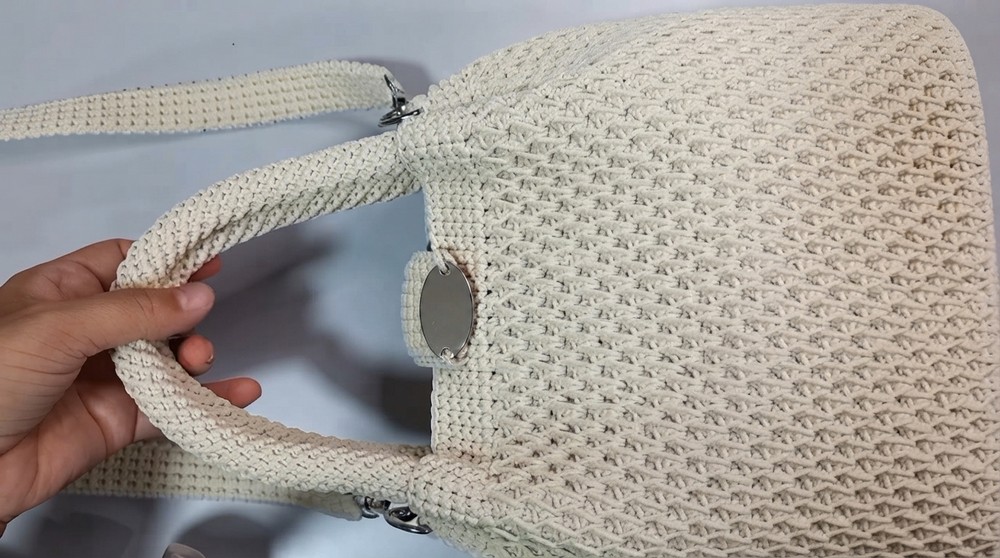
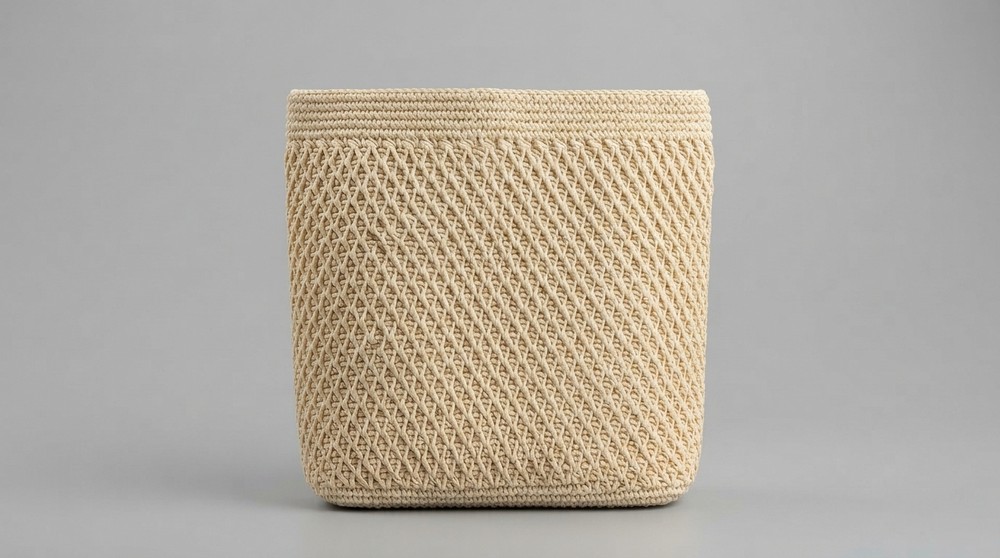
From across the room, the cream finish catches your eye first. Move closer and the Free Crochet Honeycomb Stitch Bag Pattern reveals its best detail, a field of small raised cells across the body. They sit in tidy rows and catch the light differently as the bag moves. A solid band at the opening gives those little shapes a clear place to end.
Textured Free Crochet Honeycomb Stitch Bag Pattern in Cream
Meet the Designer
Stitch texture is at the center of this project from Chaweewan Crochet. The channel features other honeycomb bags, giving crochet fans a chance to compare the same idea across different shapes. This cream handbag shows how a raised repeat can cover the body and still leave the opening clearly defined.
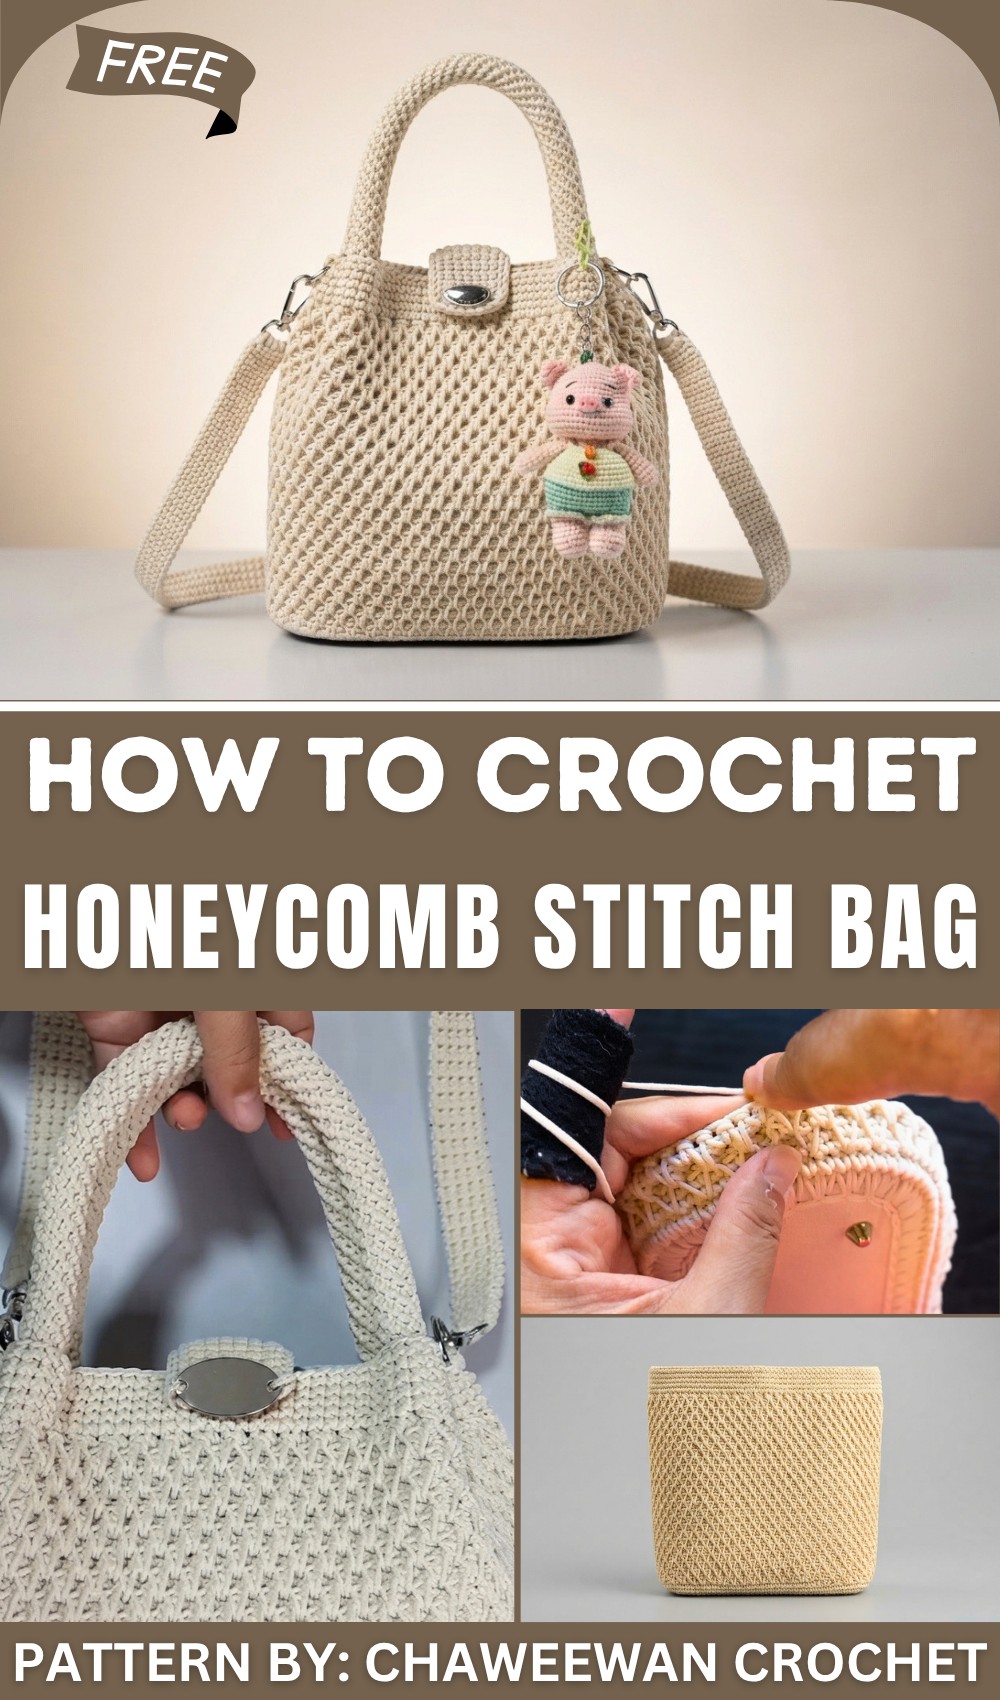
The domed handle and short closing tab have a tighter stitch than the body. That change in texture directs your eye to the honeycomb surface, especially when the bag hangs against a plain coat. The sample also has a matching shoulder strap and a pink pig charm. That splash of pink and green gives the pale design a playful touch.
Take it on a bookshop visit or to lunch when you only want to carry a small wallet and glasses. It looks particularly good with a dark top because the outline and stitch shapes come through clearly. Those rows are also what give the project its appeal on the hook. As more cells fall into place, you can see the surface take on a shape of its own. By the time you finish, the bag has plenty of detail in a single shade.
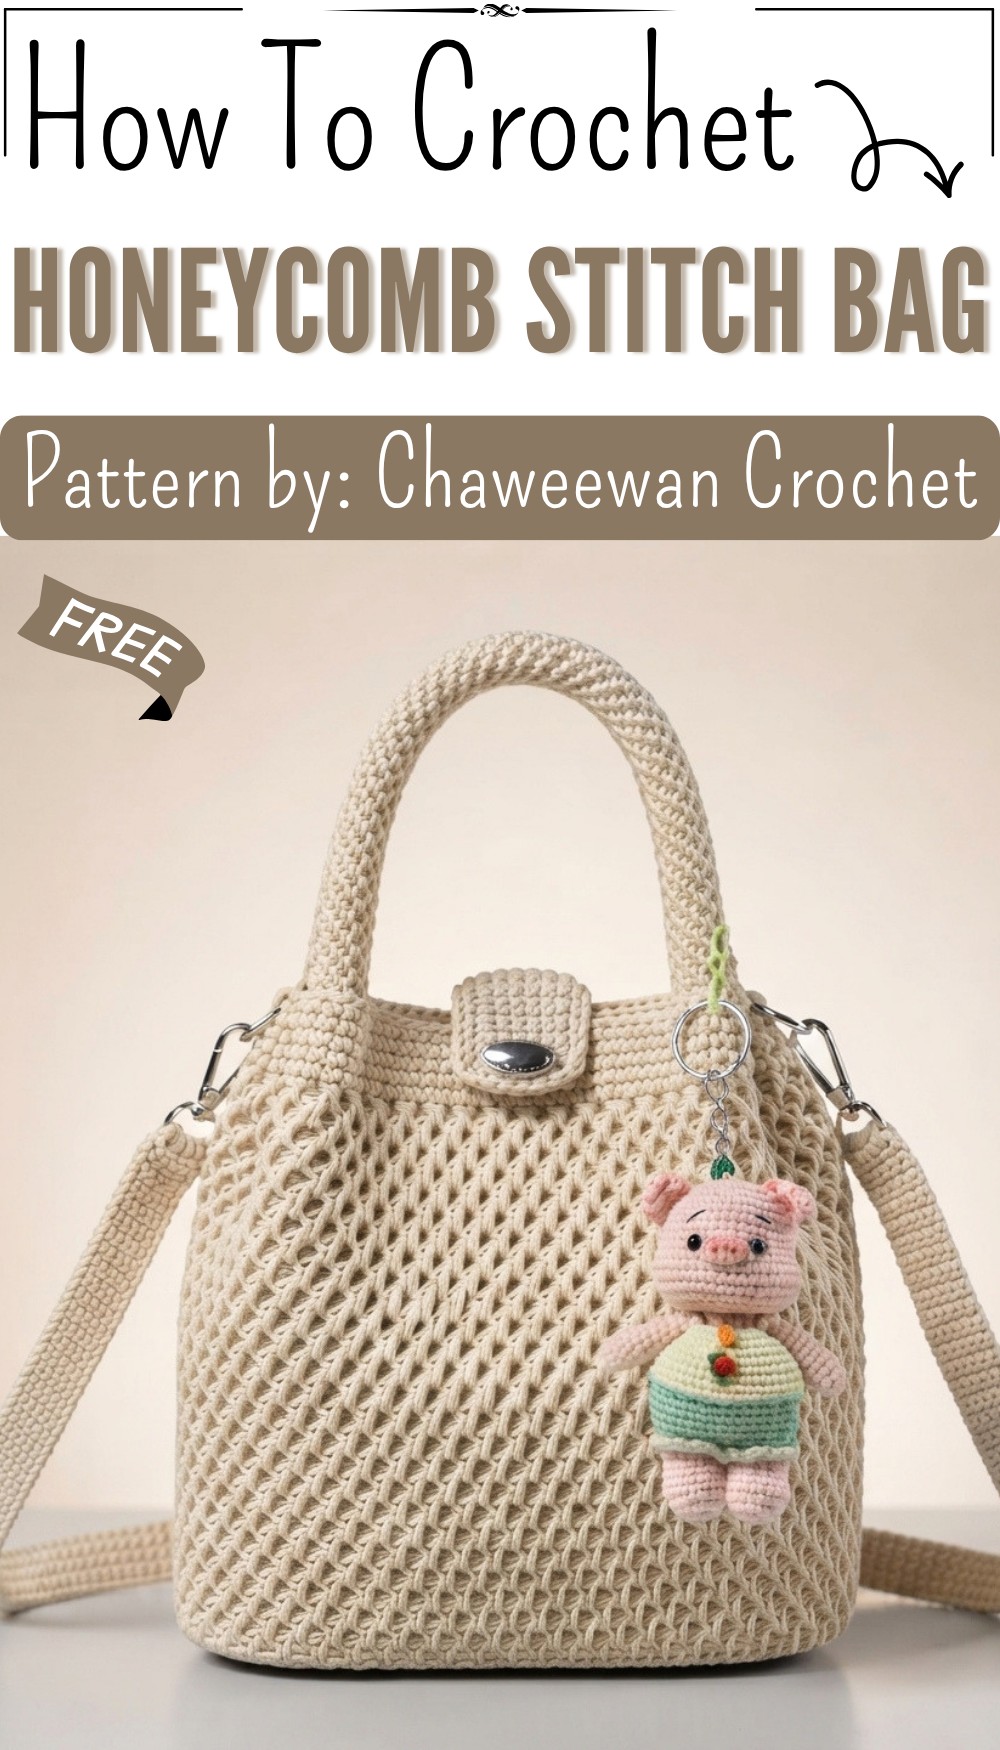
Honeycomb Pattern Mini Bag Crochet Pattern
This elegant mini bag features a unique honeycomb pattern and a small, chic design. Made with a durable 1.8 mm parachute cord and equipped with functional handles and a magnetic closure, this pattern offers both style and practicality. Its structured shape and lady-inspired design make it an eye-catching accessory for any occasion.
Skill Level
Intermediate – This pattern involves working in rounds, adding texture with alternating short and long stitches, shaping, and attaching hardware, making it perfect for crocheters with moderate experience.
Materials
- Cord: 1.8 mm parachute cord (any color).
- Hook Sizes:
- 5/0 hook for the base and body.
- 4/0 hook for finer details (like the edging).
- Notions:
- Magnetic button closure (sew-on type, 1 set).
- 2 circular snap rings (1-inch inner diameter).
- 2 dog collar hooks (4 cm length).
- Safety pins or stitch markers for marking.
- Bag base insert/plaque: 10 cm x 22 cm.
- Scissors.
- Tapestry needle (for finishing ends).
Stitch Abbreviations
- Ch: Chain
- SC: Single Crochet
- SL St (C): Slip Stitch
- Long X: Long extended stitch (pulled through three spaces down).
- Short X: Short crochet stitch underneath current row.
Useful Tips
- Rope Finishing: Use a heated lighter to seal the cut ends of the parachute cord to prevent fraying.
- Markers for Symmetry: Use safety pins to correctly align handles, straps, and attachments.
- Adjustable Height: The final height of the bag can be easily adjusted to suit your preference by adding or reducing rows.
- Clean Stitches: Maintain consistent tension and stitch uniformity for a professional look.
Pattern Instructions
I. Bag Base
Round 1 – Foundation
- Hook Size: 5/0.
- Pattern:
- Begin with a Ch 2 (counts as the first stitch).
- Work 3 SC into the same slot.
- Repeat this sequence 15 times to form the bottom of the bag.
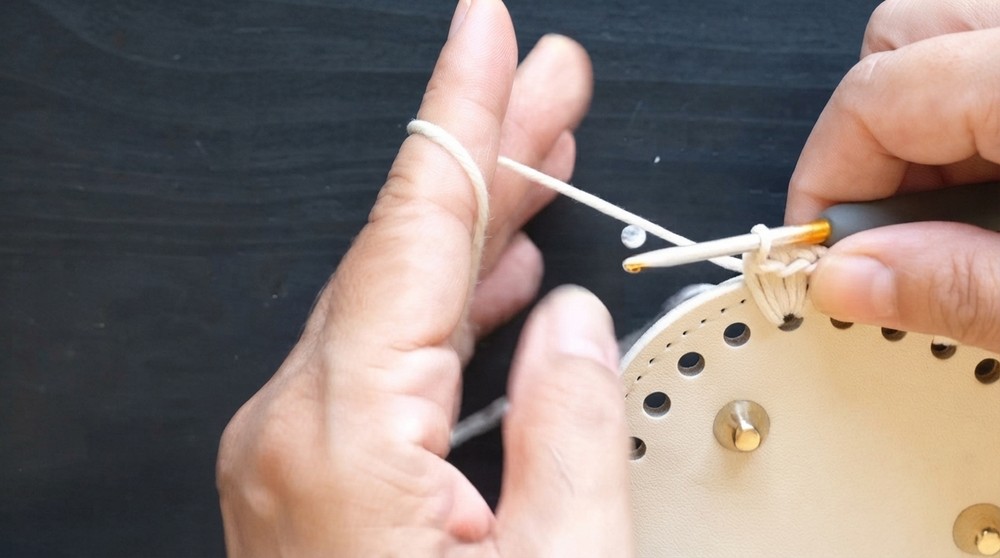
Round 2 – Reinforce the Base
- Work 2 SC into each stitch across for 15 sets of 2 stitches. This will create even spacing and structure while forming the circular base.
Round 3 – Slip Stitch for Stability
- Work a SL St (C) around the edge of the base. Start at the first stitch and ensure even tension so the bottom remains flat.
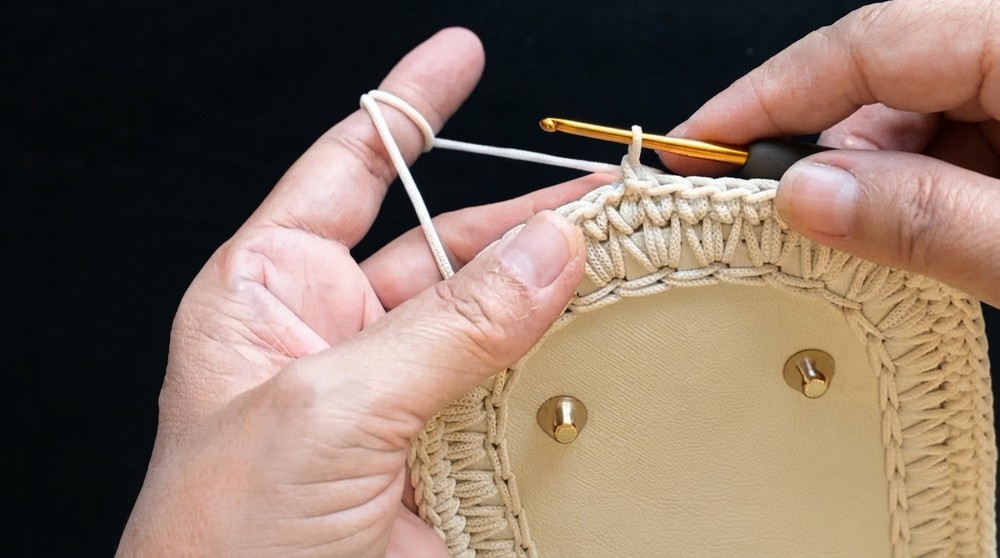
II. Bag Body
Switch to a size 4/0 hook for this section to create clean edges and add texture.
Rounds 1–3 – Building the Base of Bag Body
- Round 1: Crochet 1 SC into each stitch of the base edge. Total: 58 sets of stitches evenly distributed.
- Round 2: Repeat SC into each stitch around.
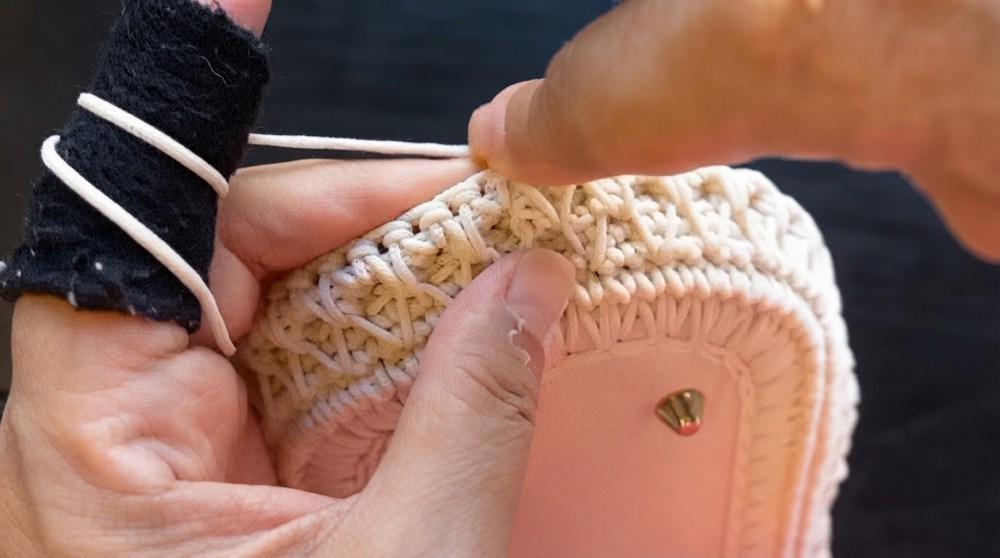
- Round 3: Introduce the honeycomb texture:
- Alternate Short X and Long X stitches.
- A Short X stitch is crocheted under two strands in the current row, while a Long X stitch is worked three spaces down from the current row.
Rounds 4–7 – Continue the Honeycomb Pattern
- Alternate rows of Short X and Long X stitches.
- Begin and end rows strategically to ensure alternating textures align neatly.
- Mark the first stitch of each round with a safety pin or stitch marker.
Adjusting the Bag Height
- The default height is 7.5 inches (19 cm), but you can extend or reduce the height by working more or fewer rounds.
III. Magnetic Button Closure
Marking Points and Attaching
- Divide the Bag: Fold the bag opening in half and mark the midpoint on both sides.
- Count from Midpoint: Mark five stitches on either side of the midpoint for the button attachment.
- Attach Magnetic Button Panels: Sew the panels to the marked points, ensuring they align when the bag is closed.
IV. Decorative Edging
Rounds 1–4 – Edging for a Polished Look
- Crochet 4 rows of SL St (C) around the bag opening edge for a reinforced and clean finish.
V. Handles and Long Shoulder Strap
Short Handles
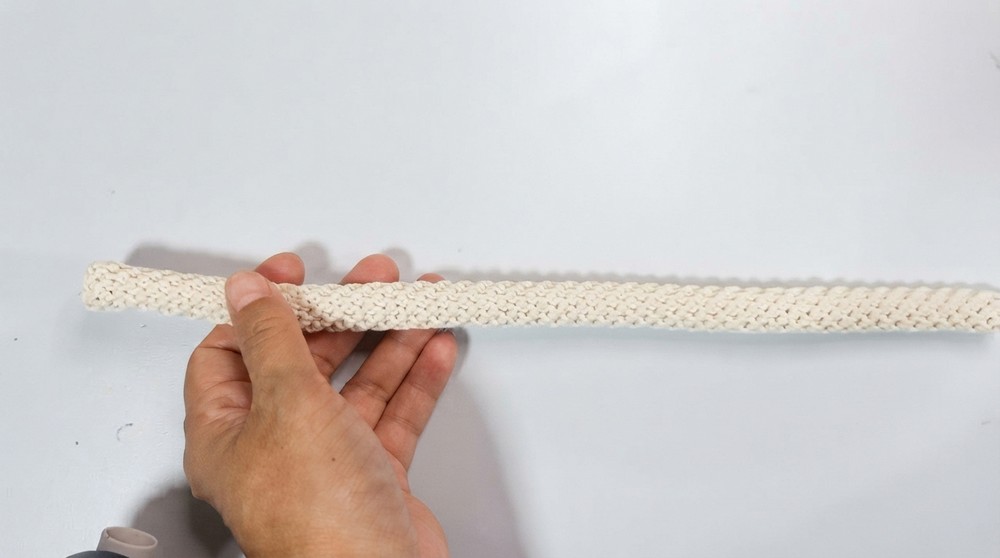
- Start with Ch 6.
- Work 6 SC stitches, flipping the workpiece at the end of each row to create a sturdy strap.
- Continue until the handle measures 11 inches long.
- Attach the strap ends to the bag body, six stitches apart, using stitch markers to ensure proper alignment.
Shoulder Strap
- Start with Ch 8.
- Work 8 SC stitches back and forth, flipping at the end of each row.
- Alternate rows of colors (e.g., honeycomb pattern and a single line of a contrasting color) for a decorative effect.
- Continue until the strap measures 80 cm.
- Secure the ends to the dog collar hooks using two reinforced rows of SC stitches.
VI. Assembly
- Attach Handles: Use the safety pin markers to find the correct attachment points and carefully sew the handles to the bag.
- Attach Shoulder Strap: Connect the collar hooks of the strap to the circular snap rings positioned on the bag sides.
- Final Adjustment: Check all components, ensuring secure closures and evenly aligned straps.
Measurements
- Bag Height: 7.5 inches (or 19 cm).
- Bag Base Dimensions: 10 cm x 22 cm.
- Short Handle Length: 11 inches.
- Shoulder Strap Length: 80 cm.
Conclusion
This honeycomb crochet mini bag is designed for practicality and elegance. It features a structured circular base, intricate textured stitchwork, and versatile carrying options. Perfect for creating a stylish accessory, you can customize its height and strap lengths to make it uniquely yours!