Easy & Free Crochet Two-in-One Bag Pattern for Daily Carry
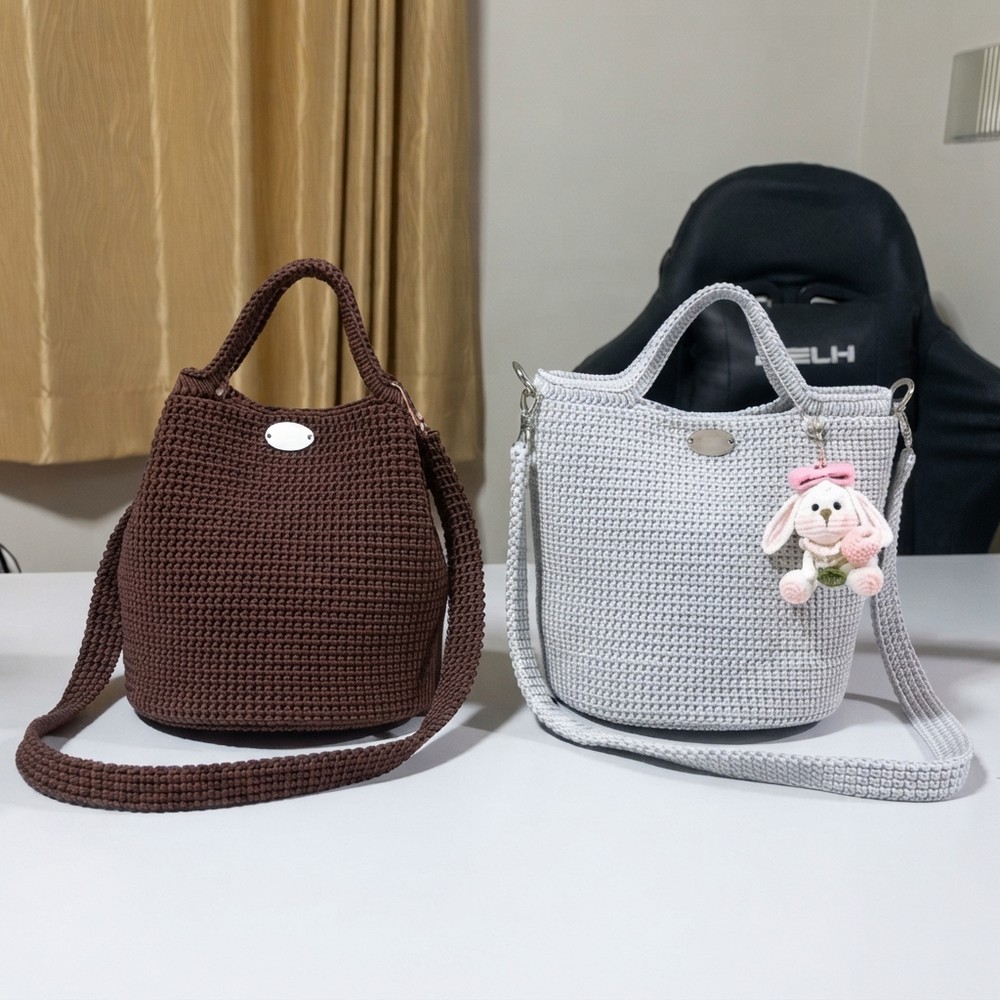
Switch up how you carry your things with the Free Crochet Two-in-One Bag Pattern for a rounded purse with a grab handle and a long strap for busy days.
Plans change halfway through the day, and sometimes the way you carry your stuff needs to change with them. With the Free Crochet Two-in-One Bag Pattern, you can hold the purse by its short handle or clip on the longer strap when you want your hands free. Both options suit the same softly rounded bag, which curves along the bottom and dips gently below the handle.
Convertible Free Crochet Two-in-One Bag Pattern With Two Ways to Carry
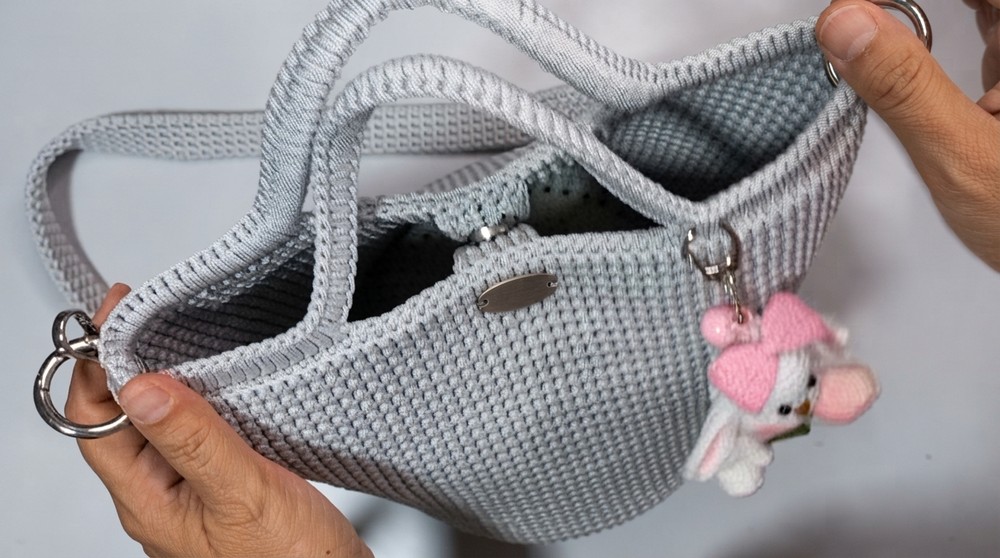
The dark brown sample has a hint of plum and pairs easily with a wool coat. The pale gray version feels lighter and has a pink bunny charm near one side. In both shades, the closely spaced stitches form an even surface from the base to the top. Side rings give the longer strap its own place to clip on, leaving the short handle easy to grab.
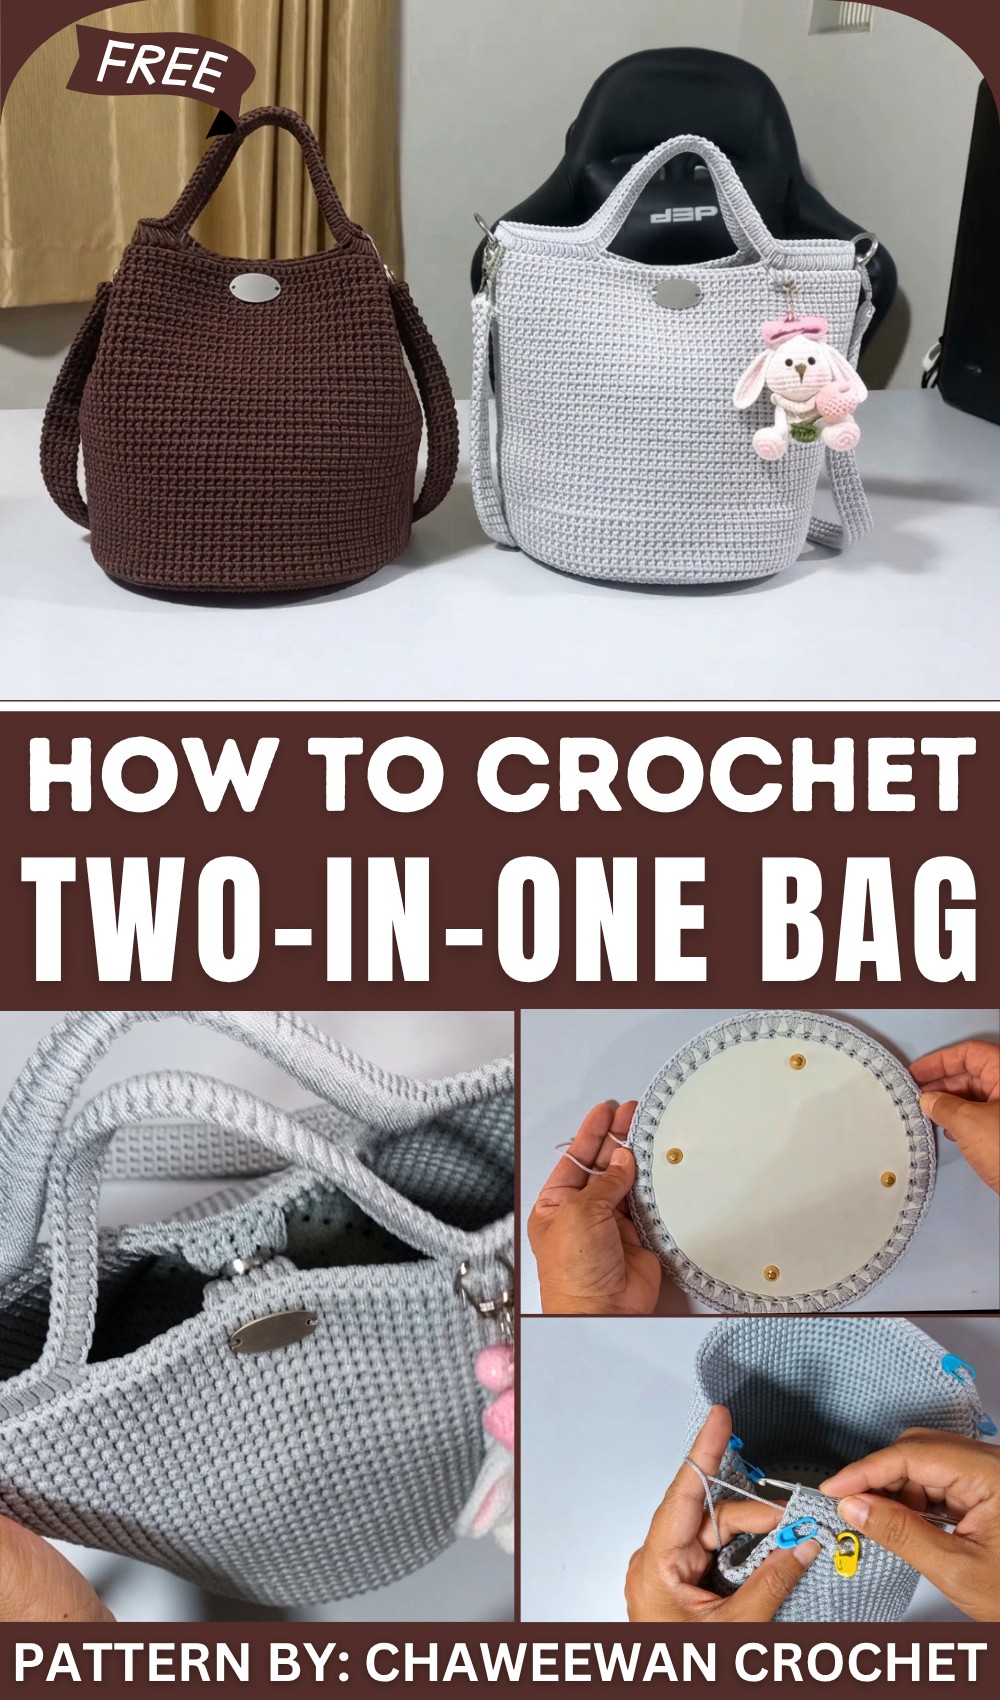
Use that handle when you’re stepping out of the car or taking the bag off a chair. The long strap is useful when you’re fitting in a grocery stop after work and need both hands for the things you’re buying. When the strap comes off, the bag has a simple outline that suits a dinner outfit too. You can leave the long strap at home or tuck it inside before heading out, depending on what the day has in store.
Behind the Bag
Chaweewan Crochet takes the everyday question of how to carry a purse and works two answers into one project. Alongside this plain version, the channel has a zigzag take on the same idea. Together, the designs show how a short handle and a clip-on strap can suit quite different surfaces.
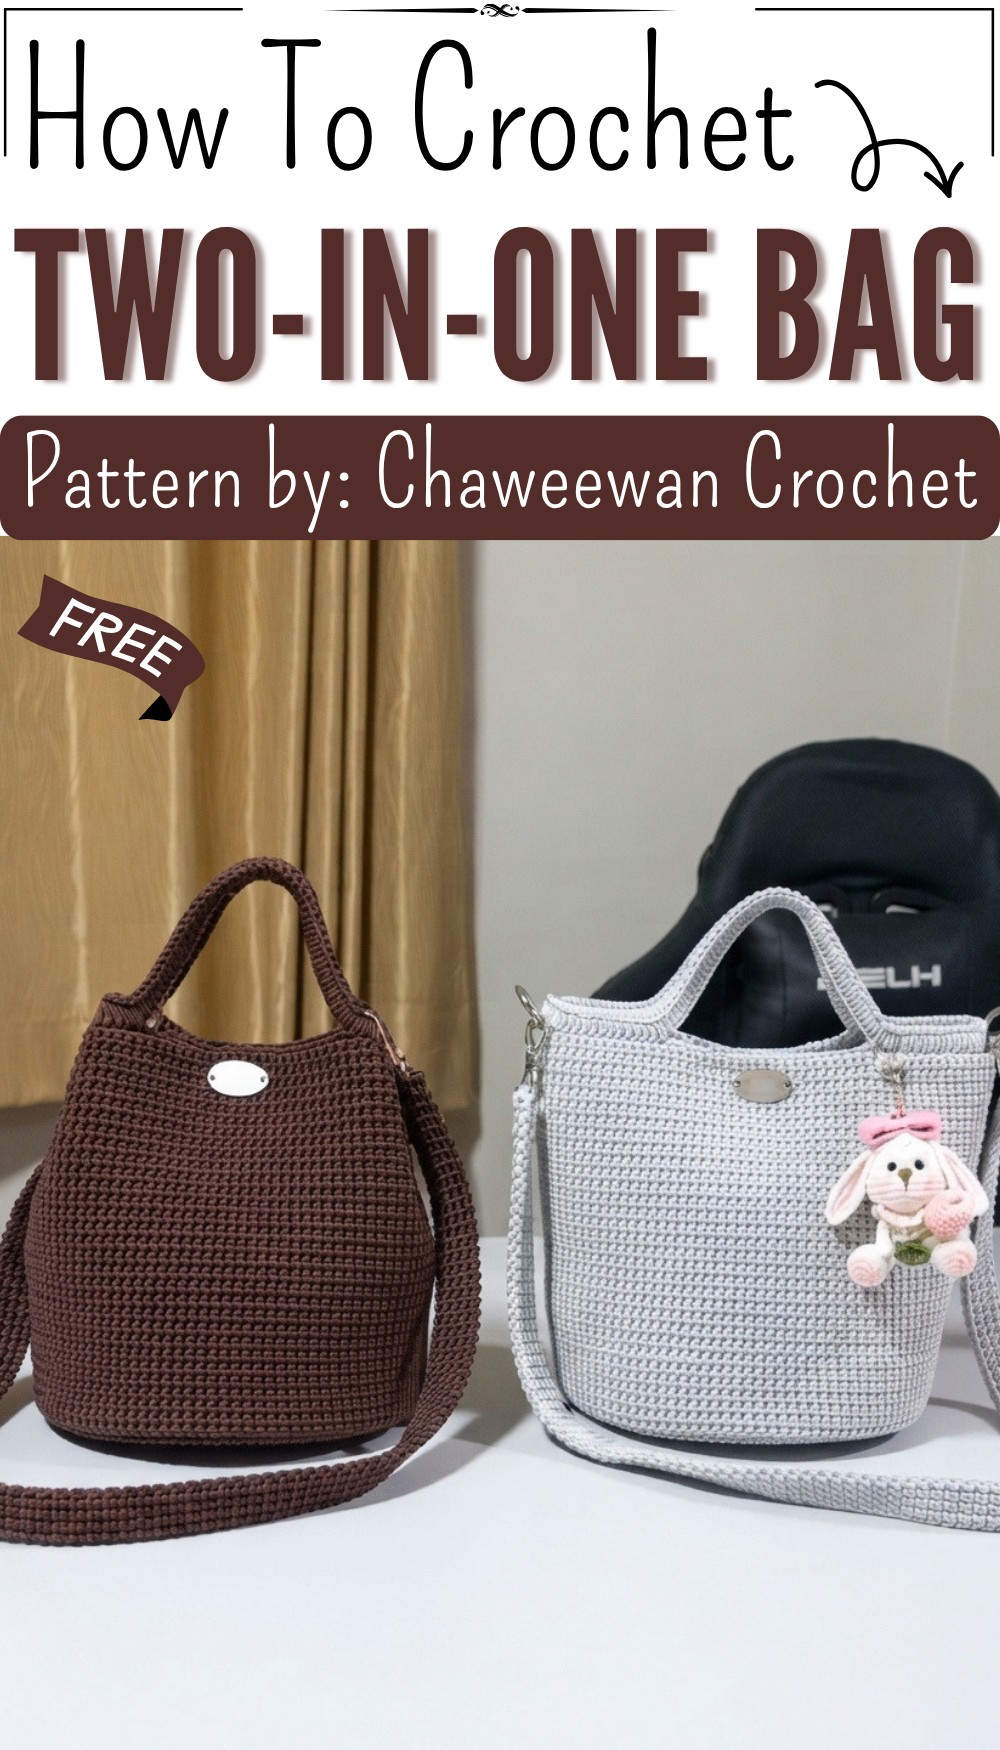
Two-in-One Crochet Bag Pattern
This multi-functional crochet bag combines unique textured stitching with versatile design features, allowing it to be carried in two distinct styles. Made using paracord for durability, the pattern includes instructions to create the bag body, magnetic button closures, reinforced straps, and D-ring attachments for a detachable shoulder strap.
Skill Level
Intermediate – The pattern involves foundational crochet stitches, slip stitches, assembling components, and decorative finishing, making it suitable for intermediate crocheters.
Materials
- Cord: 1.8 mm paracord for durability and structure.
- Hooks:
- Size 5/0 hook for the bag base.
- Size 4/0 hook for the body and finishing details.
- Notions:
- Two D-rings with an inner diameter of 4 cm.
- Snap closure hoops measuring 1 inch (2.5 cm) on the inside.
- Magnetic button closure with backing (1 set).
- Flexible base support, 7.5 inches, for the bag bottom.
- Scissors.
- Needle (for weaving ends).
- Safety pins or stitch markers (for marking points).
Stitch Abbreviations
- Ch: Chain
- SC: Single Crochet
- SL St (C): Slip Stitch
- St: Stitch
Useful Tips
- Cord Preparation: Use a lighter to heat-seal cord ends after cutting to avoid fraying.
- Maintaining Tension: Keep your tension consistent to avoid distortion and ensure uniform stitches.
- Marker Usage: Use safety pins or markers to maintain row alignment, especially for straps and closures.
- Durability: Reinforce handles and D-rings by securing stitches tightly around them.
Pattern Instructions
I. Bag Base
Round 1 – Foundation
- Hook Size: Use 5/0 hook.
- Pattern:
- Start by chaining 2 (counts as the first stitch).
- Crochet in the following sequence:
- (2 SC in same St) x 3
- (3 SC in same St) x 3
- (2 SC in same St) x 15
- (3 SC in same St) x 3
- (2 SC in same St) x 5
- Repeat this pattern twice around.
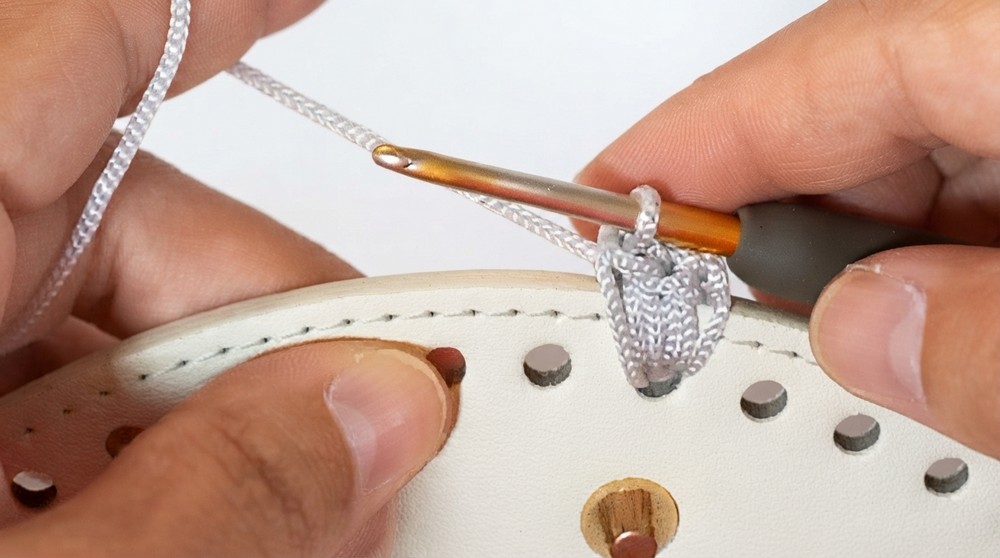
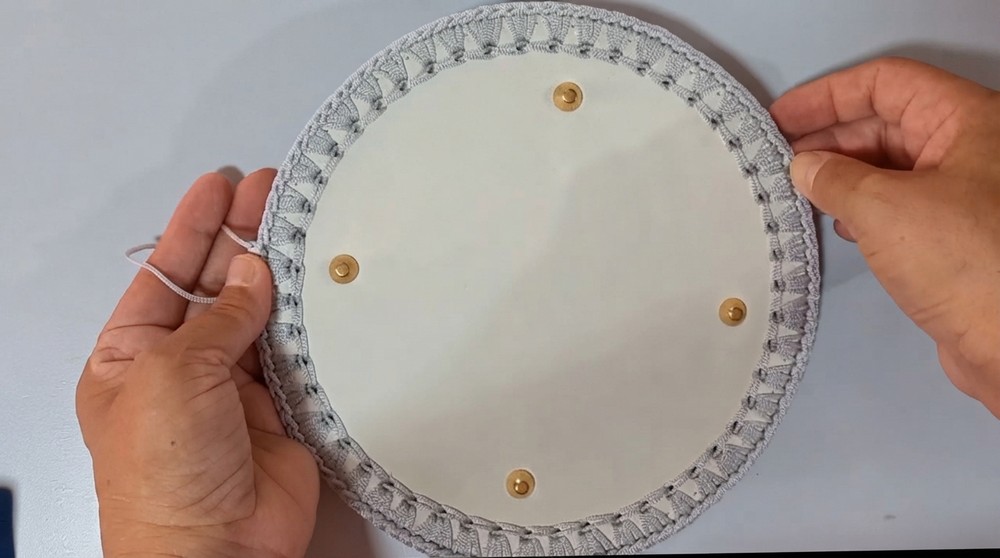
The result should be 10 sets of stitches forming a rounded base.
Round 2 – Slip Stitch Edging
- Pattern:
- Work SL St (C) around the base edge.
- Insert your hook into each stitch, yarn over, and pull through to achieve clean edging for the foundation.
II. Bag Body
Switch to 4/0 hook for this section.
Rounds 1–3: Single Crochet Foundation
- Round 1-2: Ch 2, and work SC into the edge of the previous round.
- Round 3: Work SC evenly, ensuring the total is 110 SC stitches.
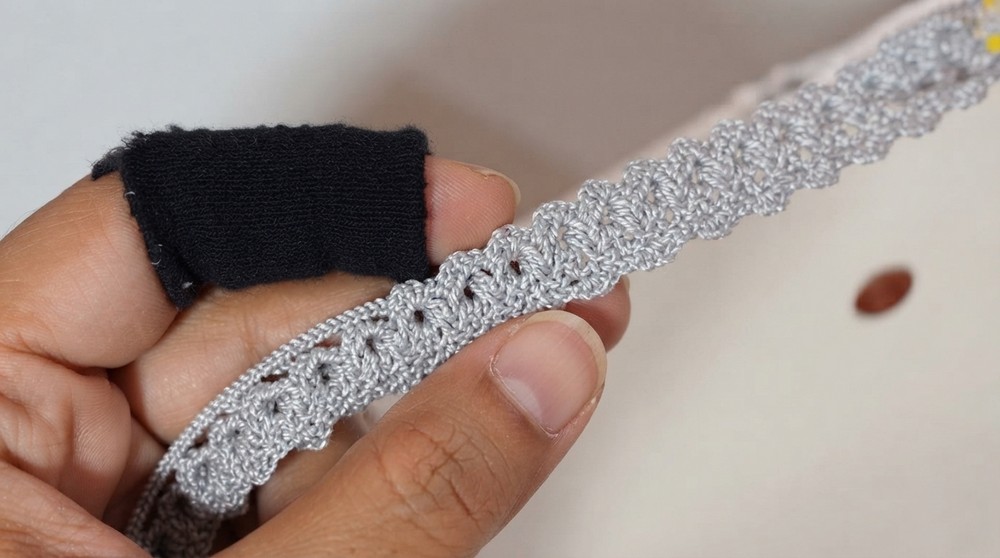
Rounds 4–8: Stitch the Textured Bag Body
- Mark the First St: Begin each round by marking the first stitch with a safety pin to guide the alignment.
- Round 4: Work a standard round of SC to ensure stability.
- Rounds 5–8: Alternate texture as follows:
- Work SC into the upper line of the stitch.
- Work a second SC into the bottom line of the same stitch to create a raised effect.
- Continue this pattern until the bag reaches the desired height (8 inches).
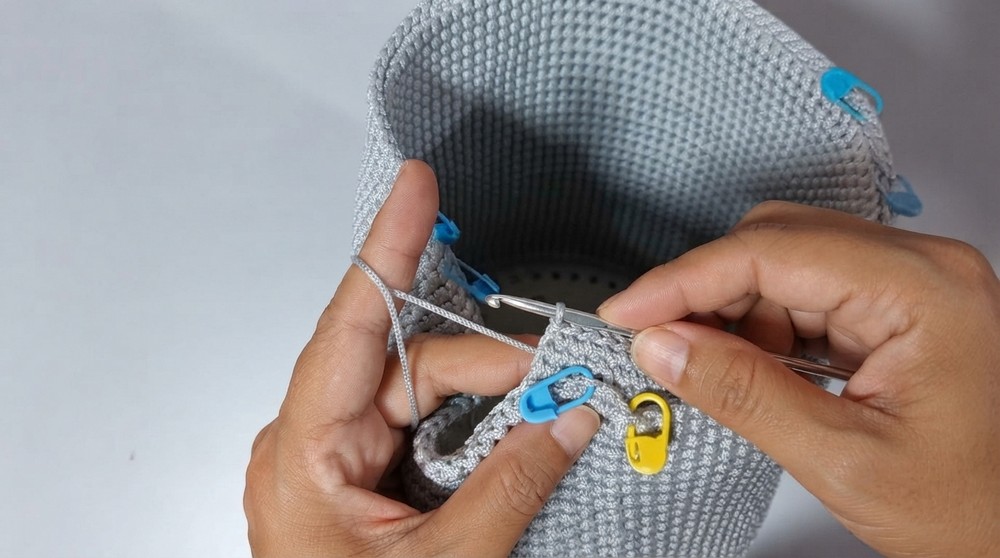
III. Attach Magnetic Button Closure
- Measure the Top Edge: Divide the bag opening in half to locate the center of each side.
- Mark Button Placement:
- Using safety pins or stitch markers, identify a 1-inch space on either side of the midpoint for attaching the magnetic button backing.
- Attach Magnetic Backing Panels:
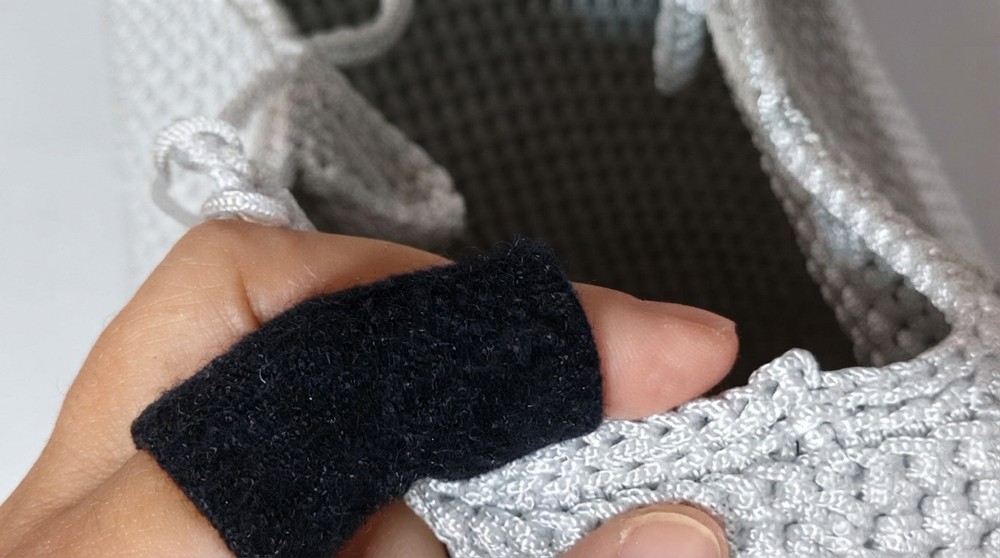
- Insert the magnetic button backing sheets by crocheting around the slotted spaces.
- Secure the panel to the bag opening.
- Final Magnetic Button Assembly: Insert the magnetic buttons into the backing and secure them by bending the tabs to hold the position firmly.
IV. D-Rings and Strap Attachments
D-Ring Attachments (on Bag Sides)
- Locate the Placement: Measure evenly and mark points for D-ring placement on either side of the bag, ensuring symmetry.
- Crochet to Secure: Work 5 SC tightly around each D-ring to anchor it to the bag opening.
- Reinforce: Crochet additional rows for extra durability, as D-rings will support the shoulder strap.
V. Crochet Handles & Shoulder Strap
Chain Handles
- Foundation for Handles:
- Begin by chaining 40 for each handle.
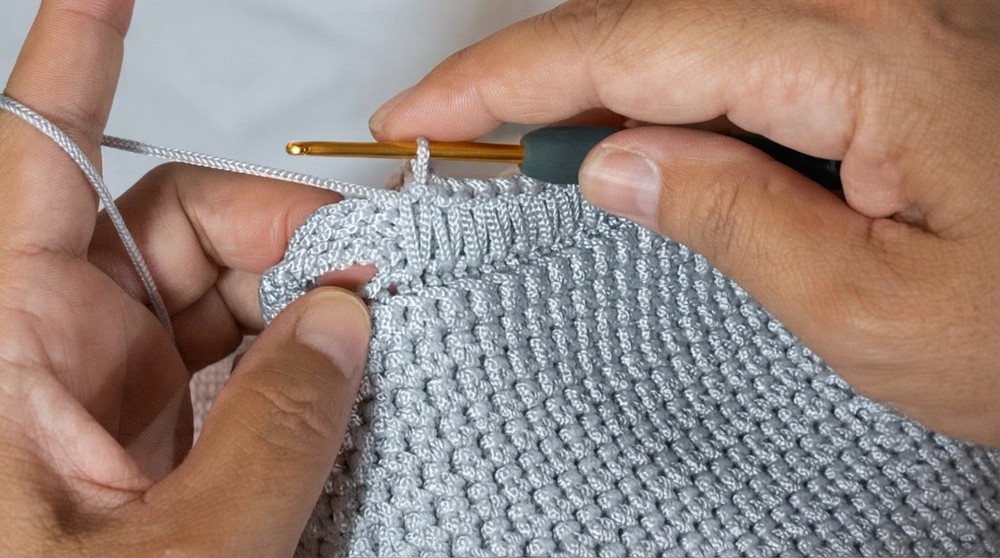
- Connect the ends of the chain to the marked points on the bag edges using SC stitches.
- Stability: Work 2 additional rows of SC over the chain to form sturdy, rounded handles.
Shoulder Strap Construction
- Begin by Ch 1, then work SC across 4 stitches, turning at the end of each row.
- Continue until the strap reaches your desired length (80–90 cm).
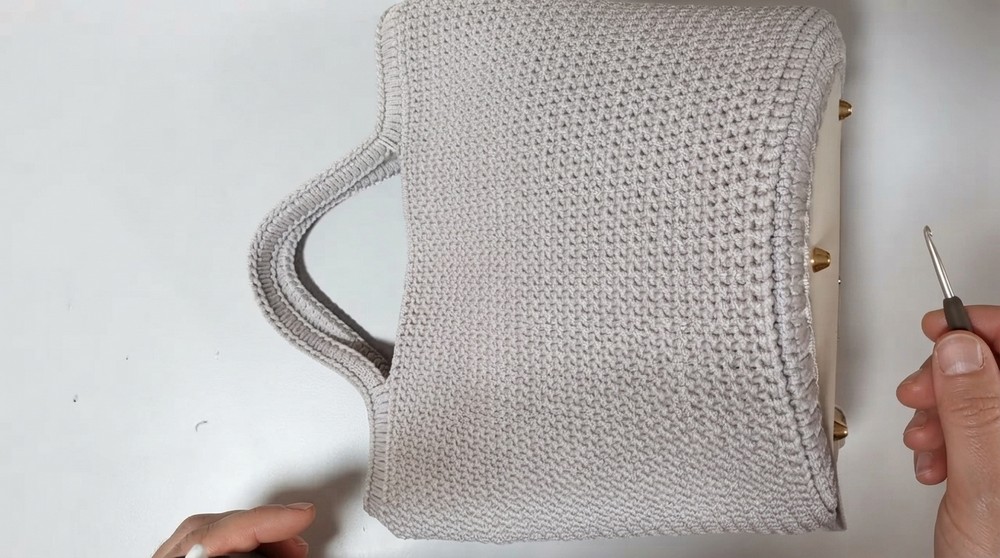
- Attach one clasp to each end of the strap. Secure straps to the D-rings on the bag sides.
VI. Final Edging
- Work 4 rows of Slip Stitch (C) around the bag opening for a clean, polished look.
- Ensure that stitching is tight around the opening as this creates structure and prevents overstretching with use.
Assembly
- Attach Handles: Securely attach the crocheted handles by sewing the ends to the pre-marked locations using a needle and matching thread or by crocheting through end stitches.
- Attach Shoulder Strap: Use the clasps at both ends of the strap and connect them to the D-rings on the bag sides.
- Closure Check: Ensure the magnetic button closes the bag neatly and is firmly stationed.
Conclusion
This two-in-one crochet bag blends durability and functionality with a stylish crocheted design. Featuring a textured body, detachable shoulder strap, and magnetic button closure, this bag is practical for everyday use or as a decorative accessory. With customization options like straps and handles, you can adapt this design to suit your needs.