Free Crochet Mushroom Amigurumi Pattern For Beginners

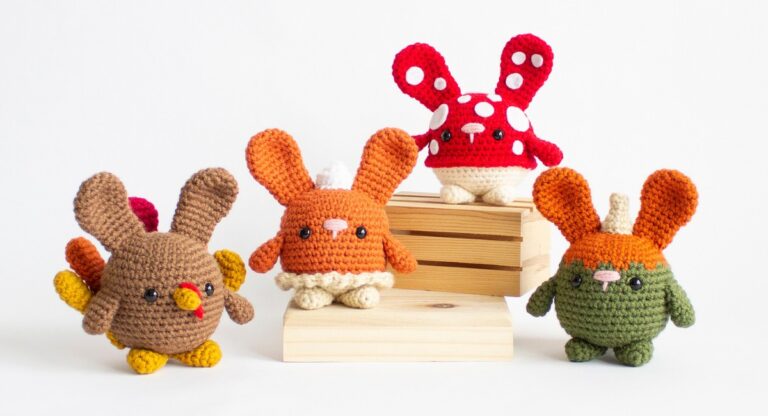
This Crochet Mushroom Amigurumi is simply adorable and the project is beginner-friendly perfect to add a whimsical touch to your garden. Unlike other mushroom amigurumi, this mushroom doesn’t have a face which the best use is to add to any outdoor or indoor space. Small in size, it’s not only great for decoration but can also be transformed into a playful rattle with just a few adjustments.
The pattern is straightforward, inviting crochet enthusiasts of all levels to try their hand. In this post, we gonna share with you a free crochet mushroom amigurumi pattern designed by a great professional. This crochet mushroom blends simplicity with creativity and we hope you will love crocheting and presenting it.

Supplies Needed
A handful of traditional amigurumi tools and specific supplies have been recommended by the designer of this crochet mushroom amigurumi pattern. You can also use them.
- The designer used a 2.5mm hook and 4ply cotton yarn, but you can use any yarn/hook combination you like.
- A small amount of red, cream, and beige yarn or three colours of your choice.
- Stuffing
- Yarn Needle
Another Note
The pattern is worked from the top down
Abbreviations Used (UK terms)
This list of crochet abbreviations will be helpful to you in understanding the meaning of each instruction. So, before you visit the pattern, make sure to read it:
- dc – double crochet (US sc)
- inc–Increase
- dec – decrease, I like to use an invisible decrease
- htc – half treble crochet (US hdc)
Crochet Mushroom Amigurumi
This crochet mushroom pattern is a way to introduce a bit of whimsy into your crocheting. Out of a bundle of complex patterns, we have dug out this easy-free crochet mushroom amigurumi pattern that you can easily follow. It can serve as adorable garden decorations, enchanting playroom accessories, or unique home decor elements. So, let’s dive into learning from this pattern for beginners.

- Round 1: Starting in red (or colour of your choice) work 6dc in magic ring (6)
- Round 2: Inc around (12)
- Round 3: 1dc, ine x 6 (18)
- Round 4: de around (18)
- Round 5: 2dc, inc x 6 (24)
- Round 6: de around (24)
- Round 7: 3dc, inc x 6 (30)
- Round 8: 4dc, inc x 6 (36
- Round 9: 5dc, inc x 6 (42)
- Round 10: 6dc, inc x 6 (48)
- Round 11: 7dc, inc x 6 (54)
- Round 12: 8dc, inc x 6 (60)
- Round 13: 9dc, inc x 6 (66)
- Round 14: 10dc, inc x 6 (72)
- Round 15-19: dc around (72) 5 rounds
- Round 20: 10dc, dec x 6 (66)
- Round 21: 9dc, dec x 6 (60)
- Round 22: dc around in back loops only, change to beige in last stitch (60)
- At this point I sew on my cream spots, making as many as you like:
- Small spot: work 6de in magic ring (6)
- Large spot: work 6de in magic ring (6) and then inc in all (12)
- Round 23: 8dc, dec x 6 (54)
- Round 24: 7dc, dec x 6 (48)
- Round 25: 6dc, dec x 6 (42)
- Round 26: 5dc, dec x 6 (36)
- Round 27: 4dc, dec x 6 (30)
- Round 28: 3dc, dec x 6 (24)
- Round 29: 2dc, dec x 6 (18)
- At this point, stuff the top part of the toadstool firmly, and then continue to stuff as you go.
- Round 30-34: dc around (18) 5 rounds
- Round 35: 2dc, inc x 6 (24)
- Round 36-38: dc around (24) 3 rounds
- Round 39: 3dc, dec x 6 (30)
- Round 40-42: dc around (30) 3 rounds
- Pound 43: 3dc, dec x 6 (24)
- Round 44: de around (24)
- Round 45: dc around (24)
- Round 46: 2 dc, dec x 6 (18)
- Round 47: 1dc, dec x 6 (12)
- Round 48: dec around x 6 (6)
- Sew around to close
Frill
Attach red yarn in the first of the front loops in round 22, chain 2 (counts as 1 htc) 3htc in the same stitch and then 4htc in each stitch around and join to the starting chain 2.


