Learn To Crochet Simple Bag with Free Pattern + Easy Tutorial
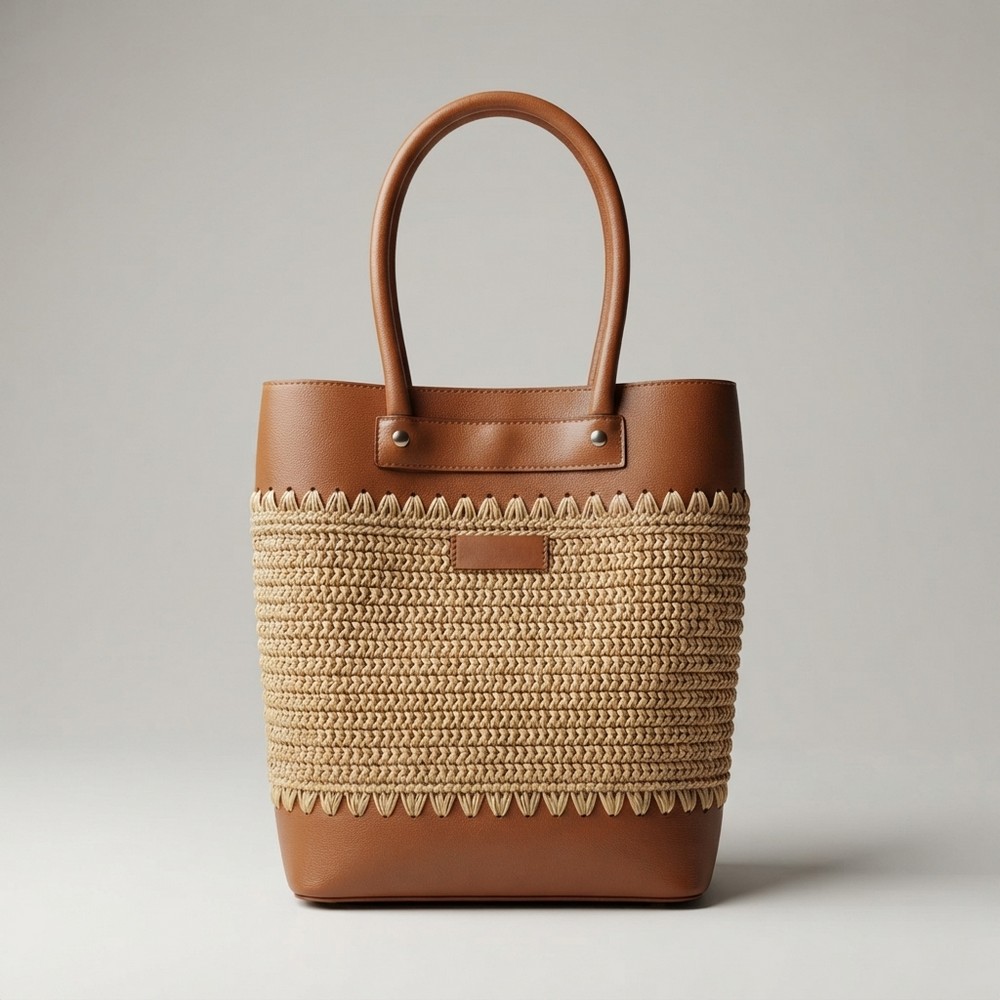
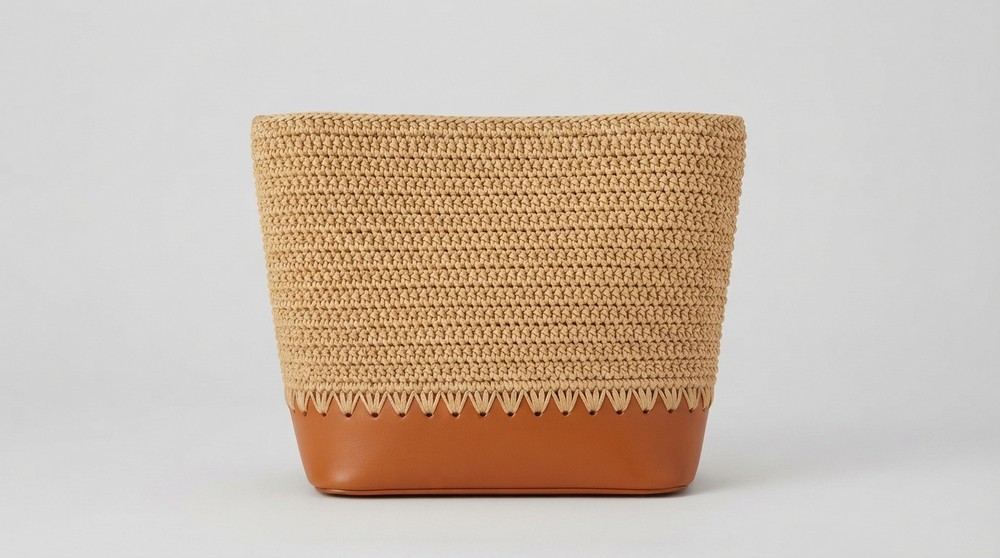
Carry a little handmade style into your day with the Free Crochet Simple Bag Pattern for a tan tote with brown trim and long handles you’ll reach for often.
Most weekday bags have to go with whatever you pull out of the closet that morning. The Free Crochet Simple Bag Pattern suits that job with a tan center, warm brown trim, and two long handles. It has the upright look of a classic tote, so it feels as natural with a work shirt as it does with a plain tee and jeans.
Everyday Free Crochet Simple Bag Pattern With Brown Trim
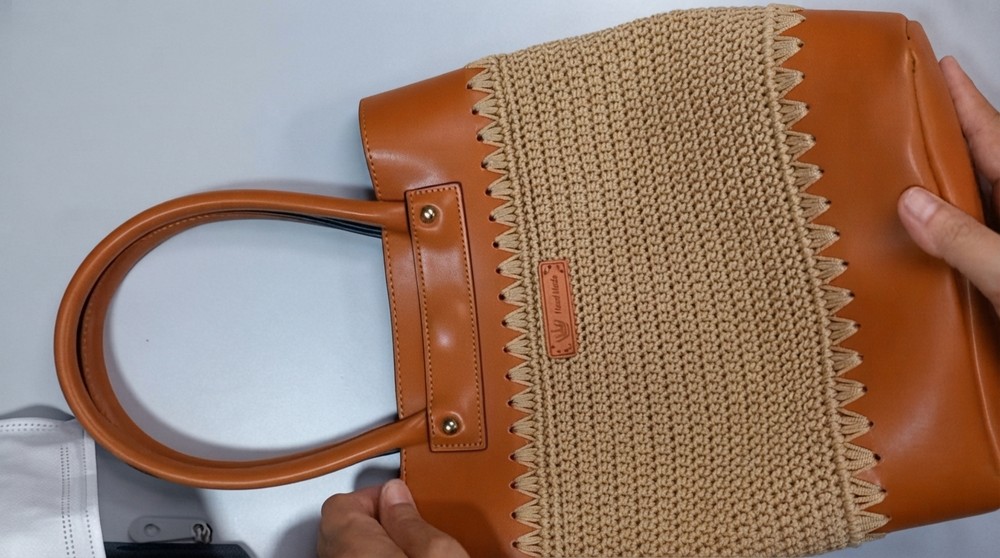
Look along the top and bottom of the crochet panel and you’ll see little pointed stitches where the tan section meets the smooth brown bands. From a few feet away, those joins look like a fine border. Up close, you can see how the points break up the straight rows across the middle. The light stitches also stand out against the darker base, even though the whole bag stays within the same warm range of colors.
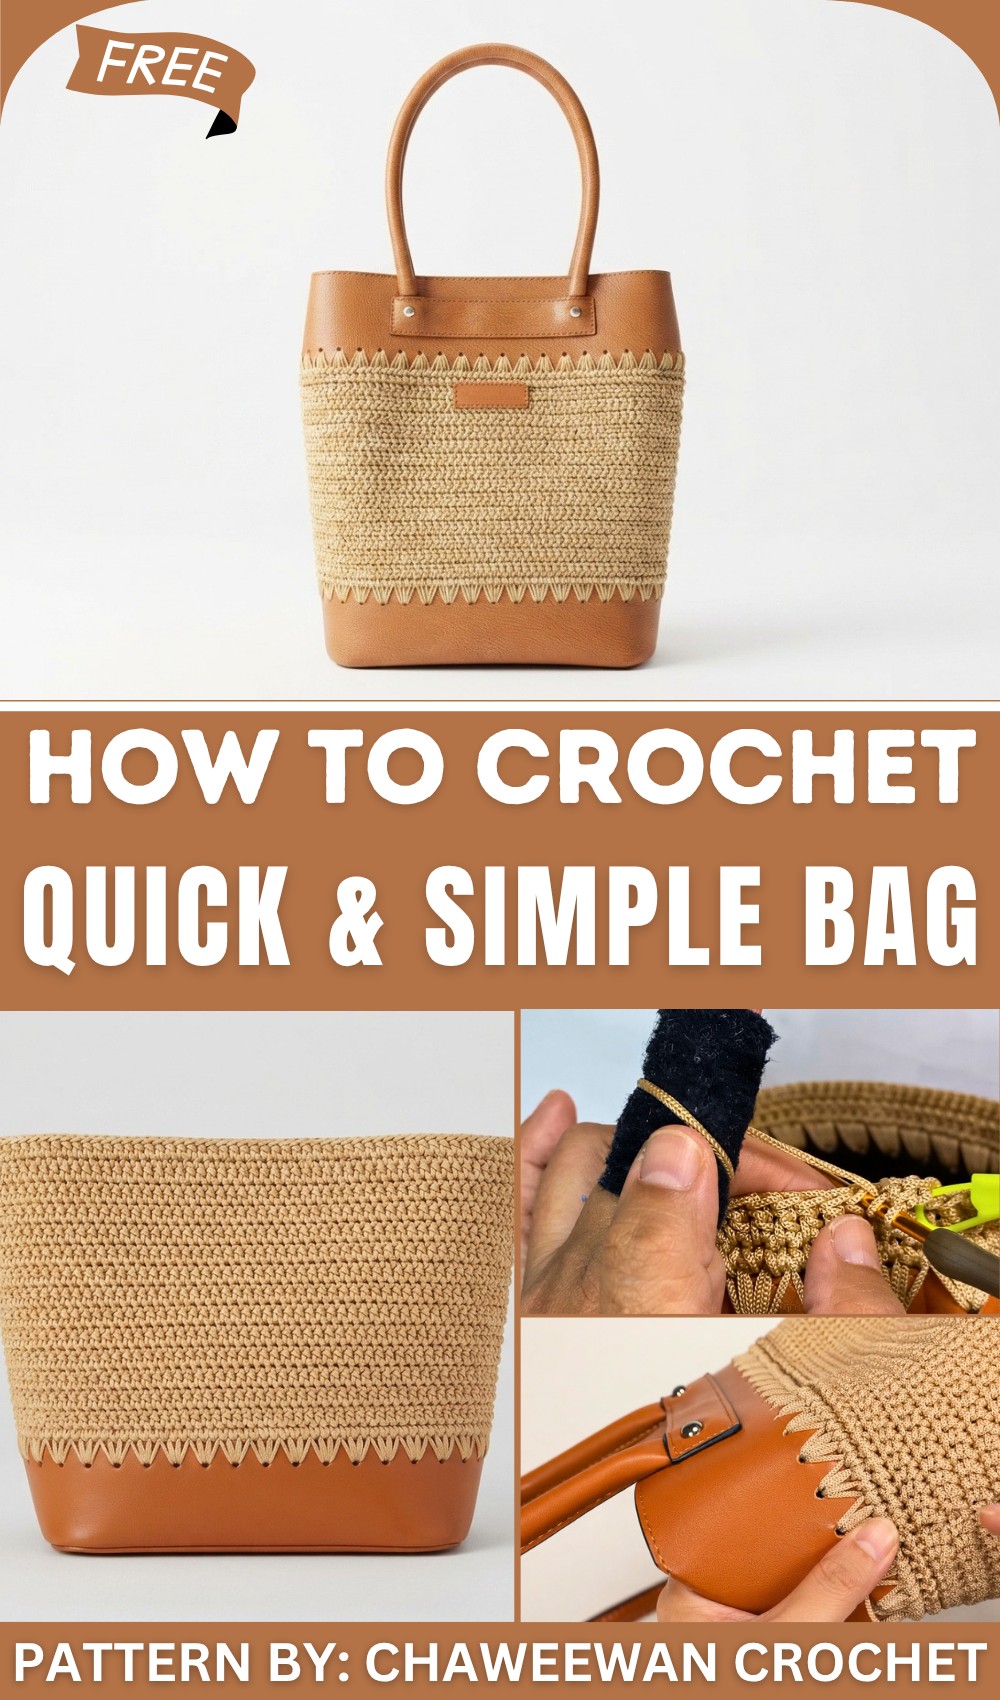
Its shape fits an ordinary day out. Slip a small notebook and card case inside for a morning appointment, or use it for a trip to the post office when you only need a few things. The long handles leave plenty of room for a comfortable grip, and the brown trim pairs easily with shoes or a belt you already own. It’s the sort of tote that earns a regular spot by the front door.

About the Designer
Chaweewan Crochet shares bag projects that pair crochet with practical finishing details. The simple tote shows that approach through its stitched center and smooth brown trim. It’s a useful starting point for readers who want to see how a straightforward set of rows can fit into a familiar handbag shape.

Crochet Paracord Bag with Pre-Punched Base
This pattern describes how to crochet a durable paracord bag using a pre-punched base. The process involves creating the bag body, constructing the border, and attaching the border to the body. Work row by row to achieve a sturdy and visually appealing result. This project is ideal for those looking to expand their skills in working with paracord while creating a practical accessory.
Skill Level
Intermediate – This pattern is suitable for crocheters who are comfortable working in rounds, using single and double crochet stitches, and joining sections for the final assembly.
Materials
- Cord: 1.8 mm paracord (available in over 70 colors). You will also need a different-colored cord for the starting and finishing demonstration.
- Pre-Punched Bag Base: The project requires a base with pre-drilled holes for ease of weaving. The video provides approximate measurements of the base.
- Hook: Size 4/0 crochet hook.
- Additional Materials:
- Scissors.
- Tapestry needle (for securing ends).
- Safety pins for marking points.
- Magnetic closure (optional).
Measurements
The following measurements are stated in the video, though sizes may vary slightly depending on the hand tension and paracord used:
- Bag Bottom Width: 10–10.5 cm.
- Bag Bottom Length: 22 cm.
- Bag Body Width: Approx. 27 cm.
- Bag Height: 27–28 cm.
- Shoulder Strap Length: 16 cm.
- Hole Section Height from Bottom Edge: 5.5 cm.
Stitch Abbreviations
- Ch: Chain
- SC: Single Crochet
- DC: Double Crochet
- SL: Slip Stitch
- St: Stitch
- Sp: Space
- FO: Fasten Off
Useful Tips
- Heat-Sealing: Use a flame to finish the ends of paracord, ensuring they don’t fray. Handle heat-sealing with caution and adult supervision.
- Stitch Uniformity: Maintain consistent tension throughout the project to keep your stitches even and your bag structurally sound.
- Use of Markers: Use safety pins or stitch markers as indicated to mark starting points for rounds and ensure clean joins.
- Bag Assembly: Align the frame and body carefully and attach through the upper loops for a stable and visually neat finish.
Pattern Instructions
I. Bag Body
Round 1 – Attach Cord to Base
- Instructions:
- Take the pre-punched bag bottom, starting at the side channel.
- Insert the crochet hook into the first hole. Pull the paracord through.
- Ch 2 (counts as the first stitch).
- Work 3 SC into the indicated hole.
- Move to the next hole and work 3 SC.
- Continue around the bottom following the pre-punched holes.
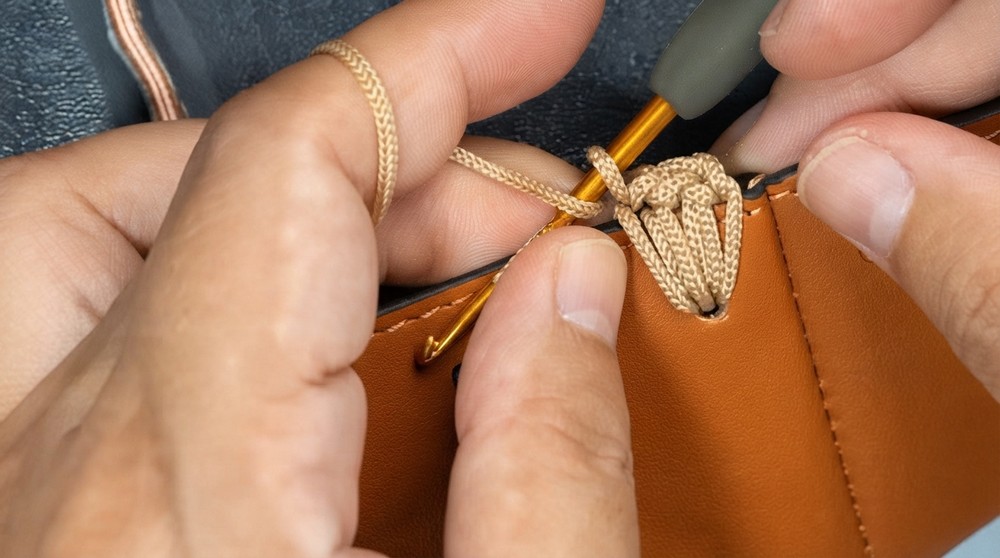
Round 2 – Single Crochet Round
- Instructions:
- Continue crocheting around the base using SC stitches.
- Follow the existing stitch loops from the previous round.
- Work SCs consistently until reaching the last stitch.
- Mark the first stitch of the round.
- Finish the round.
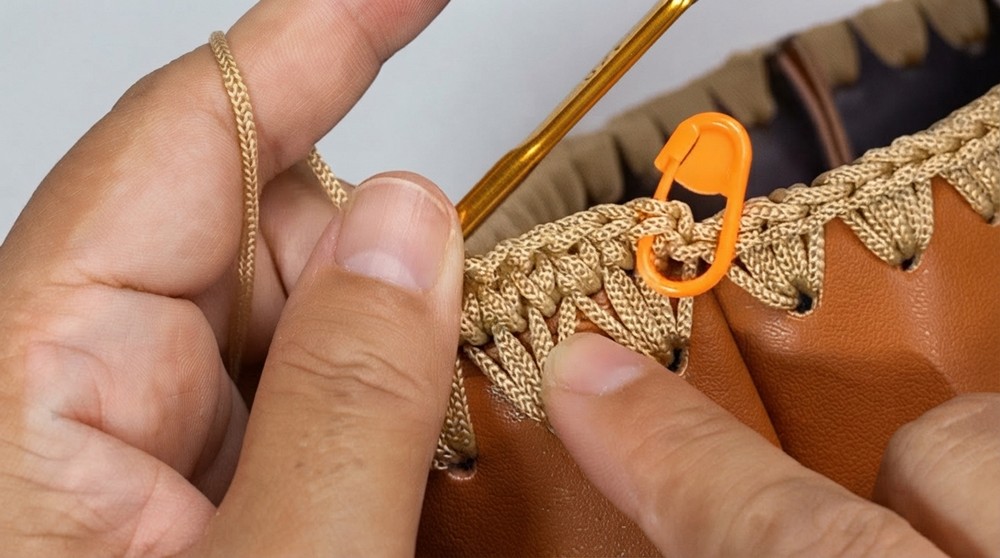
Important Note: The total stitch count for this round is not explicitly specified in the transcription; verify visually during crocheting for accuracy.
Round 3 – Double Crochet Round
- Instructions:
- Ch 2 to begin the round (counts as the first stitch).
- Mark the second chain for reference.
- Work DC into the next stitch.
- Continue making DC stitches across the row.
- When finishing the round, join at the second chain.
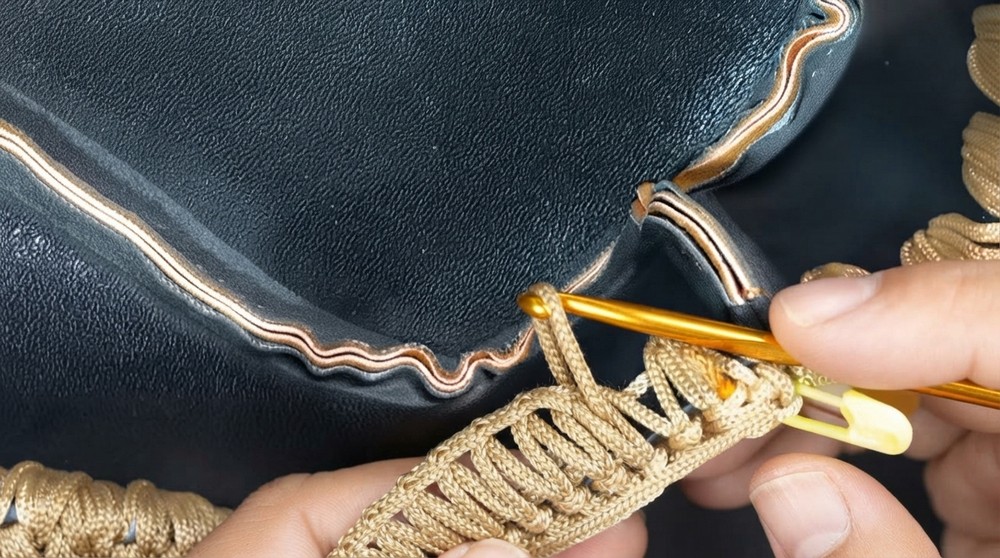
Round 4 and Onward – Build the Bag Height
- Instructions:
- Start a new round with Ch 2.
- Mark the second chain for precise joining later.
- Work DC consistently across the round.
- Join at the marked chain.
- Repeat additional rounds of DC stitches, building height.
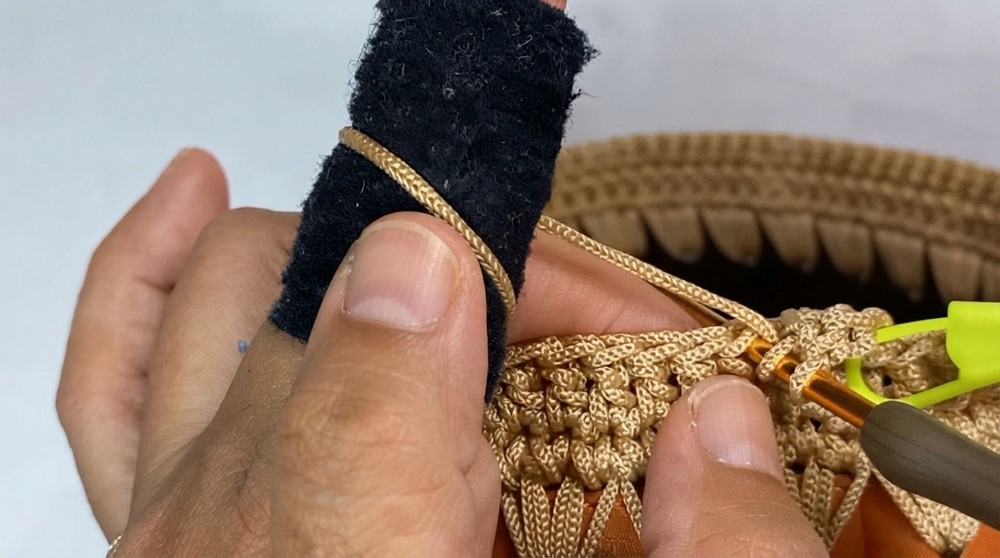
Important Note: Continue making rounds until reaching the desired bag height (~27–28 cm).
Final Round – Finishing the Body
- Instructions:
- Cut the paracord, leaving a long tail.
- Use a needle to hide the cord end:
- Pass the needle through the top stitches of the last row.
- Pull the cord until the finishing loop matches the surrounding stitches.
- Tuck the remaining cord inside the crochet work and trim excess.
- Heat-seal the cord ends carefully to prevent fraying.
II. Bag Border
Round 1 – Single Crochet Around the Frame
- Instructions:
- Take the bag frame.
- Start crocheting along one side. Ch 2 to begin the foundation.
- Insert the crochet hook into the first opening of the frame and pull the cord through.
- Work 3 SC stitches into the same opening.
- Move to the next opening and work 3 SC stitches.
- Repeat this sequence around the entire frame.
Round 2 – Crochet Between the Stitch Posts
- Instructions:
- Use SC stitches for this round.
- Instead of crocheting into the loops, insert the hook between the vertical stitch posts of the previous round.
- Work a SC stitch between each pair of posts and continue around the frame.
- The instructor mentions that this technique adds stability to the perimeter of the bag.

Finish the Border
- Instructions:
- Complete the second border round.
- Leave a long cord tail for joining the border to the bag body.
III. Assembly
Attach the Border to the Bag Body
- Instructions:
- Place the crocheted frame on top of the bag body, aligning openings with stitches.
- Start at a corner of the opening.
- Insert a needle into the top line of the frame, and then into the upper loop of the bag body stitching.
- Pull the cord through and move to the next opening.
- Join the frame to the bag body following this method, ensuring even spacing around the opening.
Final Finishing
- Instructions:
- Finish the joining stitch and pull the cord to secure.
- Hide the remaining rope ends inside the bag using a needle and trim excess.
- Heat-seal the ends for a neat, durable finish. Handle the sealing process carefully.
Conclusion
This crocheted paracord bag is a perfect project for practical and stylish storage solutions. The pre-punched base combined with sturdy paracord ensures durability and ease of construction, making it ideal for beginners or those new to rope crochet. Customize this design by choosing cords in various colors or adding decorative elements like handmade tags or embellishments during assembly. The finished product is versatile, unique, and ready for everyday use.