How to Crochet Wave Stitch Bag (Free Pattern)
Boost casual elegance naturally by incorporating this free crochet wave stitch bag pattern that blends flowing texture with practical handbag appeal.
If you love making stylish accessories that stand out, you’ll adore creating a bag with a beautiful, modern texture. This project is a fantastic way to learn a unique stitch while making something both pretty and practical. You can find all the guidance you need in a wonderful Free crochet Wave Stitch Bag pattern video tutorial offered by a creative maker on the Rajutan Whita channel. It’s a fun and rewarding project that results in a gorgeous handmade purse.
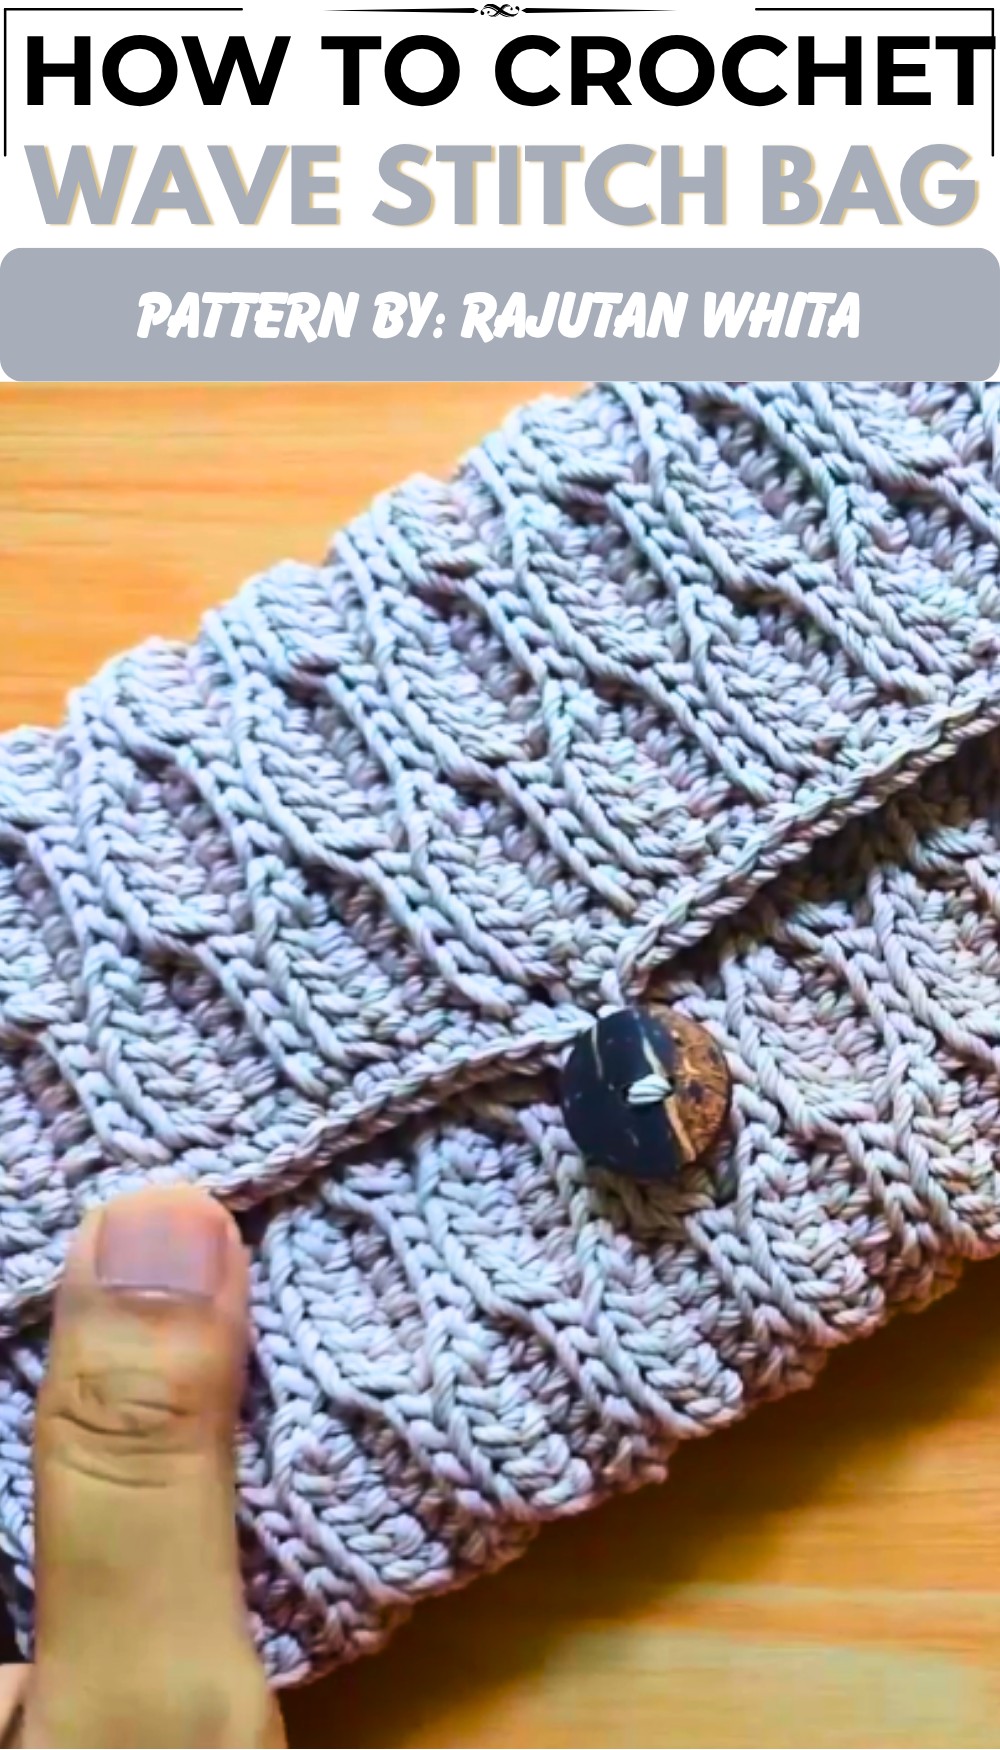
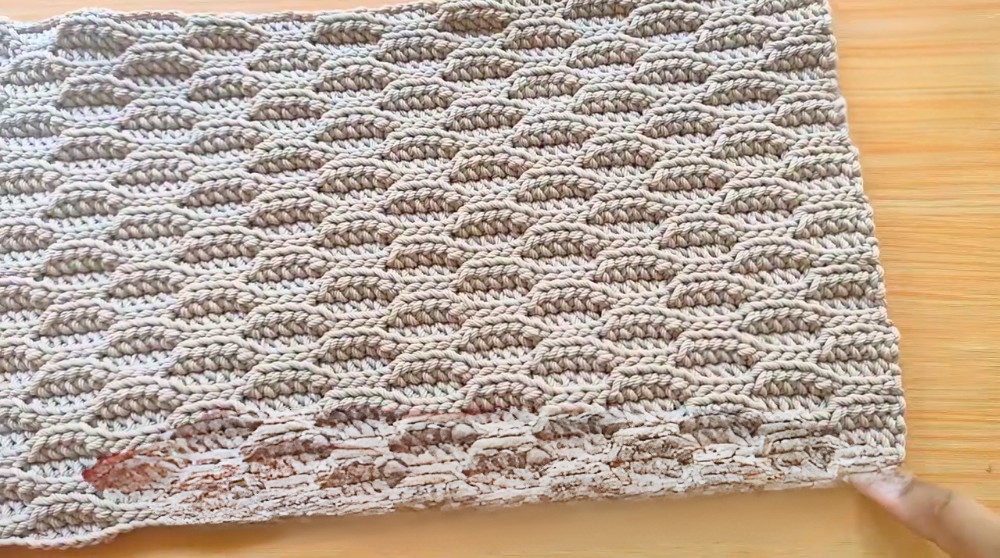
The true star of this bag is its stunning visual appeal. The wave stitch creates a rich, ribbed texture with a beautiful pattern of flowing lines that look like gentle waves. This design gives the fabric a lovely, almost three-dimensional effect that is both elegant and eye-catching. The stitch is also dense and sturdy, resulting in a firm fabric that holds its shape perfectly. This gives the finished bag a high-quality, professional look that is sure to get compliments.
Free Crochet Wave Stitch Bag Pattern for Everyday Carry
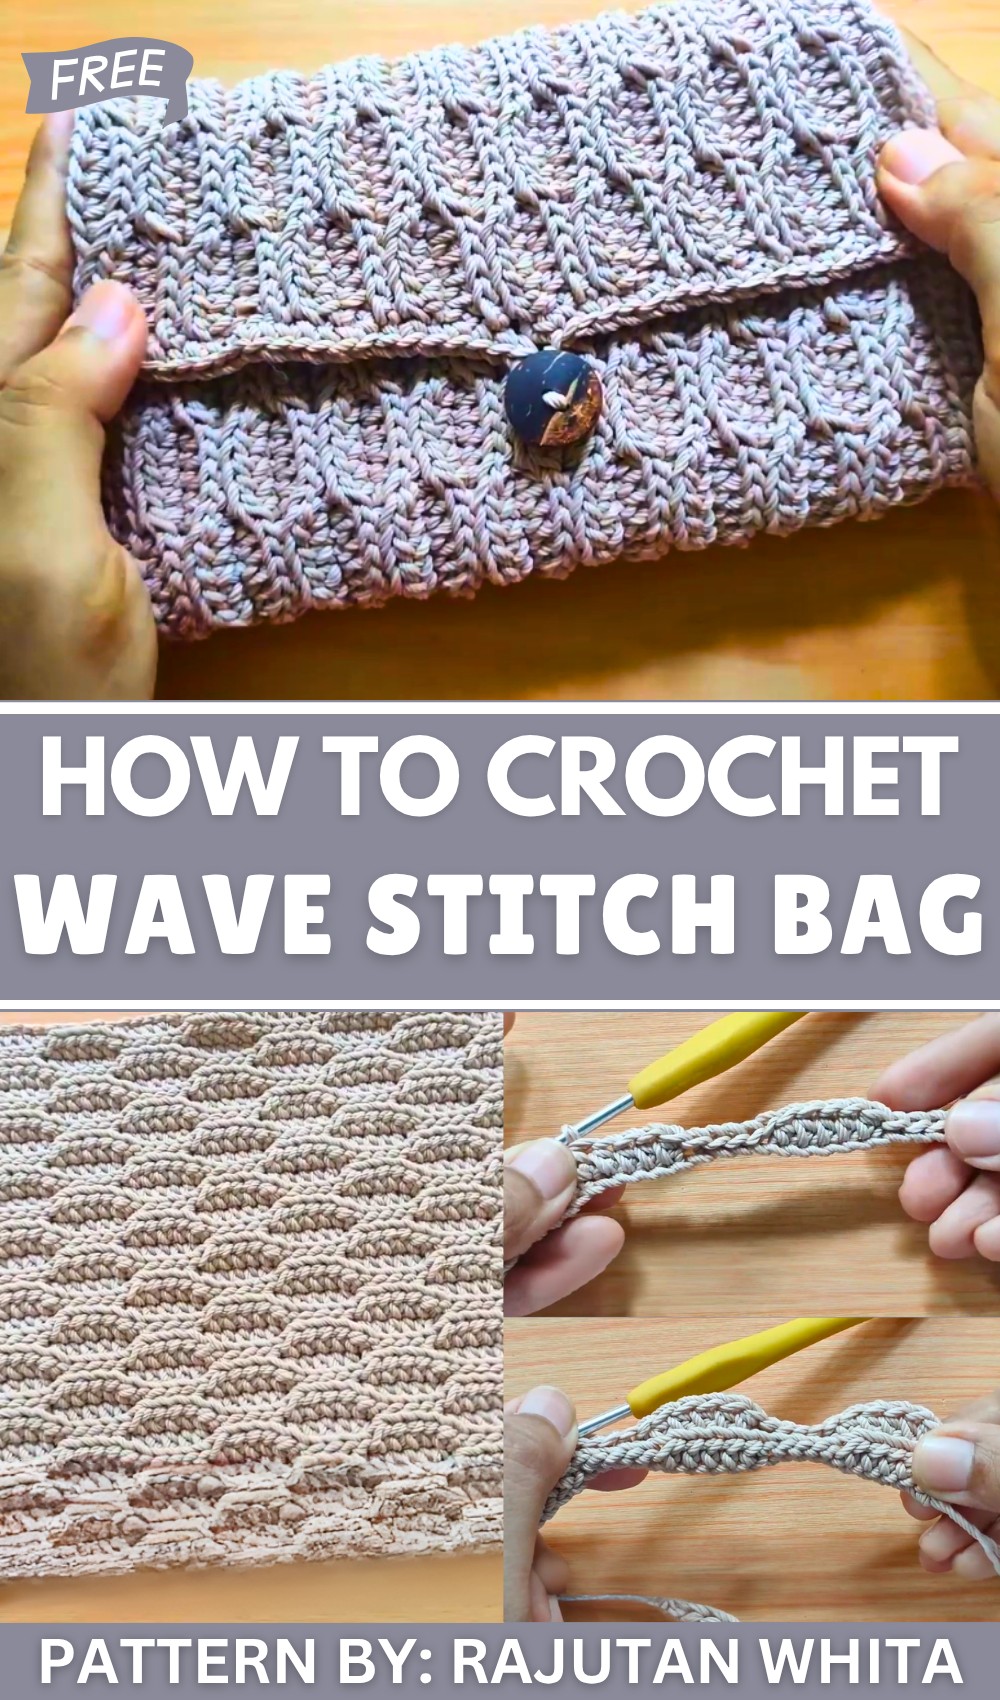
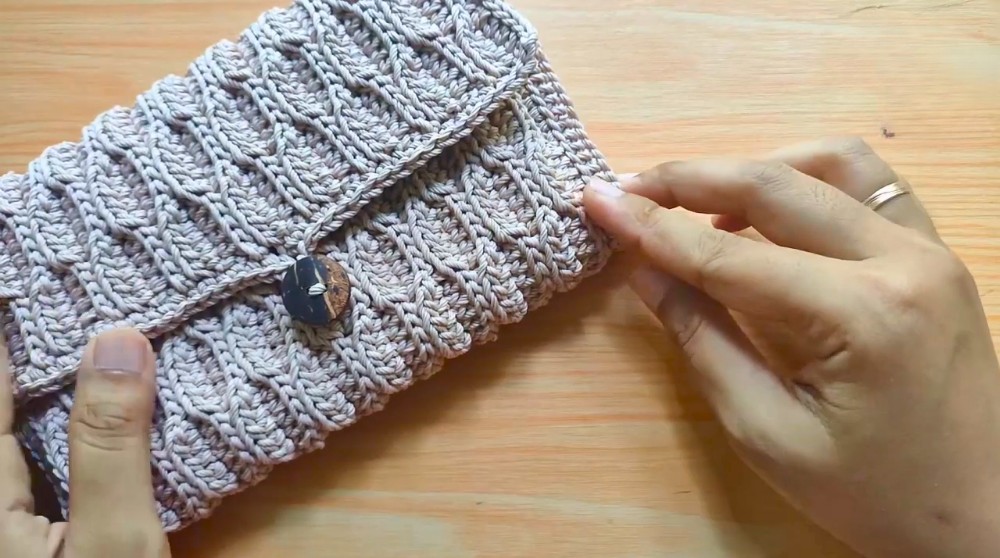
This project creates a chic, clutch-style bag that is perfect for carrying your essentials. It’s just the right size for your phone, keys, cards, and a little makeup, making it an ideal accessory for a night out or a special occasion. Because the wave stitch creates such a solid material, you don’t even need to add a fabric lining. This makes it a simpler project to finish while still being incredibly durable and practical for everyday use.
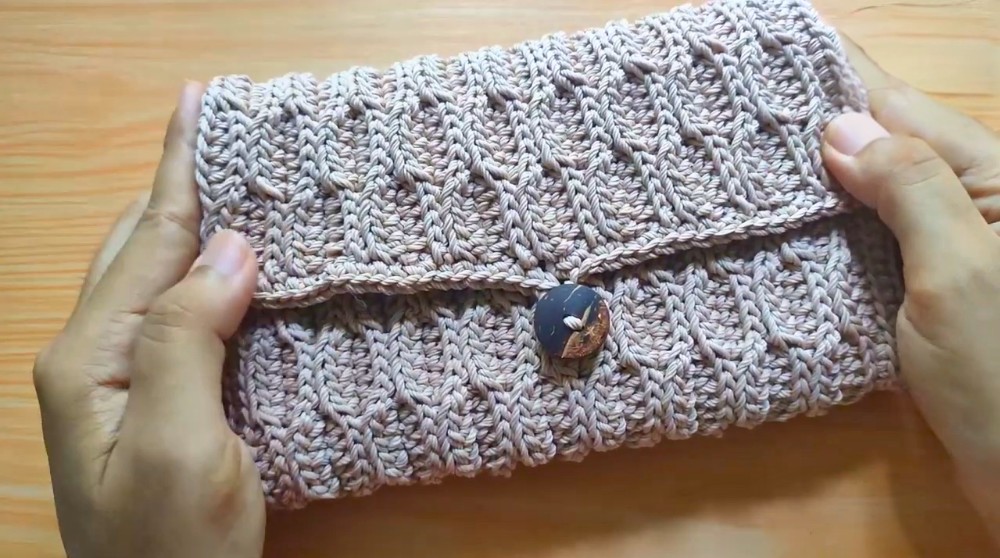
Creating this bag is a wonderful experience, and it makes a fantastic gift for friends or family. You can easily customize it by choosing their favorite color, turning it into a thoughtful, personal present they will treasure. It’s a great way to make a designer-style accessory with your own hands, showing off your skills while creating something truly special and useful that anyone would be thrilled to receive.
Wave Stitch Wallet Crochet Pattern
This pattern guides you through crafting a textured and stylish Wave Stitch Wallet using polyester yarn and a 3.5 mm crochet hook. The wallet features a rich wave-like texture created with alternating slip stitches and half-double crochets worked in the back loop only, complemented by elegant oval side panels. This project balances rustic charm—especially when worked with natural fibers such as rami or papyrus yarn—and refined durability, suitable for everyday use.
Pattern Highlights
- Textured Wave Stitch: Achieved by alternating slip stitches and half-double crochets worked exclusively into back loops.
- Versatile Yarn Options: Polyester (size D30) for durability or natural fibers like rami or papyrus for a rustic aesthetic.
- Integrated Button Loop: Includes a central 10-chain loop on the final single crochet row designed for a coconut shell (batok) button closure.
- Shaped Oval Side Panels: Two oval panels constructed with increases to add purse-like depth and volume.
- Hand-Sewn Assembly: Side panels are joined precisely with yarn and tapestry needle for a polished finish.
- Unique Batok Button Detail: Adds authenticity and functional flair.
Notes
- The foundation chain must be a multiple of 5 to ensure the correct implementation of the wave pattern.
- The back loop only (BLO) technique is essential to the distinctive wave texture and must be consistently followed.
- Shifting stitch placement every two rows offsets the waves to create the flowing ripple effect.
- The 10-chain loop in the finishing single crochet row is key for fitting the batok button securely.
- Oval side panels incorporate strategic increases for rounded shaping; both sides should match for symmetry.
- Assembly by hand using yarn and tapestry needle ensures strong, durable seams that maintain the wallet’s structure.
Skill Level
Intermediate crochet skill level recommended. Familiarity with chain stitches, slip stitches, half-double crochets, working in back loops only, reading stitch changes across rows, and basic sewing is necessary.
Materials
- Yarn: Polyester yarn (size D30 recommended) or natural fibers such as rami or papyrus for rustic texture.
- Crochet Hook: 3.5 mm hook suitable for the yarn used.
- Tools: Stitch markers, scissors, tapestry needle for assembly.
- Closure: Coconut shell (batok) button for authentic finishing.
Measurements / Sizing
- Foundation Chain Length: 70 chains (plus 1 turning chain), adjustable in multiples of 5 depending on desired wallet width.
- Main Panel Size: Extends lengthwise by continuing the wave patterned rows until preferred depth is reached, finishing with a single crochet row incorporating the button loop.
- Side Panels: Two oval-shaped pieces worked from 25 chains with increases to shape the side gussets.
Gauge and Stitch Pattern
- Consistent tension is required to maintain the integrity of the wave texture.
- Gauge serves as a guide for size but is adaptable by modifying chain length or row counts.
- The repeating stitch pattern consists of blocks of 5 slip stitches and 5 half-double crochets, both worked into the back loops only, alternating every two rows to create the wave effect.
Stitch Abbreviations
| Abbreviation | Meaning |
|---|---|
| ch | Chain |
| sl st | Slip Stitch |
| hdc | Half Double Crochet |
| sc | Single Crochet |
| BLO | Back Loop Only (work in back loop of stitch) |
Special Stitches
- Back Loop Only (BLO): Insert hook into the back loop only of the stitch to create raised ridge effects enhancing textural depth.
- Button Loop: Created by chaining a specific number (10 chains here) within the finishing row to form a loop suitable for button closure.
Step-by-Step Crochet Pattern
Step 1: Foundation Chain
- Begin by creating a slip knot.
- Chain 70 stitches, ensuring the count is a multiple of 5 for pattern accuracy.
- Add 1 turning chain (counts as the first stitch in the first row).
Step 2: Row 1 – Establishing the Wave Pattern
- Work across the chain beginning in the second chain from hook:
- Work 5 slip stitches (sl st).
- Follow immediately with 5 half double crochets (hdc).
- Repeat this alternating sequence of 5 sl st + 5 hdc to the end of the row.
- This sets the base foundation wave stitch.
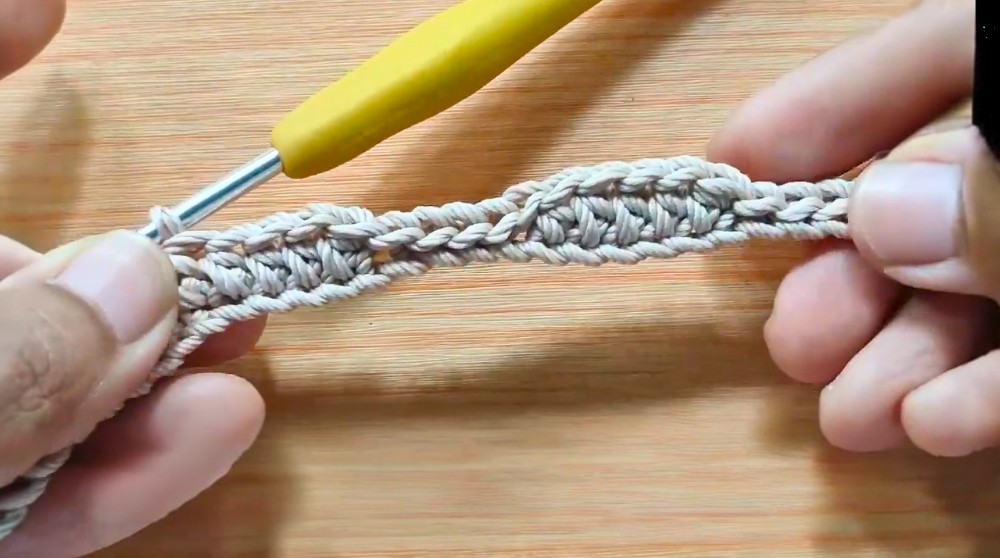
Step 3: Row 2 – Back Loop Only & Texture
- Chain 1 and turn your work.
- For the entire row, work into the back loop only (BLO):
- Work hdc stitches in the sections where you worked hdc in the previous row (now all in BLO).
- Work slip stitches (sl st) in the sections previously worked in slip stitch (also in BLO).
- This row initiates the textured wave appearance.
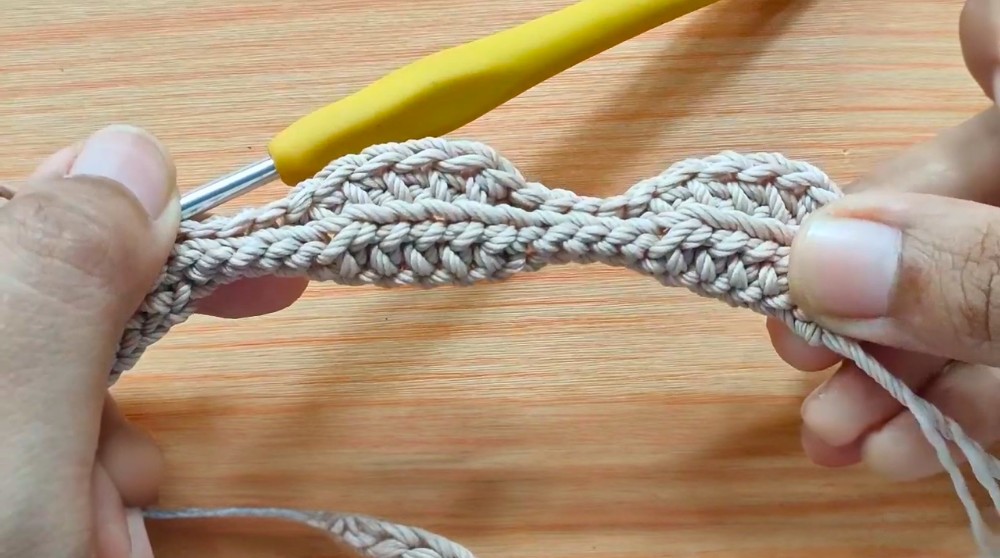
Step 4: Rows 3 and 4 – Continue the Wave Pattern
- Chain 1 and turn.
- For alternating rows:
- Switch your stitch placements—work hdc in the previous slip stitch sections and slip stitches in the previous hdc sections.
- Continue working all stitches into the back loop only (BLO).
- Repeat this alternating sequence for every two rows to build the characteristic wave pattern texture.
Step 5: Continue Until Desired Width
- Repeat the alternating stitch pattern (switching hdc and slip stitches every two rows) until your main wallet panel reaches your preferred width.
- Maintain working all stitches in BLO throughout.
- The fabric length is adaptable based on your intended wallet size.
Step 6: Final Row – Single Crochet and Button Loop
- When the panel has reached the desired width, work one last row of single crochet (sc) along the edge.
- Incorporate a 10-chain loop in the center of this row to serve as the button loop:
- Work single crochets evenly until the center.
- Chain 10, skip 10 stitches or space accordingly, then continue single crocheting until the end of the row.
- This loop will fit the batok button for secure closure.
Step 7: Crocheting the Side Panels
- Create two oval side panels to add depth to the wallet:
- Chain 25 stitches as the base.
- Work half double crochets (hdc) around the chain.
- Increase stitches gradually at both ends of the oval to form rounded corners and consistent width, ensuring an oval shape.
- Repeat for the second panel ensuring symmetry.
Step 8: Assembly
- Use yarn and a tapestry needle to stitch the two oval side panels to the edges of the main wave stitch panel.
- Employ stitch markers to keep edges aligned during sewing.
- Make sure seams are tight and even for structural integrity.
Step 9: Finishing Touch – Batok Button Attachment
- Sew a batok (coconut shell) button securely onto the front of the wallet aligned with the button loop.
- This natural material button adds rustic elegance and practical closure functionality.
- Weave in any loose yarn ends cleanly.
Assembly & Finished Size
- The wallet’s width is approximately determined by the foundation chain (typically 70 stitches), roughly 25–30 cm.
- Height is adjusted by the number of rows worked before the final single crochet row and button loop addition.
- Side gussets shaped from oval panels add about 4–5 cm depth, providing enough space for wallet contents.
- The finished piece is a sturdy, textured wallet that comfortably closes with a natural coconut shell button.
Conclusion
This Wave Stitch Wallet pattern merges texture and functionality with elegant ease. Utilizing a repeating wave stitch sequence worked in back loops only, the fabric features a visually appealing ripple effect combining both slip stitches and half double crochets in strategic alternation. The inclusion of oval side panels gives the wallet structural depth while preserving a lightweight yet durable feel.
Opting for polyester yarn ensures resilience and easy maintenance, while alternatives such as natural rami or papyrus yarn infuse the piece with rustic charm. The carefully designed 10-chain loop and accompanying batok button closure combine form and function flawlessly.
With clear, progressive instructions, this intermediate-level pattern is accessible to crocheters looking to refine their skills with unique stitch textures and assembly techniques. Completing this wallet will provide both a useful accessory and a rewarding craft achievement.