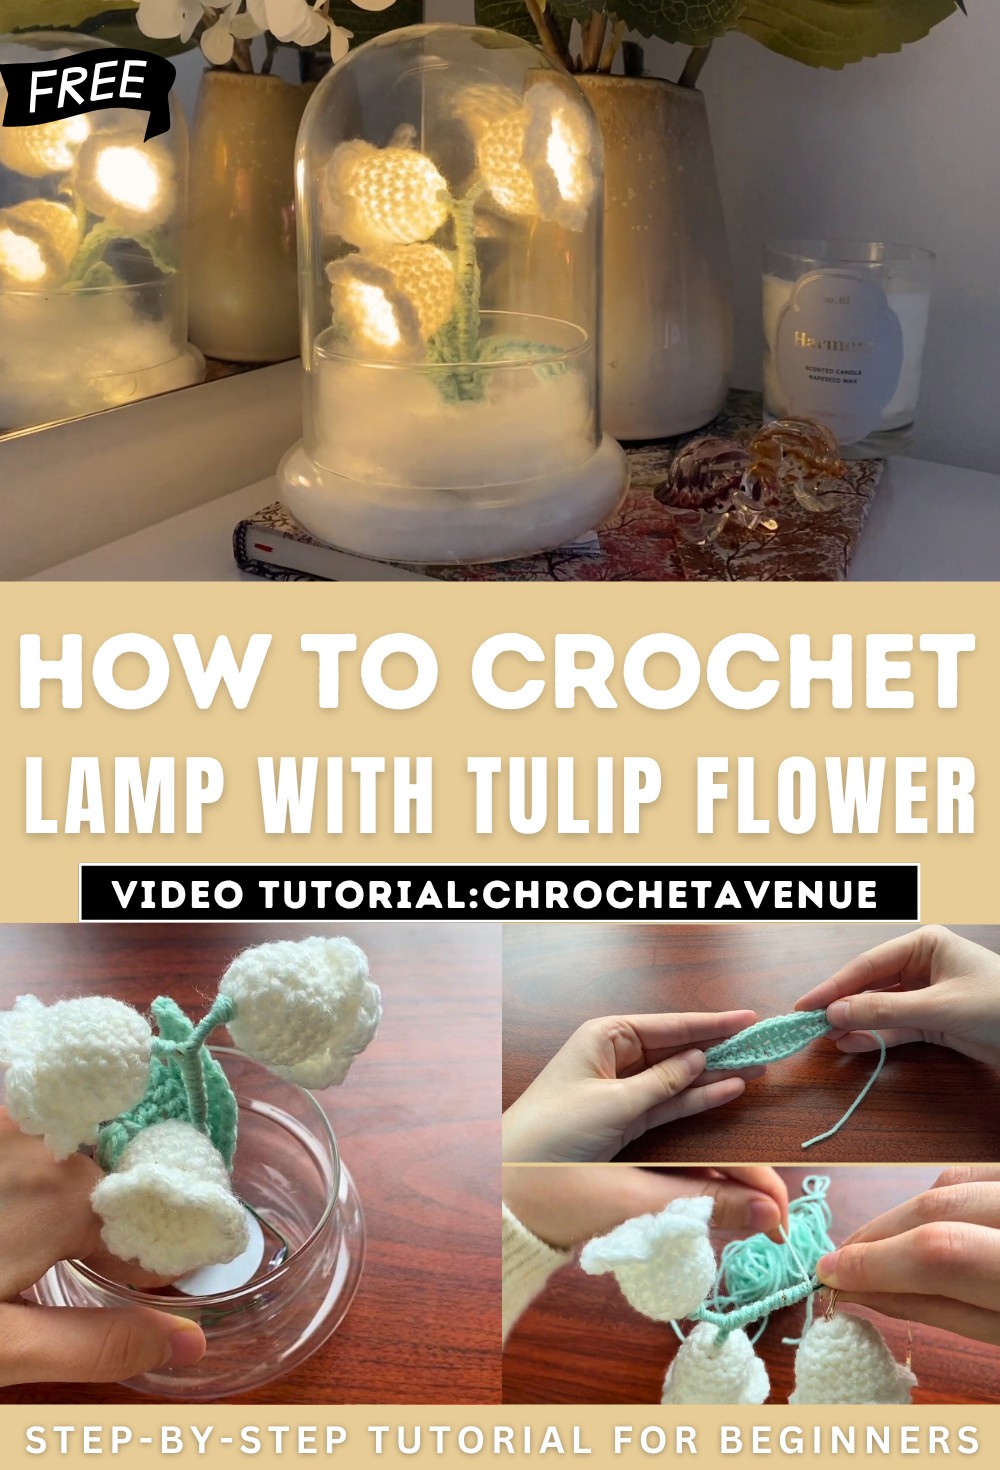
How to Make Lamp With Crochet Tulip Flower for Beginners
Learn how to crochet a stunning flower lamp using simple materials like yarn, a crochet hook, fairy lights, wadding, and a bell jar. The tutorial guides you step-by-step, covering leaf and flower creation techniques such as slip knots, chains, and magic rings. The lamp’s final assembly involves wrapping yarn around wire, arranging petals, and securing the design with glue. The finished result is a beautiful, glowing decoration that blends craftwork with creativity for any space.
Make a Lamp With a Crochet Tulip Tutorial
Introduction and Materials
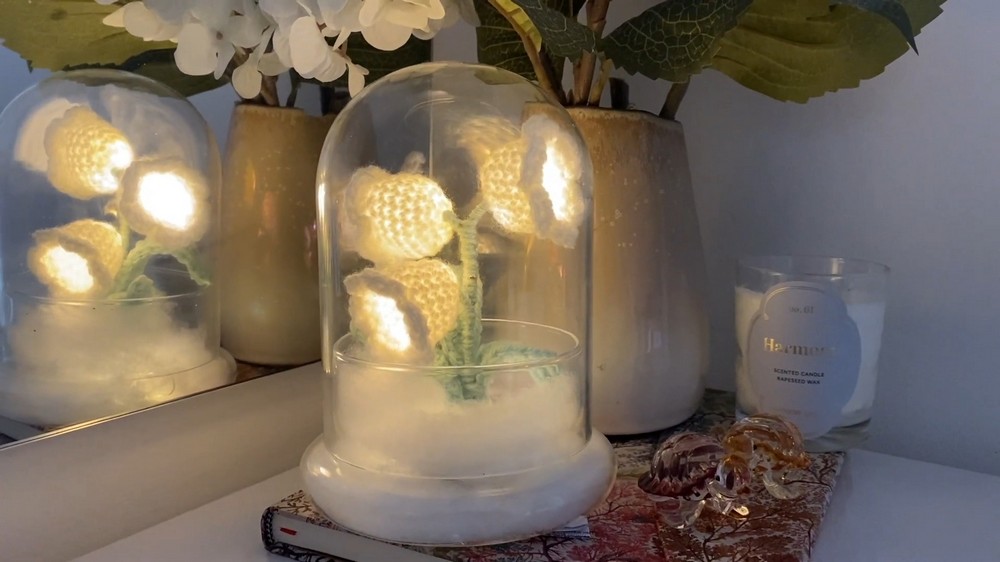
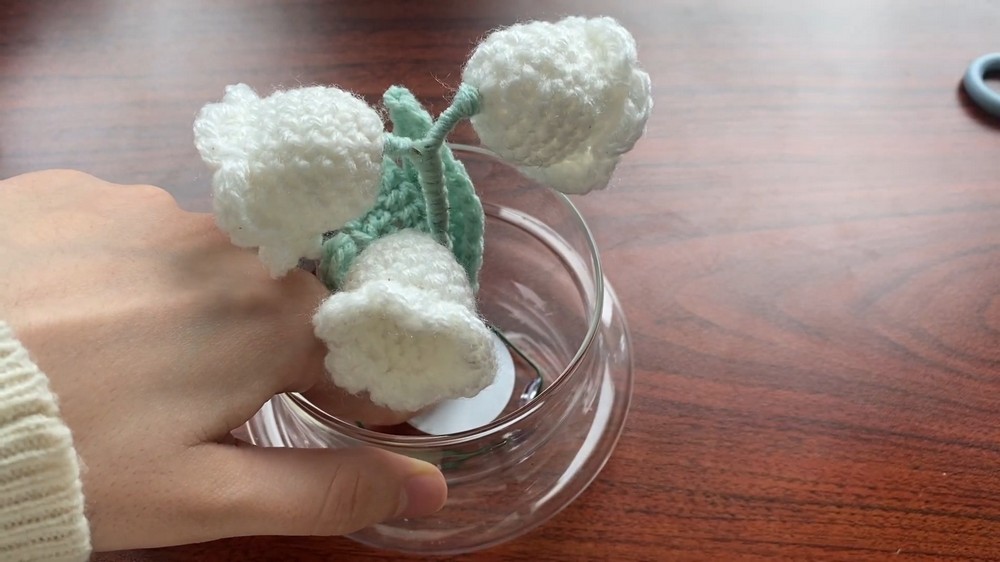
- The video tutorial demonstrates how to crochet a flower lamp encased in a bell jar.
- Required materials include:
- Hot glue gun
- Wire
- Green and white yarn
- 4 mm crochet hook
- Bell jar
- Bottle-shaped fairy light with a compact on/off switch.
- Wadding for filling the base of the lamp.
Making the Leaves
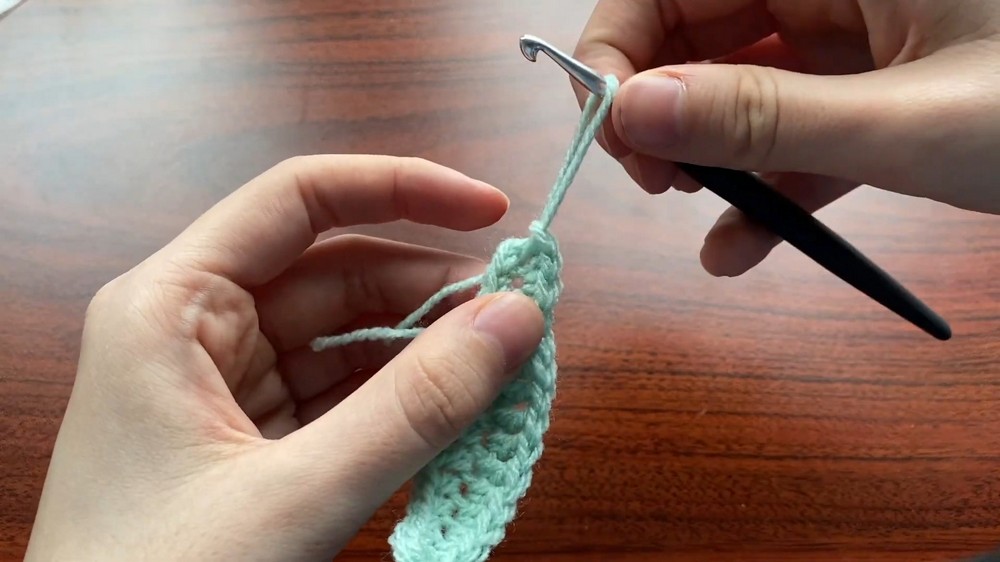
- The tutorial starts with crocheting the leaves.
- Steps to create the leaves:
- Begin with a slip knot and create a sequence of chains.
- Use single crochet, half double crochet, double crochet, and a combination of stitches to form the desired leaf shape.
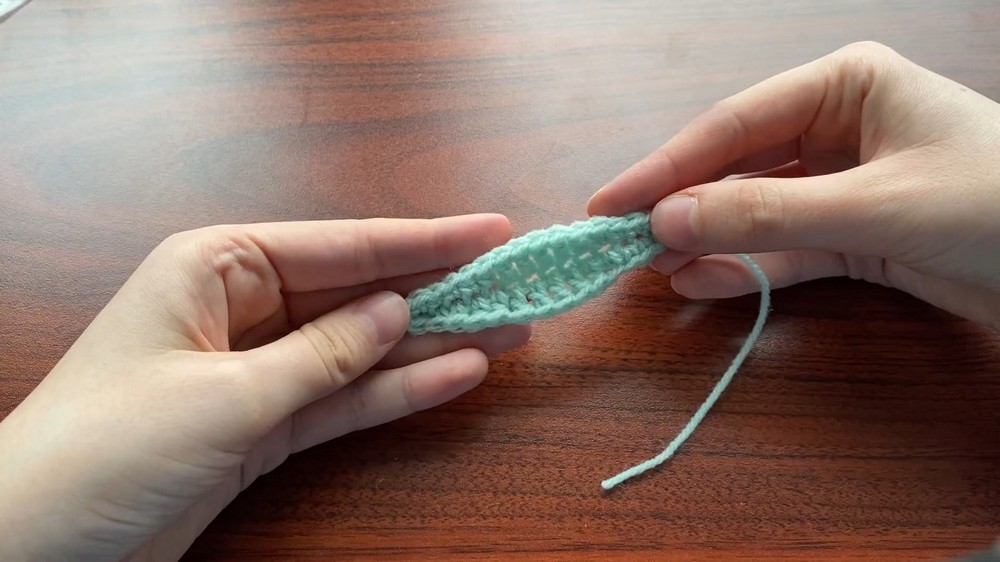
- Once one side of the leaf is completed, the process continues on the other side using mirrored stitching techniques.
- After finishing both sides of the leaf, the yarn is cut, leaving a small length for later assembly.
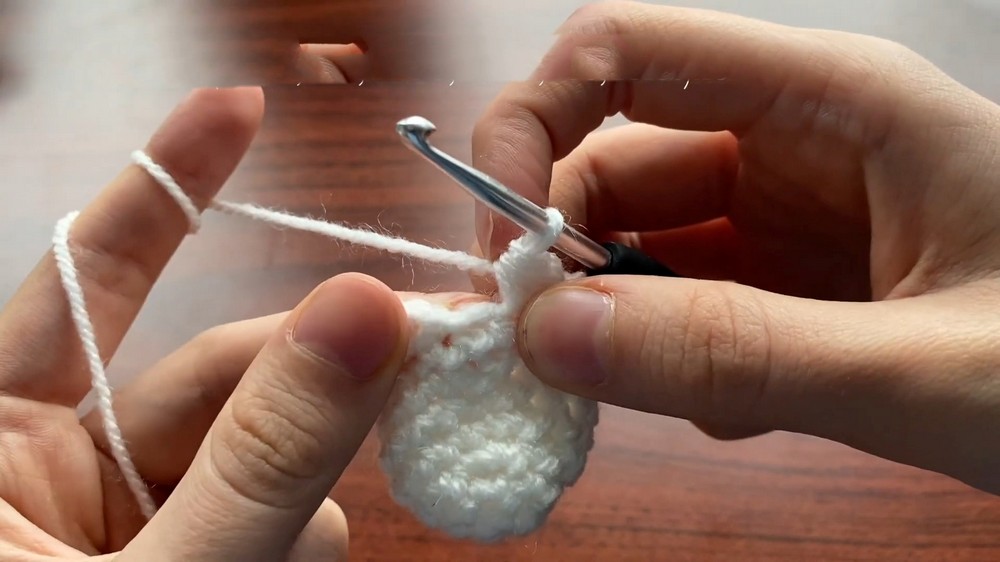
Making the Flower
- The next step is creating the floral component.
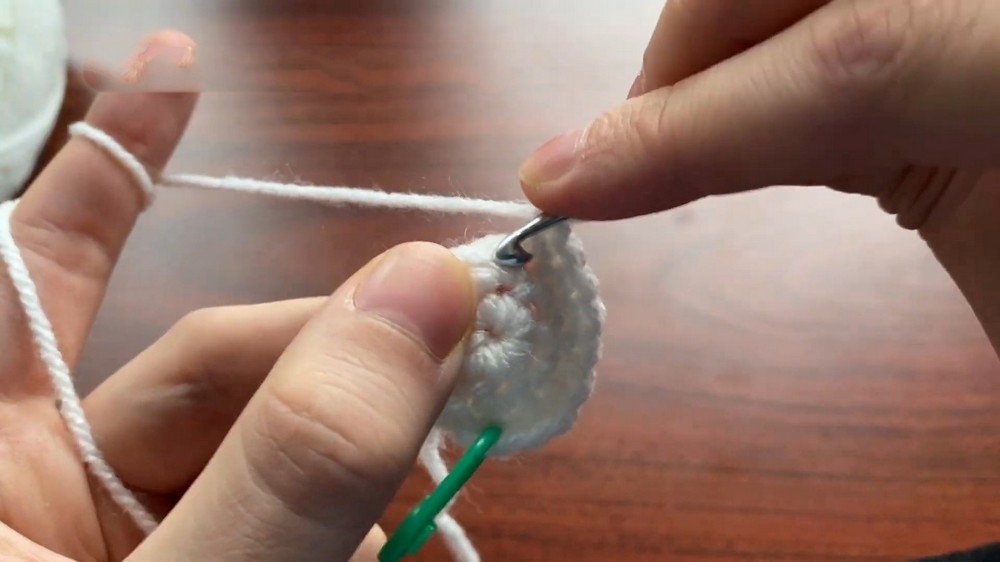
- Steps to crochet the flower:
- Begin with a magic ring.
- Crochet rows consisting of single crochets, increases, and decreases to shape the flower base.
- Several petals are formed in the last row using single crochets, half double crochets, and slip stitches.
- Once all petals are finished, the yarn ends are woven in, completing the flower.
Attaching Fairy Lights to Flowers
- The tutorial demonstrates how to combine flowers with fairy lights:
- Fold the fairy light wires to pair up the bulbs in groups of two.
- Carefully insert each pair of bulbs into the center of the flower’s magic ring.
- Secure the lights inside each flower by twisting the wires together.
- This step repeats for all flowers to ensure even distribution of lights.
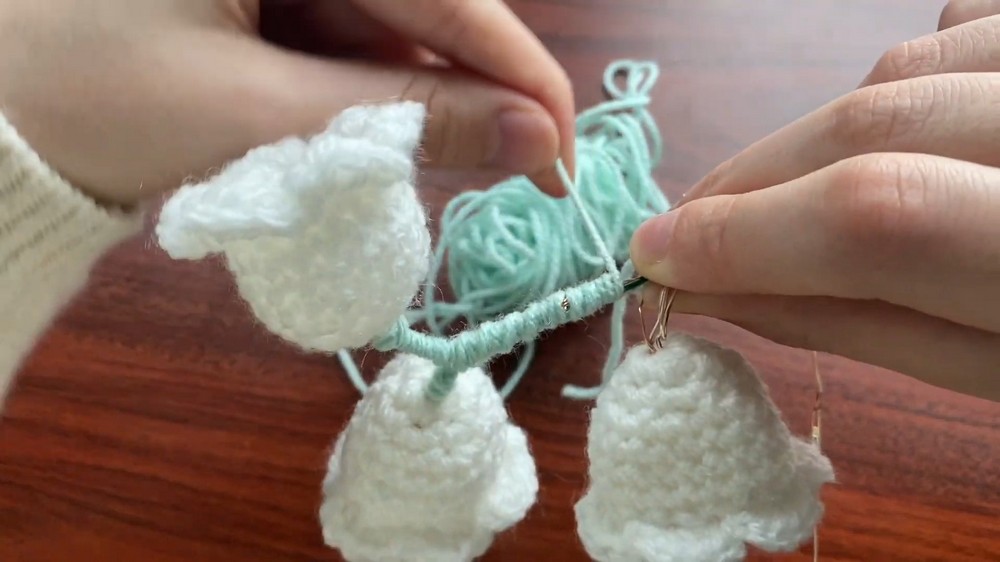
Wrapping the Wire with Green Yarn
- The wire is prepared as the floral “stem” and intertwined with the fairy lights.
- Steps to wrap the wire:
- Place the fairy light and wire together, holding them securely.
- Wrap green yarn tightly around the combined wire and fairy lights to mimic the look of a stem.
- Periodically check the placement of flowers in the bell jar to ensure optimal spacing.
Attaching Leaves
- Leaves are attached to the wire:
- Position the crocheted leaves along the wrapped wire.
- Use the leftover yarn from each leaf to secure and tie it to the wire.
- After attaching all leaves, tie additional knots to secure everything.
Shaping and Assembling
- The wire “stem” is bent into a spiral shape to fit inside the bell jar.
- The spiral is glued to the bottom of the bell jar to secure the structure.
- While the glue dries, ensure all elements are properly aligned and stable.

Final Touches
- All components of the fairy light, including the compact on/off switch, are placed inside the bell jar.
- Fill the base of the bell jar with wadding to create a finished look.
- Once the light is switched on, the project is complete, revealing the glowing flower lamp.
This comprehensive tutorial offers step-by-step instructions to craft a beautiful flower lamp using crochet techniques, fairy lights, and creative assembly.