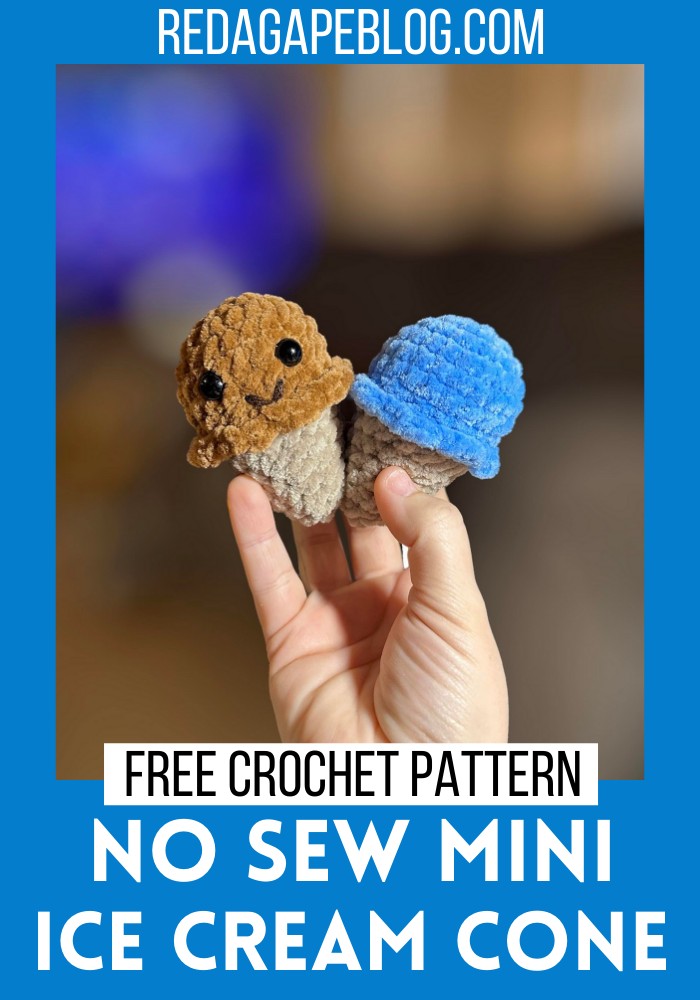
No Sew Crochet Mini Ice Cream Cone Pattern Free
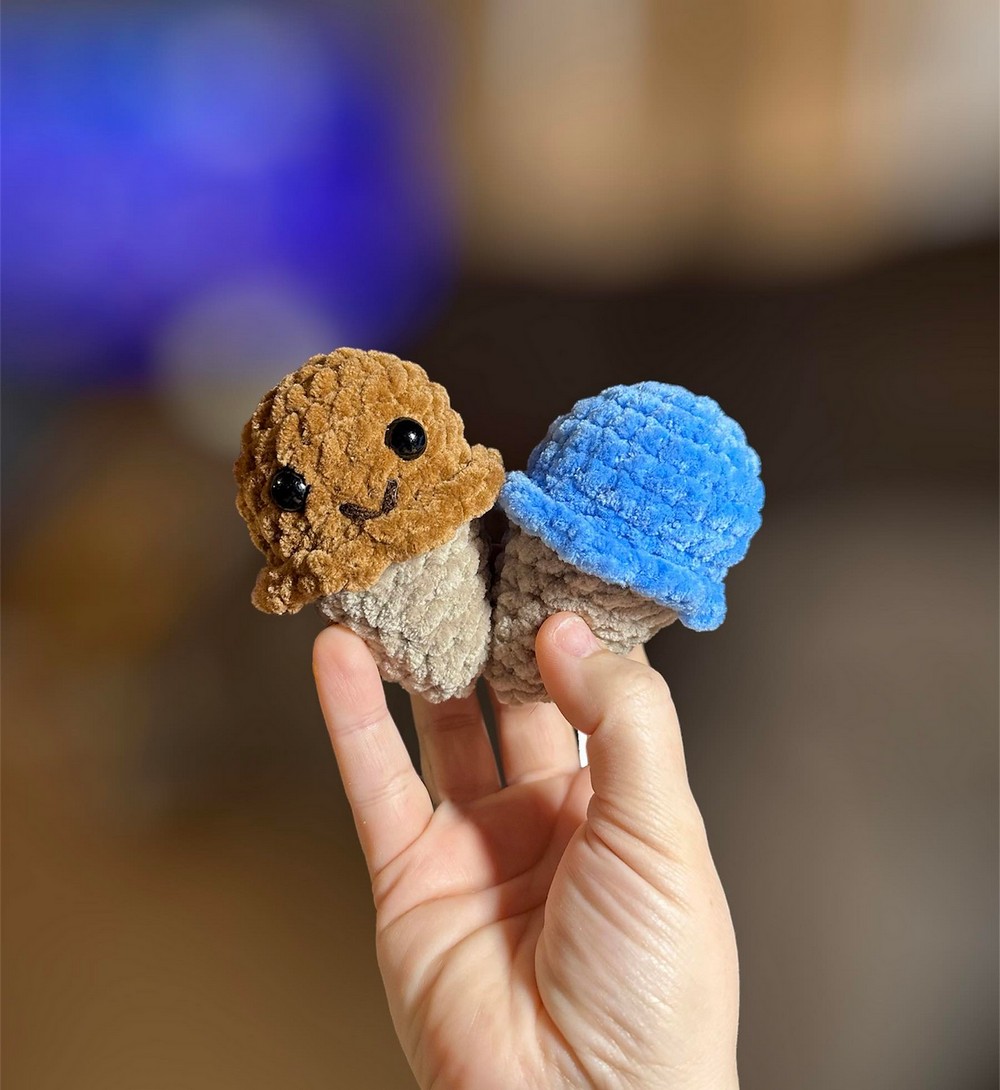
We all fondly remember those carefree childhood days, wandering around parks and savoring ice cream cones during summer afternoons. Bringing those sweet memories back in a cuddly, soft form is the crochet No Sew Mini Ice Cream Cone pattern. Crafted with lightweight yarn, this adorable amigurumi ornament is petite, perfect for adorning as a whimsical keychain or a charming ornament. What makes this little creation even more special is the embroidered face, injecting a burst of personality that appeals to both kids and the young at heart. Designed to be hassle-free, it’s a no-sew pattern that comes together in one piece, making it a delightful crochet project for beginners and experienced crocheters alike.
No Sew Mini Ice Cream Cone
Making Your Mini Ice Cream Cone
Supplies Needed
- Premier yarn
- Parfait chunky – or blanket yarn of choice. Cone color, ice cream colors
- Worsted weight yarn for a smile
- 5 mm hook – hook size will depend on tension and yarn used. Use an appropriate hook for you.
- Polyfil
- Safety eyes – 10mm (optional)
- Darning needle
- Scissors
Abbreviations:
- mc – magic circle
- or you can chain 2 and SC into the second chain from the hook if your yarn does not allow for an MC.
- sc – single crochet
- inc – increase
- dec – decrease
- BLO – back loop only
- FLO – front loop only
- FO – fasten off sl
- st – slip stitch ( ) – indicates how many stitches per round
Please note this pattern is written in continuous rounds. A stitch marker is recommended.
Finished Size:
- Parfait Chunky yarn: approximately 3.5″
Step by step Pattern
- Ice Cream: The pattern is worked from the top down. Start with your ice cream color. 1. 7 sc in mc (7) 2. inc x 7 (14) 3. (sc, inc) x 7 (21) 4-6. 3 rounds sc (21) 7. (5 sc, dec) x3 (18)
- The creator added the ice cream “petals” on the next round. Work in FLO for this round.
- 3sc inc – this means to place 3 sc in one st. 8. FLO 3sc inc, sl st into next, x 9 (36) z Place safety eyes between rounds 5-6, if desired. 3 visible sts between. Use a piece of yarn to embroider a mouth.
- We will continue onto the cone. Cone: Change to cone color. 9. Working in BLO from round 7, sc around (18) 10. sc around (18) 11. (4 sc, dec) x 3 (15) 12. (3 sc, dec) x3 (12) STUFF and continue to stuff as you close. 13. sc around (12) 14. (sc, dec) x 4 (8) 15. (2 sc, dec) x2 (6) sl st & FO. Use yarn tail to close.