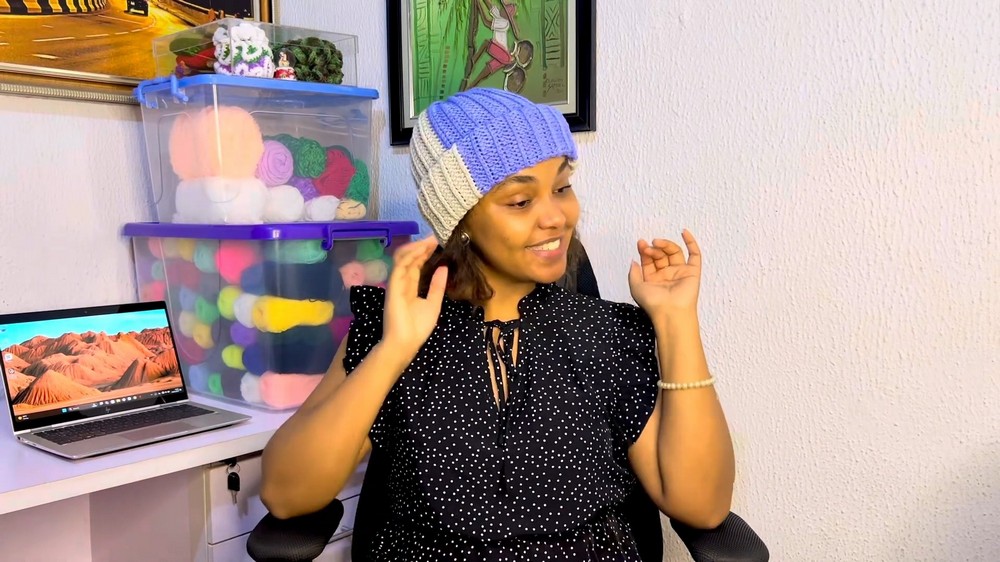
How to Crochet A Beanie Hat for Winter

Learn how to crochet a stylish beanie hat using a simple half-double crochet pattern with a step-by-step tutorial. The project involves creating vertical rows and tailoring the size to fit your head circumference. You’ll also learn joining edges, closing the top, and finishing touches for a seamless, professional look. The tutorial is clear, beginner-friendly, and ideal for creating personalized crochet designs.

Crochet A Beanie Hat Tutorial
Materials & Setup
-
The tutorial begins by listing the necessary materials: yarn (camouflage yarn used), 5 mm crochet hook, scissors, tapestry needle, stitch markers, and measuring tape.
-
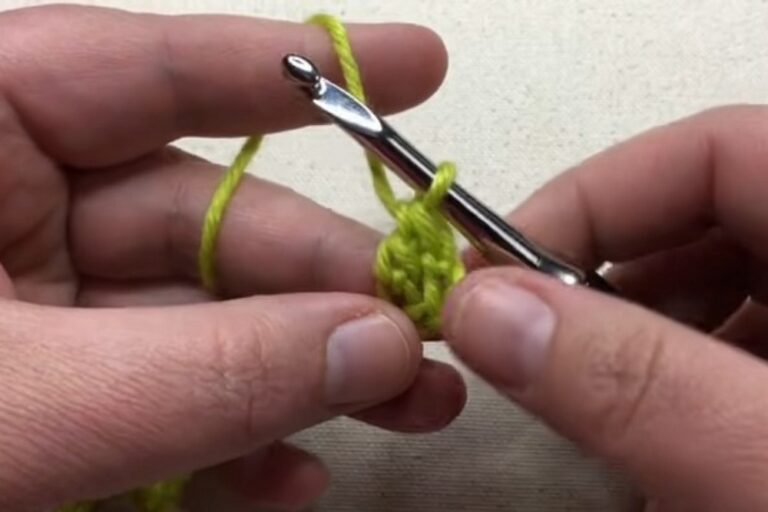
The creator explains that only half double crochet stitches are used throughout the hat.
-
The hat is made using a single color for simplicity, though options for color changes are mentioned.
Measuring and Planning
-
Measure the circumference of your head to determine the total length of rows.
-
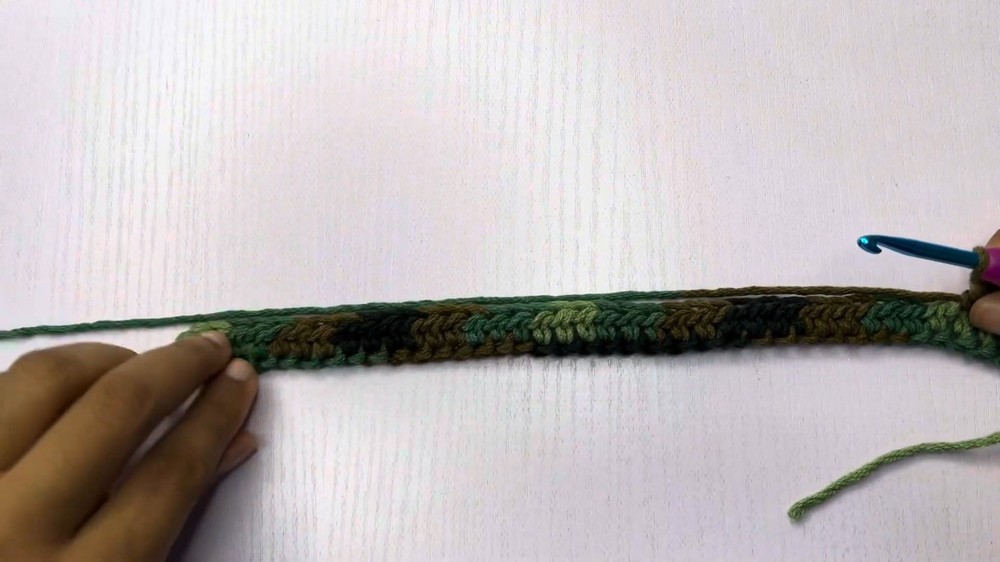
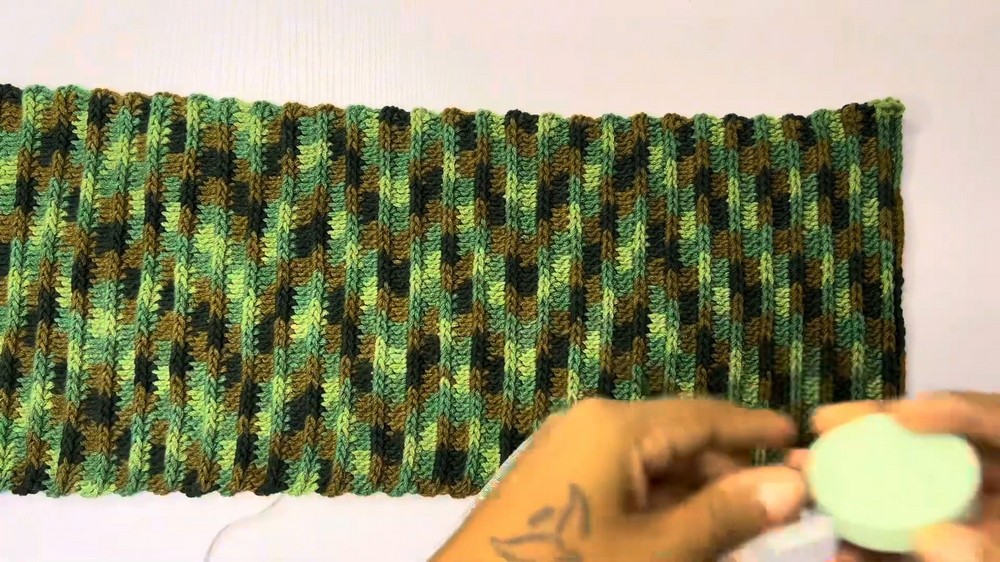
The project is worked vertically, meaning rows run from top to bottom when worn.
-
The sample shown uses a 23-inch head measurement and requires tailoring for different sizes.

Starting the Foundation Chain
-
The tutorial begins with a slip knot and a foundation chain.
-
The first row is made by placing half double crochets into each chain stitch.
-
This base sets up the dimensions for the height of the beanie.
Building the Rows with Texture
-
Rows are turned and crocheted using half double crochet stitches into the body loops (instead of top loops).
-
This technique creates a ribbed texture for stretch and visual appeal.
-
The same technique is repeated for each row until the desired head circumference is reached.
Stitch Consistency and Row Count
-
The instructor emphasizes the importance of counting stitches in every row to keep sides even.
-
A total of 60 rows are made to match the 23-inch head circumference used in the demonstration.
Joining the Edges
-
Both short ends of the beanie are joined using the slip stitch method.
-
Care is taken to align stitches properly to maintain symmetry.
-
The result is a seamless, clean join that blends with the overall texture.
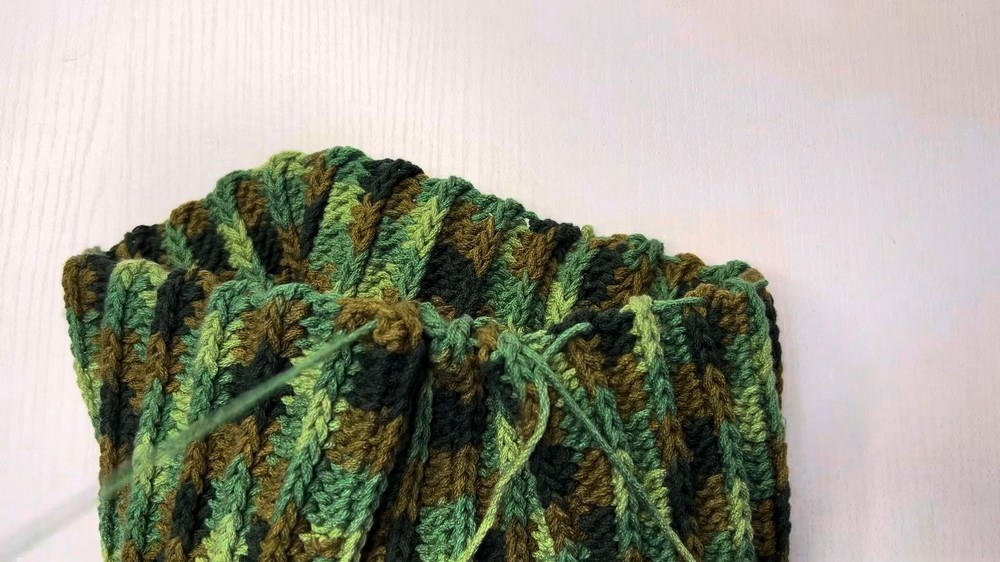
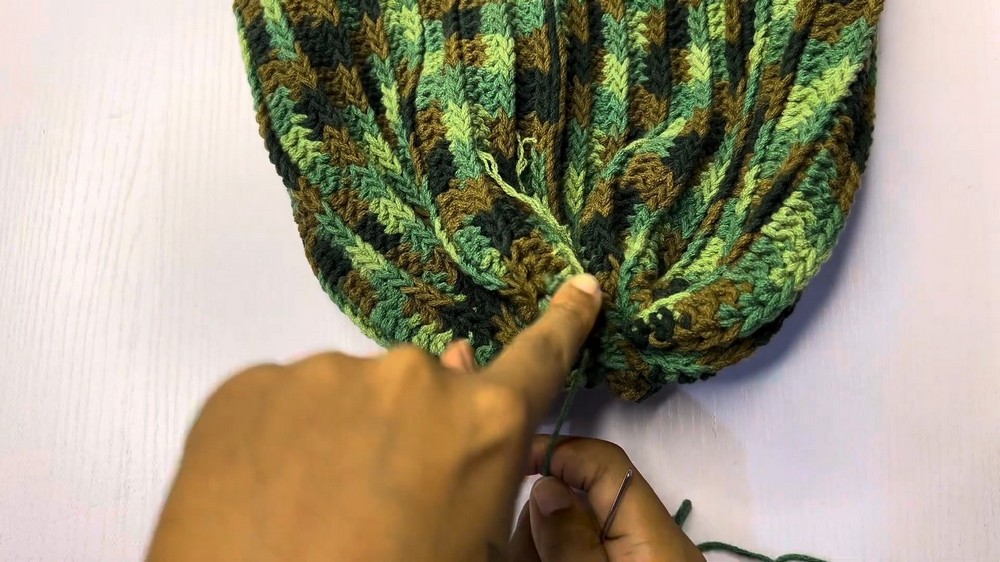
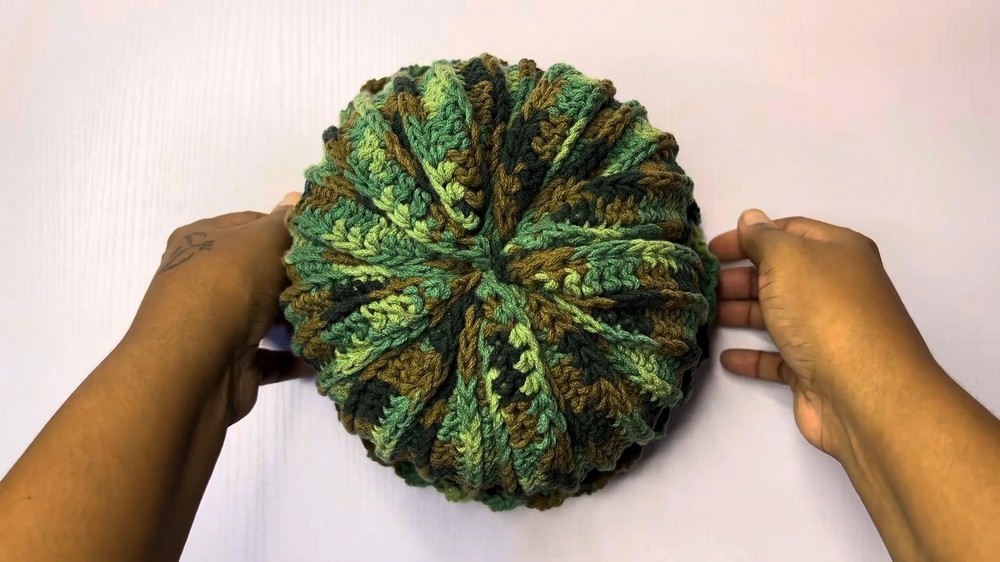
Closing the Top
-
A long yarn tail is threaded into a tapestry needle.
-
The top is closed by weaving the needle through the upper edge in a spiral or criss-cross manner.
-
Once pulled tight, it forms a gathered top without any visible hole.
Finishing Touches
-
Loose ends are tied securely and woven into the inside of the hat to hide them.
-
Final checks ensure no holes remain at the top.
-
The beanie is turned inside out to reveal a smooth, polished finish.
Video Guide