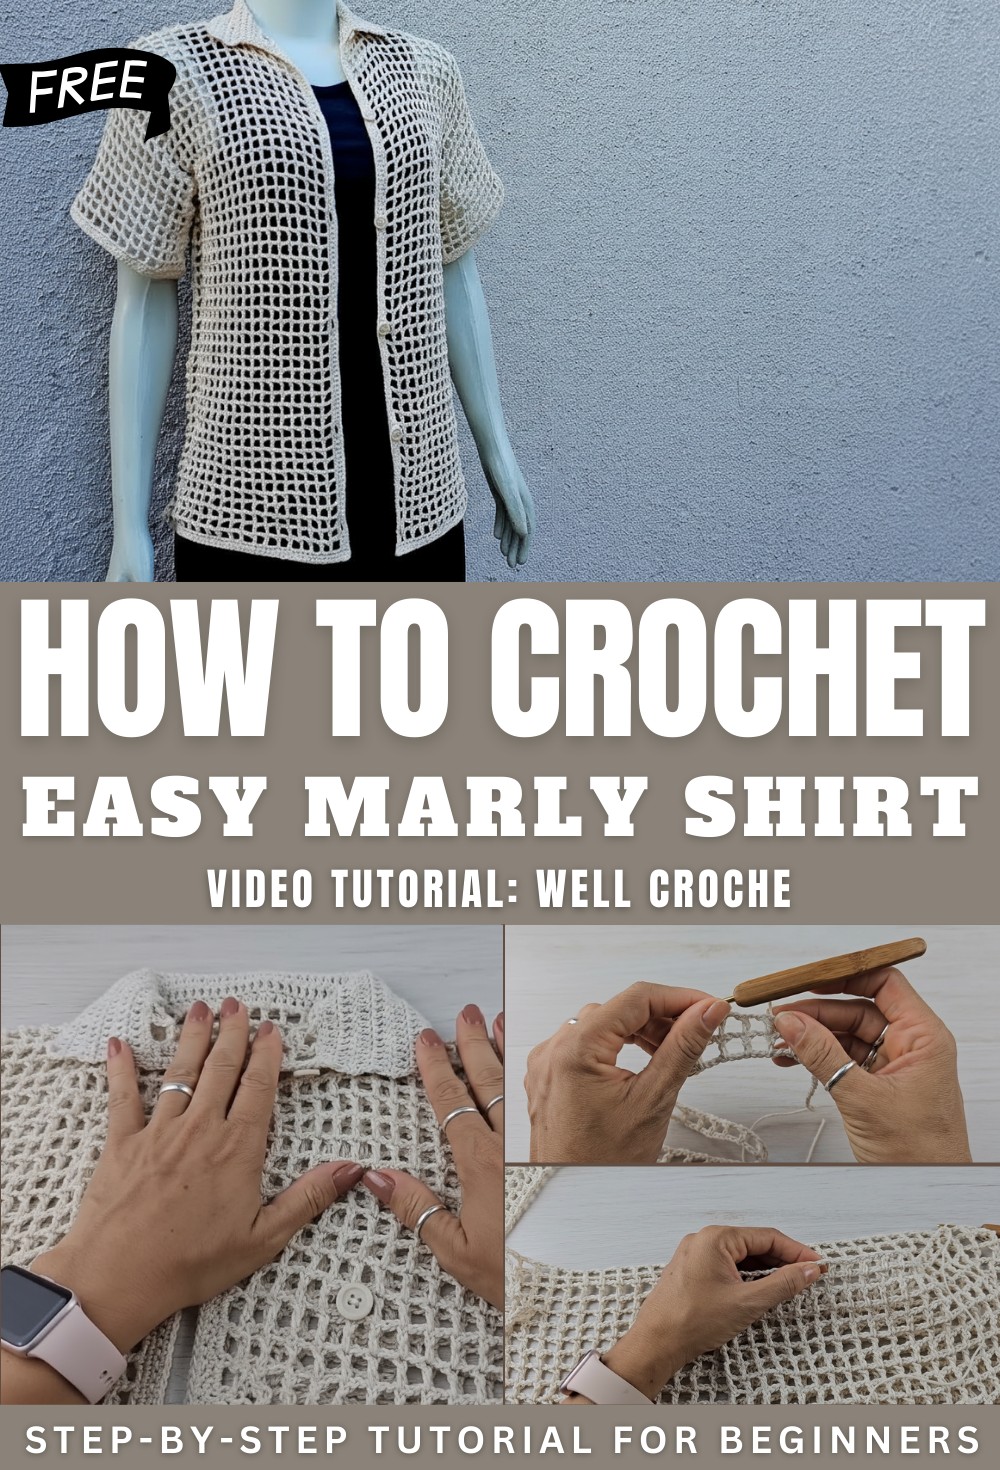
Comfortable Crochet Marly Shirt Pattern You’ll Love Wearing
Slip into style with this Free Crochet Marly Shirt Pattern that’s for comfy elegance, charming details, and effortless chic in every stitch.
Versatile Crochet Marly Shirt Pattern for Layering and Style
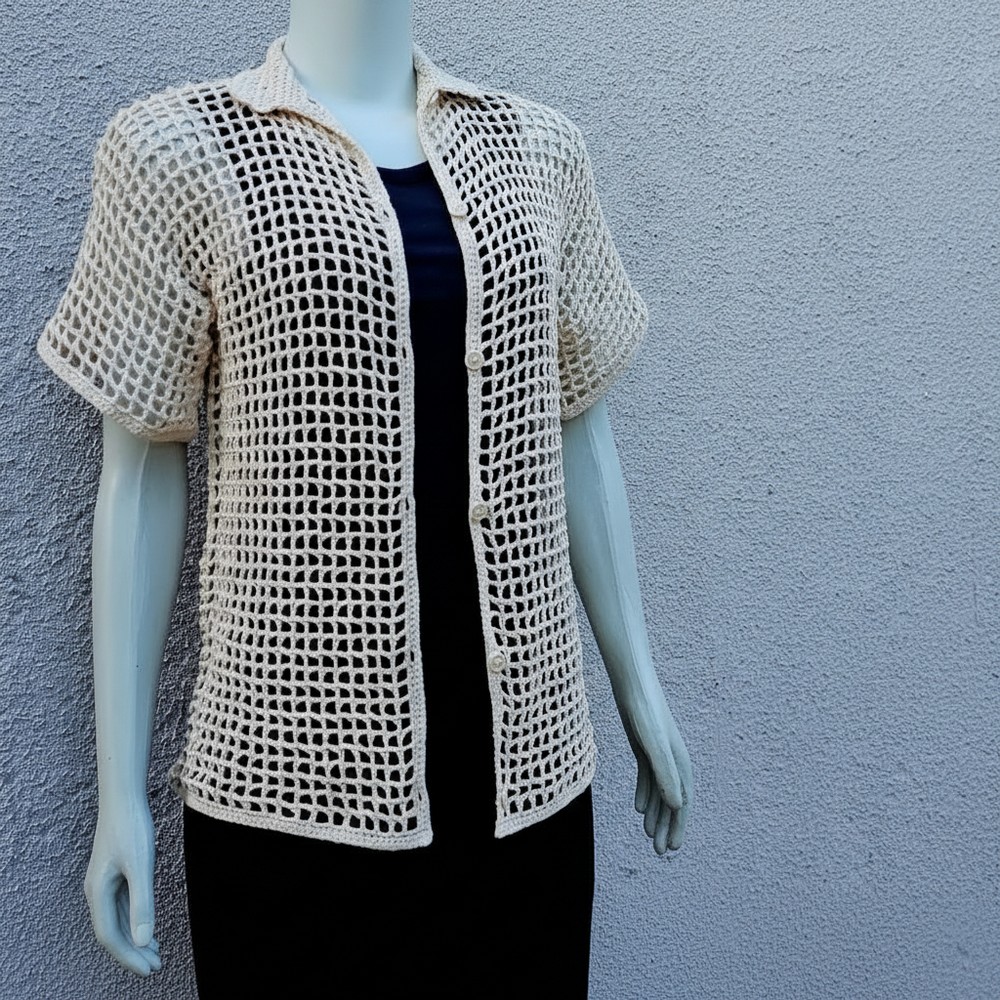
Elevate your wardrobe with the Crochet Marly Shirt Pattern that transforms yarn into a stylish and versatile top suitable for any season. Designed to combine comfort with a flattering fit, this shirt features intricate stitch details that add texture and visual appeal, making it perfect for casual outings, layering, or gifting. The pattern provides clear, step-by-step instructions, making it accessible for beginners while offering an enjoyable challenge for those with experience.
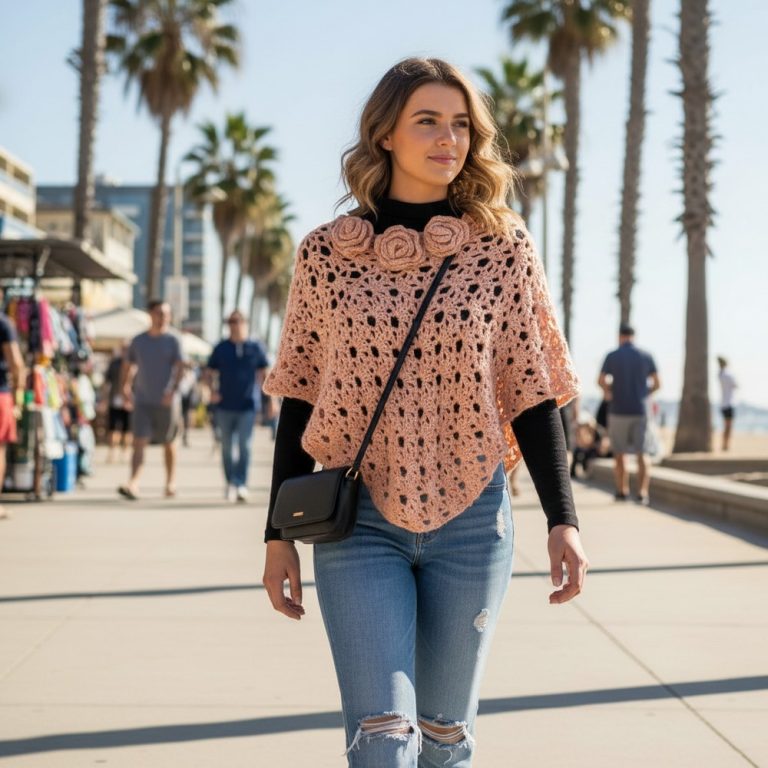
Wearing a finished Marly shirt offers both style and practicality, as its breathable texture and lightweight design ensure comfort throughout the day. Its versatility allows it to pair effortlessly with jeans, or shorts, while options to adjust colors and sizes make each piece uniquely personal. Working on this pattern provides a relaxing and mindful experience, turning time into a satisfying and productive activity. The Pattern combines elegance, comfort, and creativity in one wearable piece.
Special Features
- Unisex fit and fully customizable for men and women
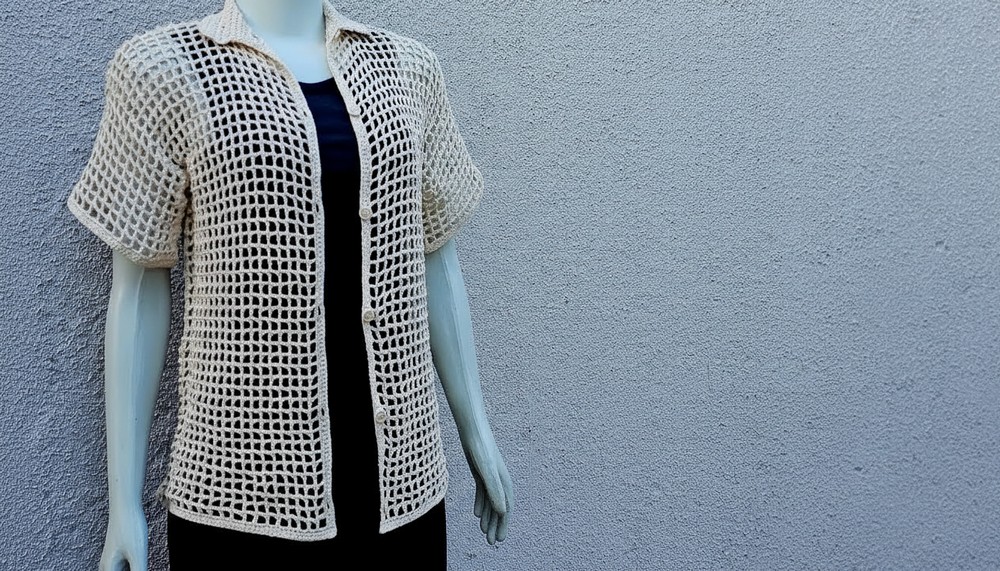
- Beginner-friendly mesh stitch pattern (double crochet with chain spaces)
- Versatile: wear with short or long sleeves, or as a vest
- Practical button-up closure and classic collar
- Uses basic materials and is easily adaptable to your yarn preference
- Modern, loose-fit silhouette
Level of Difficulty
Beginner to Easy
Perfect for those new to clothing crochet projects. Uses only double crochet and single crochet stitches throughout.
Tutor’s Suggestions
- For a relaxed fit, add 5–10 cm to your measured width.
- Use summer or lightweight yarn for breathability.
- Charme yarns or double strands of thin yarn work well as substitutes.
- Measure using your own body (bust/chest) or a favorite shirt for a custom result.
- Adjust sleeve length or omit sleeves for a vest-like garment.
Uses
- Stylish everyday shirt or beach cover-up
- Unisex fashion for any wardrobe
- Great handmade gift for anyone
Materials
- Yarn: About 2 skeins for S, 3 skeins for M or larger (50% cotton/50% polyester; about 369 Tex; Color 20 in sample)
- Crochet hook: 3 mm
- Tapestry needle
- Stitch markers
- Measuring tape
- Buttons (approx. 1.5 cm diameter)
- Scissors
Step-by-Step Pattern
1. Preparation and Sizing
- Measure the bust/chest circumference where the shirt will be worn.
- Divide this number by 2 for the width.
- Add 5–10 cm for looseness (sample: 44 + 5 = 49 cm; rounded to 50 cm).
2. Back Panel
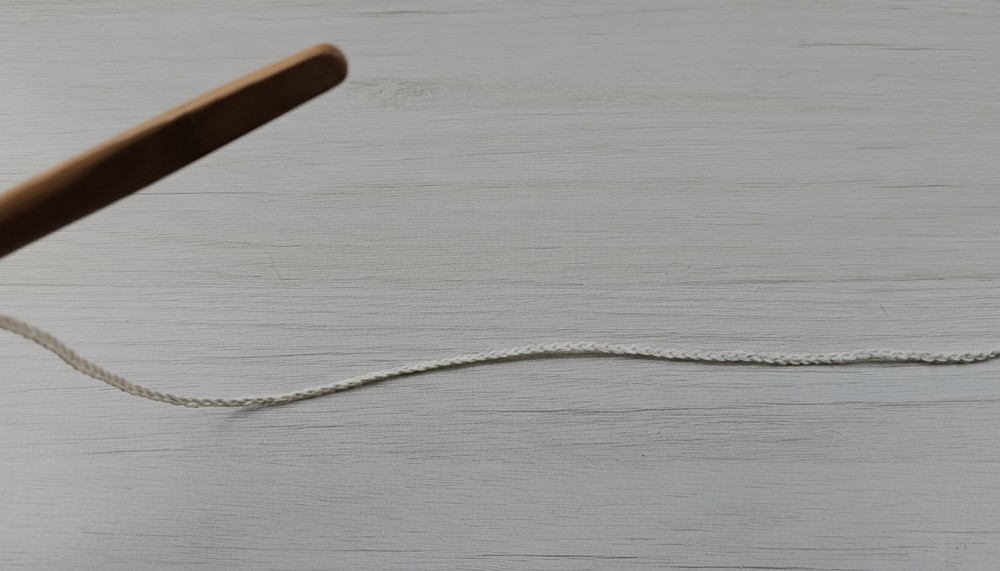
- Foundation Row:
- Create a loose chain as long as your calculated width (about 55–58 cm for S; more for larger sizes).
- Don’t count stitches, just measure.
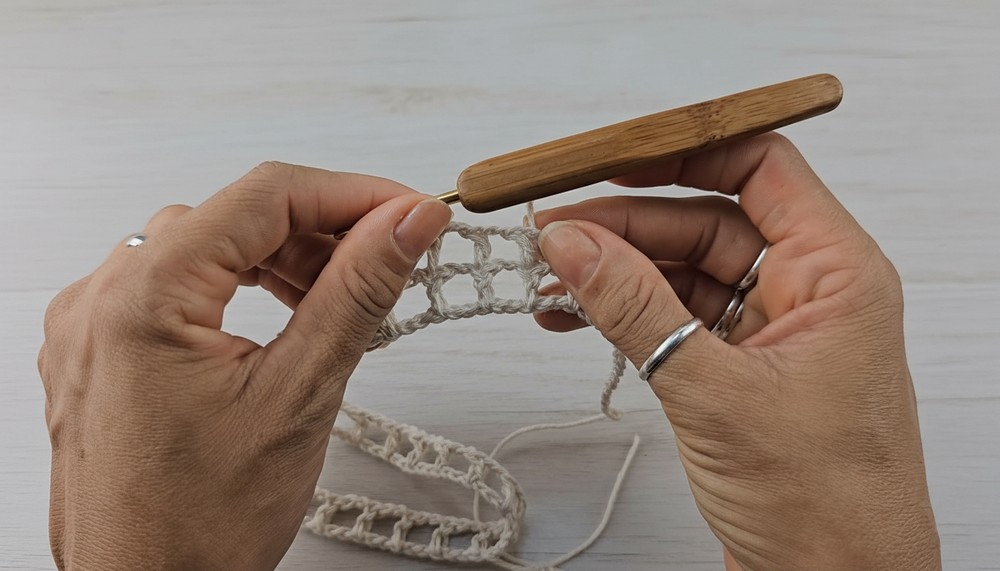
- Mesh Pattern Setup:
- At end of the chain, add 3 chains for turning + 2 chains for spacing.
- Skip 3 chains from hook, double crochet (dc) in next.
- [2 ch, skip 2 ch, dc in next ch] repeat across.
- Check blocks:
- If you have extra chains at the end, don’t worry—these will be unraveled later.
- Finish with an even number of mesh “blocks.”
- Row Pattern:
- Row 1: 5 ch, turn, dc in dc from row below, 2 ch, dc in next dc, repeat to end.
- Repeat for 47 rows (or desired body length).
- Finish off and leave a long tail for seaming later.
3. Front Panels
- Each front panel is half the number of mesh squares as back (e.g.: 36 for back, 18 per front).
- Chain:
- [Number of mesh blocks x 3] + 1 for turning (e.g., 18 x 3 + 1 = 55 chains).
- Work same mesh stitch for same number of rows as back (47 rows, see above).
- Leave a long tail for shoulder seam when finishing 1st front.
- Repeat for opposite front panel.
4. Shoulder Seams
- With wrong sides facing out, align front panels to the back.
- Stitch shoulders together using single crochet or a tapestry needle—leave about 6 mesh squares (blocks) unworked on each side for the collar opening.

5. Sleeves (Optional: adjust for length or skip entirely for a vest)
- Mark armhole depth (e.g., 20 cm from top for S size).
- Join yarn at armhole edge.
- Work mesh pattern in rounds (or rows, then seam).
- [5 ch, dc between rows/into mesh; 2 ch, dc in next mesh gap, repeat to full sleeve length.]
- Sample size S: 10 rows for a ~12 cm short sleeve.
- End on wrong side of work.
6. Sleeve Edging
- Turn and work a row of single crochet around sleeve.
- Alternate 3 single crochets in some mesh spaces, 2 in the next, to avoid flaring.
- Continue for 3 rows.
- Finish off, weave in ends.
7. Seaming Sides/Sleeves
- Fold garment inside-out.
- Seam underarms and down the sides using single crochet or mattress stitch.
- Alternate 3 and 2 single crochets in mesh spaces for a smooth seam.

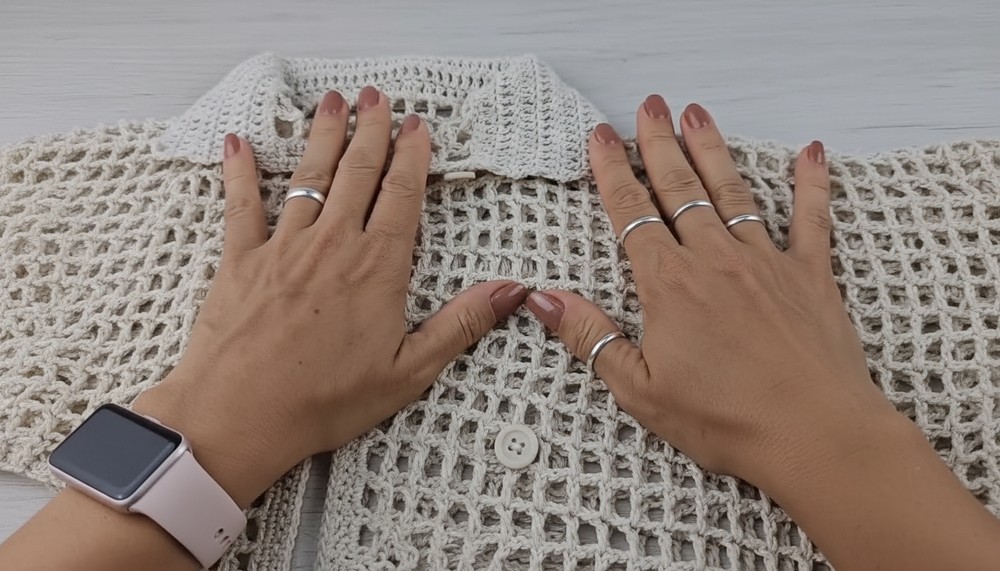
8. Front Edging & Button Band
- Work 3 rows of single crochet up each front edge.
- On one side, mark and space buttonholes with stitch markers, evenly along the placket.
- To make each buttonhole: When reaching a marker, ch 2, skip 2 sts (spaces), continue single crochet.
- On return rows, work into chain spaces, creating neat buttonholes.
- Sew buttons on the opposite placket.
9. Collar
- Along neckline and collar area, work a row of single crochet, picking up evenly along edge.
- Next, work 6 rows of double crochet (dc) for a 6 cm collar.
- End with a row of single crochet on the “wrong” side, so it’s visible when worn.
10. Hemline Finishing
- Repeat the same edging as sleeves/fronts: single crochet in each row edge, alternate 2 and 3 sc as needed.
- Work 2 more rows of single crochet for a tidy hem.
11. Final Touches
- Weave in all ends.
- Sew on buttons.
- Lightly block for perfect shaping if desired.
Tip
Don’t worry if your starting chain count isn’t exact—focus on achieving your desired finished measurement and unravel extra chains at the end. This saves time and frustration!
Conclusion
This easy beginner crochet shirt pattern is a stylish, practical, and modern choice you’ll be proud to wear. The mesh stitch keeps it light and versatile, while a neat button closure and collar add polish. Whether you’re making it for yourself, a friend, or a family member, adjust it for the perfect fit. Each stitch reflects your creativity and care—wear it with pride!