How to Crochet A Ripple Stitch with Wavy Top

In this post, you’ll learn how to crochet a customizable wavy top using the Ripple or Chevron stitch pattern for beginners. You start with chains that are multiples of 14 plus 4, then work valleys and peaks using double crochet increases and decreases. The pattern alternates solid double crochets, single crochets, and mesh stitches across rows.
The presenter also explains color transitions, panel stitching, sleeve attachment, and finishing techniques. This versatile design can be adjusted into a sweater, dress, or top for various fits and styles. So, follow through with us for the complete tutorial.

Introduction
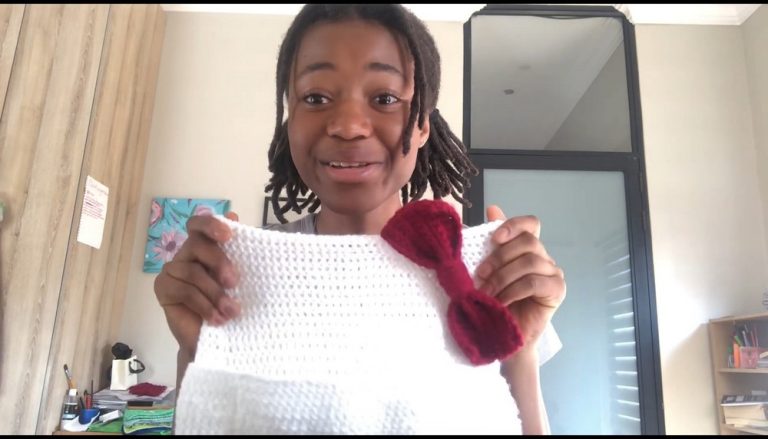
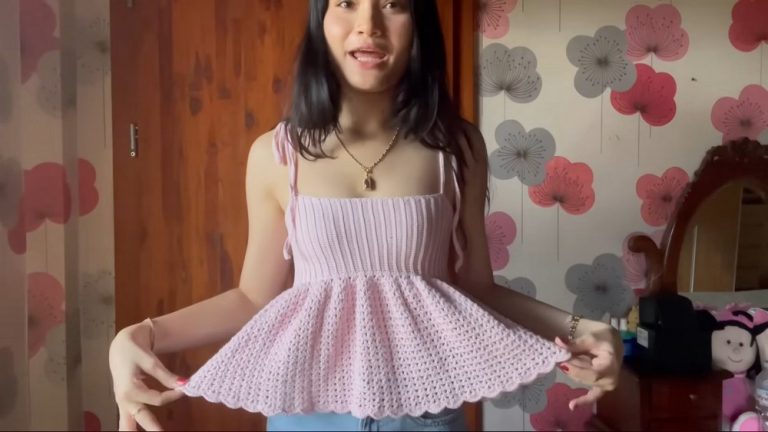
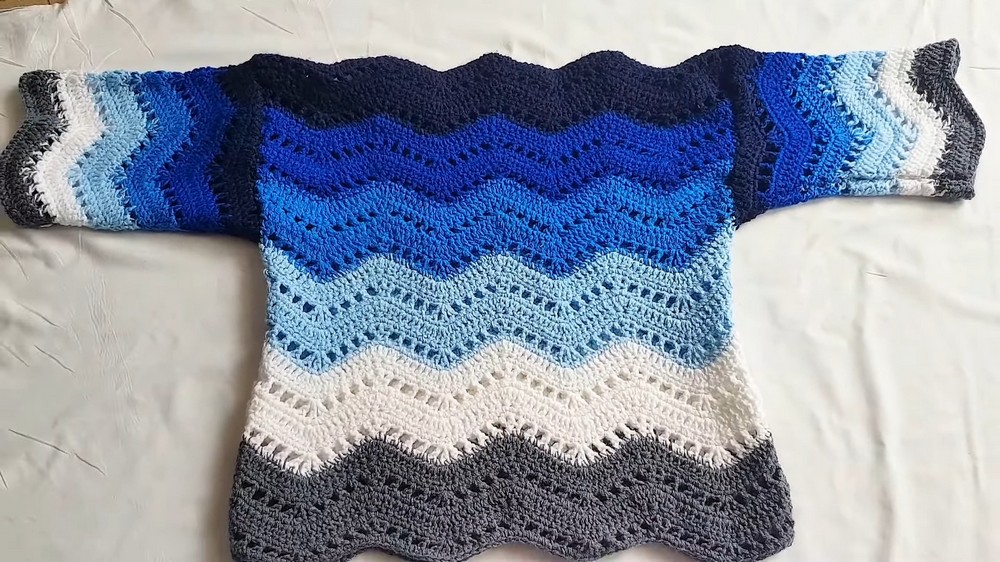
- The tutorial demonstrates how to create a wavy crochet top, which can be customized into a sweater or dress.
- The design features the Ripple, Chevron, or Wavy Stitch pattern.
- The creator used multiple colors (e.g., blues, white, and gray), but customization with other colors is encouraged.
Materials and Preparation
- Start by making a slip knot and chaining a length slightly longer than your shoulder width.
- Ensure the chain length is a multiple of 14, then add chains to begin the pattern.
Step-by-Step Instructions
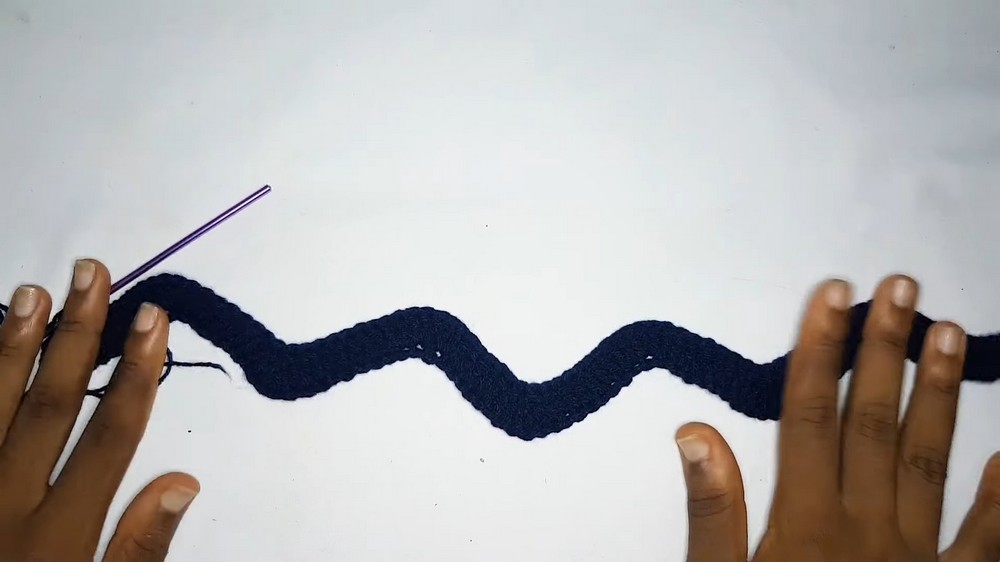
Foundation Row
- Begin with a row of double crochets, starting in the required stitch.
- Create valleys (decreases) and peaks (increases) to form the wavy pattern.
Building the Pattern
Row 2: Single Crochet
- Work single crochets across the row without increases or decreases to provide a break between the wavy rows.
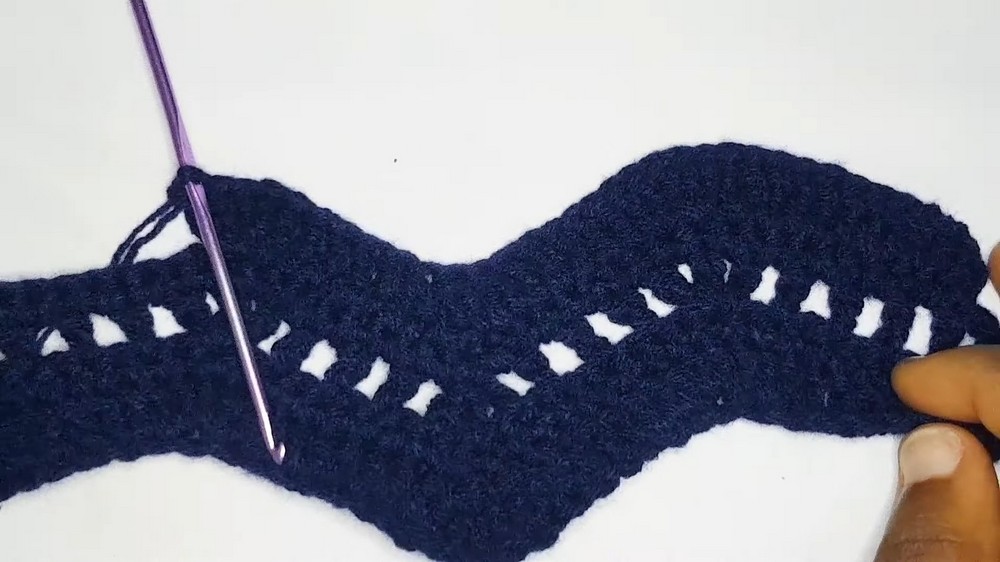
Row 3: Mesh Stitch
- Create a mesh row with double crochets and chains, adding increases at the peaks and decreases at the valleys.
- Ensure that the mesh rows align with the wave structure.
Row 4 and Beyond
- Alternate between solid rows, single crochet rows, and mesh rows to develop the top.
- Repeat the pattern sequence to achieve the desired length.
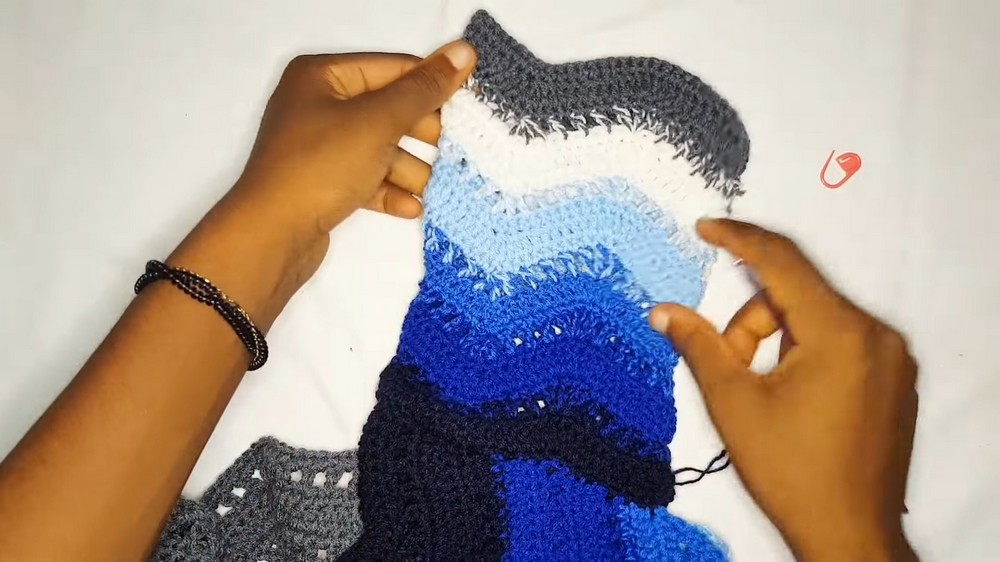
Color Changes
- Change colors after completing seven rows.
- Transition colors during single crochet rows to create smooth transitions between blocks.

Measurements and Panels
- Complete two identical panels for the front and back.
- Customize the length and width of the panels depending on your preferred top, sweater, or dress size.
Sleeves
- Measure a chain that fits around your upper arm, ensuring the chain length follows the multiple of 14 + 4 rule.
- Follow the same wavy pattern for the sleeves and complete the required number of rows.
Assembly
Joining Panels
- Align the front and back panels with the right sides facing each other.
- Use single crochet or sewing techniques to join the panels at the shoulders.
Adding Sleeves
- Attach the sleeves to the body, ensuring they align symmetrically.
- Secure the sleeves to the body using single crochet stitches or other finishing techniques.
Finishing Touches
- With all panels and sleeves joined, sew along the sides of the top, from the sleeves to the hem.
- Optional: Use mattress stitching for a seamless appearance.
Final Thoughts
- The top length, neckline width, and sleeve length can be adjusted based on personal preference.
- The tutorial encourages creativity through color selection and variations in length to make sweaters or dresses.