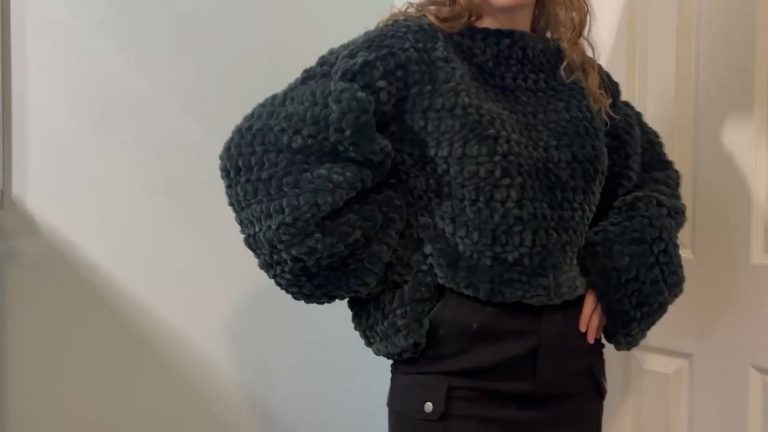
How to Crochet Bobble Stitch (Tutorial for Beginners)

Learn how to crochet the Bobble Stitch through a clear, step-by-step tutorial designed for beginners, perfect for winter projects. Using anti-pilling bamboo chunky yarn and a 6.5mm crochet hookit is a four-row repeat pattern with simple instructions. The stitch involves yarn overs and working into the same stitch multiple times, creating a textured design.
The tutor also shares tips for maintaining stitch count and avoiding mistakes while stitching around bobbles. It’s an excellent guide for beginners tackling advanced crochet techniques.

Crochet Bobble Stitch Tutorial
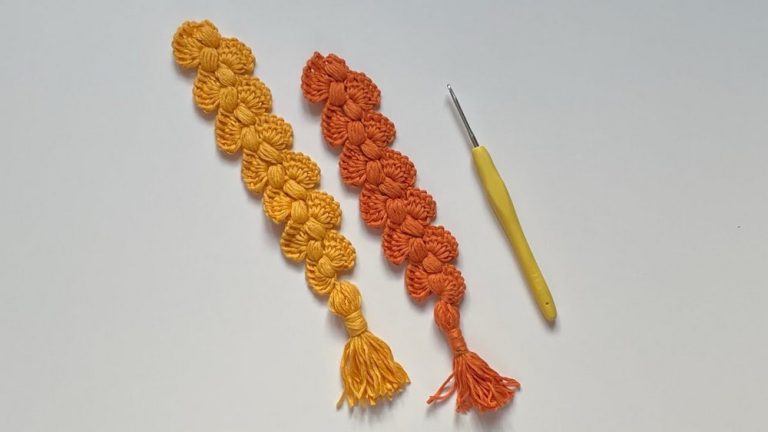
A sample swatch is shown featuring bobble stitches of different sizes to highlight the variation in texture by adjusting the number of times stitches are worked into. She explains that the pattern is a four-row repeat, and the foundation chain should be created in multiples of four, plus seven additional chains.
Materials Used
- Yarn: Anti-pilling bamboo chunky yarn (bulky weight 5).
- Crochet Hook: 6.5 mm (K hook).
Foundation Chain and First Row
- A demonstration of the foundation chain is provided, following the multiples of four with seven additional chains.
- The first row consists entirely of half double crochets, starting in the third chain from the hook.
- A brief explanation of how to create a half double crochet is given for beginners.
The Bobble Stitch Demonstration
- The Bobble Stitch is introduced, with key steps emphasized:
- Yarn over, insert the hook into the stitch, and pull up a loop.
- Yarn over, draw through two loops, and repeat multiple times within the same stitch.

-
- Always have one more loop on the hook than the number of times worked into the stitch—this creates a bobble.
- The first row of bobbles begins after two initial single crochets. Subsequent bobbles are separated by groups of three single crochets.
- The process is repeated until the end of the row where bobbles are balanced with single crochets.

Four-Row Stitch Pattern
The tutorial introduces the repeating four-row pattern:
-
Row 1:
- Foundation row with all half double crochets.
-
Row 2:
- Begin the bobble stitch row with two single crochets, followed by a bobble stitch (worked into the same stitch multiple times), and three single crochets.
- The pattern repeats (bobble, three single crochets) across the row. End with two single crochets.

-
Row 3:
- A half double crochet row, working into each stitch of the row.
- Instructions include tips to pinch the bobble out of the way to avoid missing stitches before and after the bobble.
-
Row 4:
- Another bobble stitch row, staggering the placement of bobbles to align them between the bobbles of the previous rows.
- This establishes a textured, checkerboard-like pattern.

-
Row 5 (and beyond):
- Return to a half double crochet row.
- Continue repeating the four-row sequence until the piece reaches the desired size.
Tips for Success
- Highlighted suggestions include:
- Crochet loosely to avoid splitting the yarn.
- Ensure all stitches are picked up properly before and after working a bobble to maintain consistency and accuracy.
- Check that the loops on the bobble hooks are the correct number (matching instructions) to ensure proper shaping of the bobble.

Closing Notes
- The written pattern is displayed at the end of the video for reference, including the chain multiples and details about the four-row repeat.
- Mama J reiterates the flexibility of the pattern for creating different-sized projects.
- The tutorial concludes with gratitude and a suggestion to capture a screenshot of the written pattern.
- This step-by-step tutorial provides a detailed overview of creating the bobble stitch and incorporating it into a four-row crochet pattern.
- It equips viewers with the techniques needed to produce a textured design, suitable for projects like blankets, scarves, or embellishments.