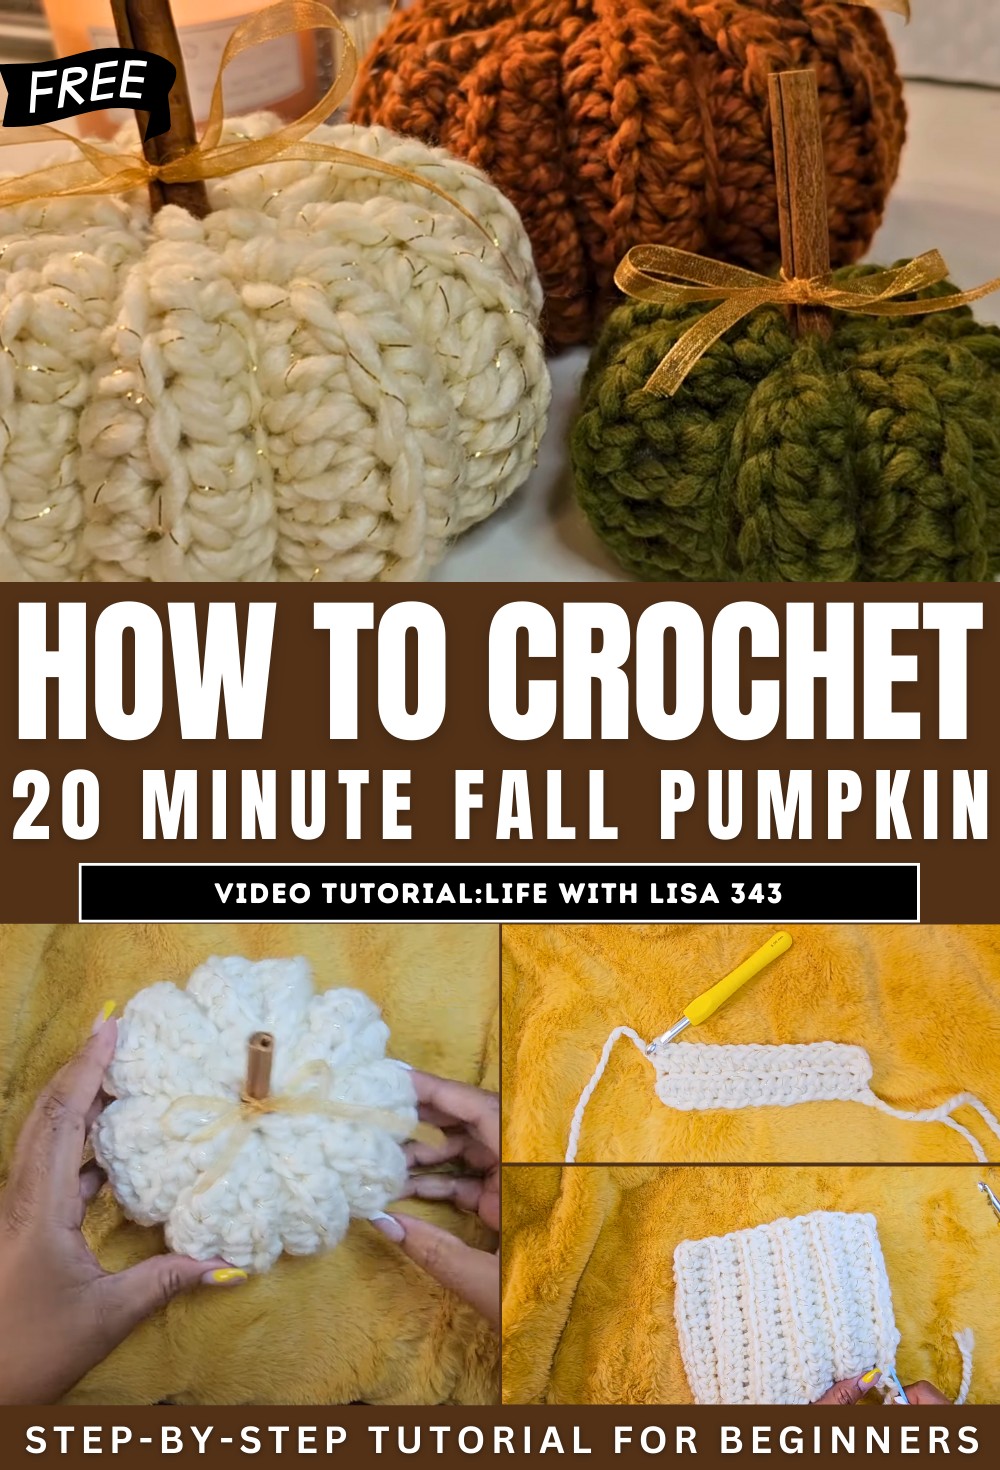
How to Crochet Easy 20 Minute Fall Pumpkin FOR Decor
With a beginner-friendly tutorial, learn how to crochet adorable, stackable fall pumpkins in three sizes: small, medium, and large. Using Lion Brand Wool-Ease Thick & Quick yarn, an 8mm crochet hook, and optional materials like cinnamon sticks for stems, the creator guides viewers step-by-step through the process. With easy-to-follow instructions for creating the foundation chain, half-double crochets, and weaving techniques, the project is simple yet creative.
The pumpkins feature ridged textures, stuffing with polyfill, and optional grooves for added detail. It’s a perfect fall décor idea or gift, encouraging creativity and celebrating the beauty of handmade crafts. So, follow through with us for the complete tutorial.
Crochet Pumpkin Tutorial
This crochet tutorial provides detailed, step-by-step instructions for creating beautiful, beginner-friendly crochet pumpkins in three different sizes. The project is simple yet versatile, making it perfect for fall-themed decorations or gifts. Below is a structured summary of the tutorial, organized with headings and bullet points.
Introduction
- The project is inspired by fall aesthetics, featuring easy, quick-to-make stackable pumpkins.
- The tutorial includes instructions for creating small, medium, and large pumpkins.
- Optional cinnamon stick stems can be used for decoration or the pumpkins can be stacked for added flair.

Required Materials
To make the pumpkins, you will need:
- Yarn: A super bulky size 6 yarn (used in the tutorial: Lion Brand Wool Ease Thick & Quick yarn in “Starlight” color).
- Crochet Hook: 8mm (L size).
- Scissors.
- Ribbon: Optional for decoration.
- Darning Needle: Used for stitching and securing the yarn ends.
- Polyfill: Stuffing for the pumpkin.
- Cinnamon Sticks: Optional for pumpkin stems.
Pattern Overview
- The pattern for all three sizes follows the same process; only the chain lengths and row counts vary depending on the size.
- The tutorial focuses on creating a medium-sized pumpkin.
Crochet Instructions
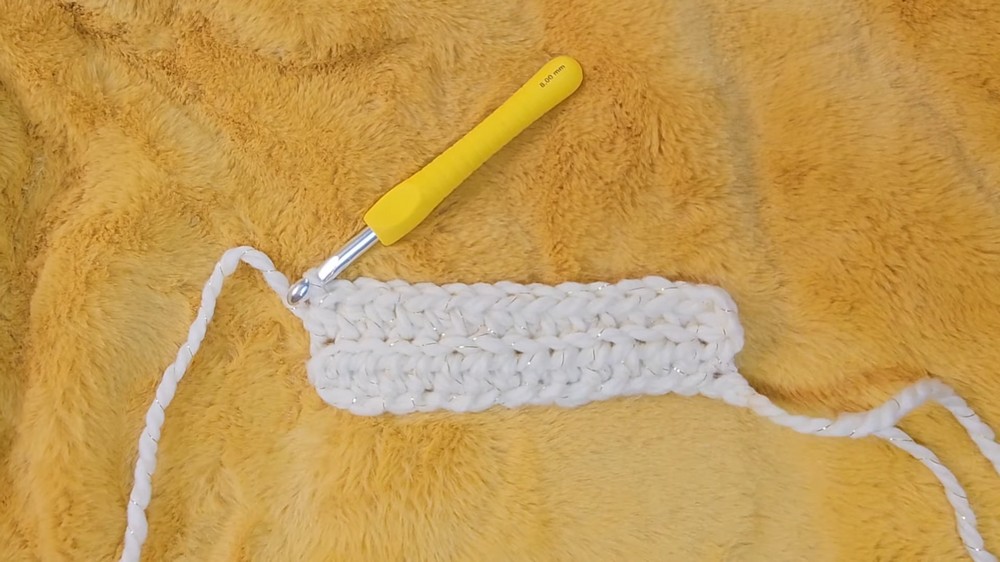
1. Start with the Foundation Chain
- Begin with a slip knot and chain the required number of stitches for your pumpkin size.
- Keep tension consistent while making the chain to ensure uniformity in your project.
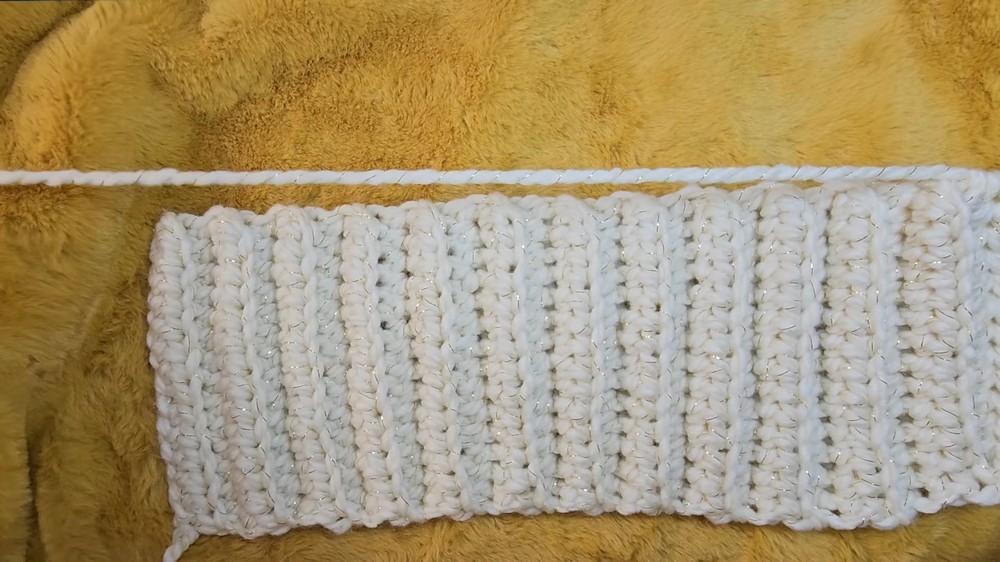
2. Crochet the Rows
- Use a half-double crochet (HDC) stitch for the entire project.
- Work the HDC into the back loops of each stitch to create a ribbed texture.
- Repeat the same process until the required number of rows is completed.
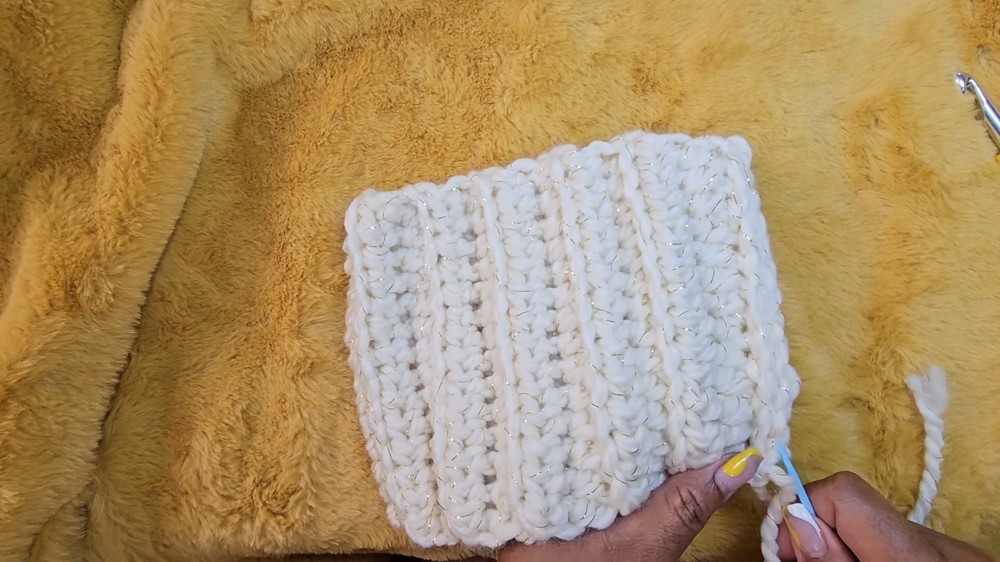
3. Connect the Sides
- Fold the finished piece, aligning the edges.
- Use a slip stitch to join the sides and create a cylindrical shape.
- Secure and weave in the short tail from the starting slip knot.
Shaping the Pumpkin
1. Close the Bottom
- Thread a long piece of yarn through the bottom edge using a darning needle, weaving in and out to create a drawstring.
- Pull the drawstring tight to close the bottom.
- Secure the bottom with additional stitches to ensure it stays closed.
2. Stuff the Pumpkin
- Fill the pumpkin with polyfill evenly, ensuring it is neither over-stuffed nor under-stuffed.
3. Close the Top
- Using the same weaving technique as the bottom, create a drawstring around the top edge.
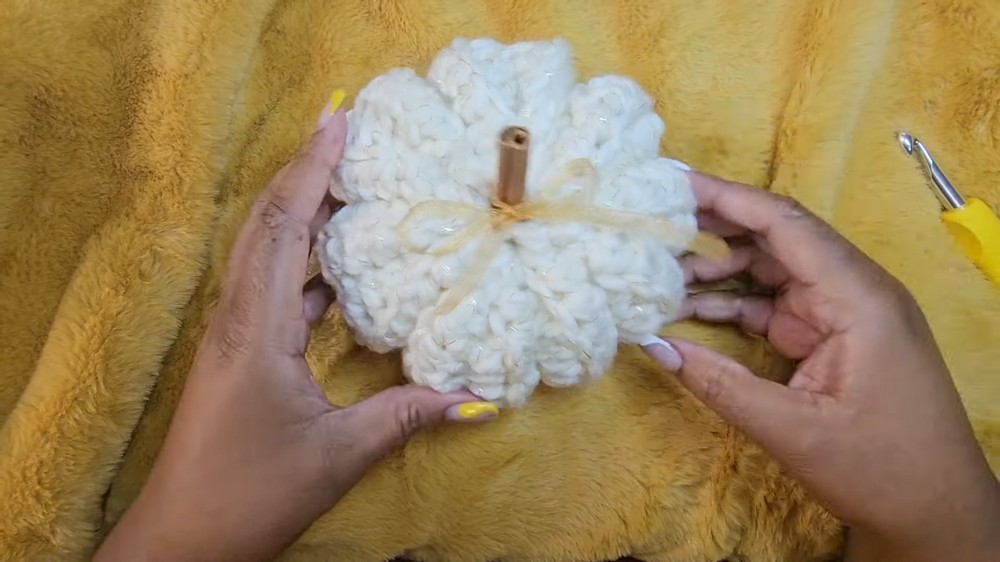
- Pull the drawstring to close the top, leaving a small hole if a stem is to be added.
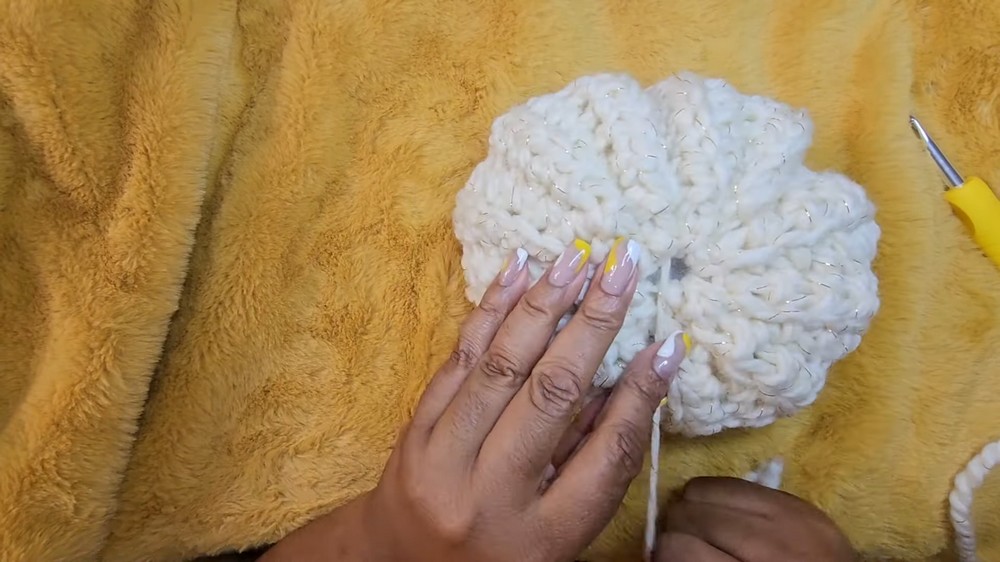
4. Add Grooves
- Create grooves on the pumpkin by looping yarn tightly from the bottom to the top several times, ensuring the yarn is secured between grooves.
- Adjust groove placement as desired.
Final Touches
- Secure all yarn ends by weaving them into the pumpkin.
- Add optional embellishments like a ribbon or a cinnamon stick for a stem.

Closing Remarks
- This project is a simple, stress-relieving, and fun crochet pattern perfect for beginners.
- The pumpkins can be customized with different yarns and colors to suit your fall décor.