How to Crochet Net Hobo Bag for Ladies
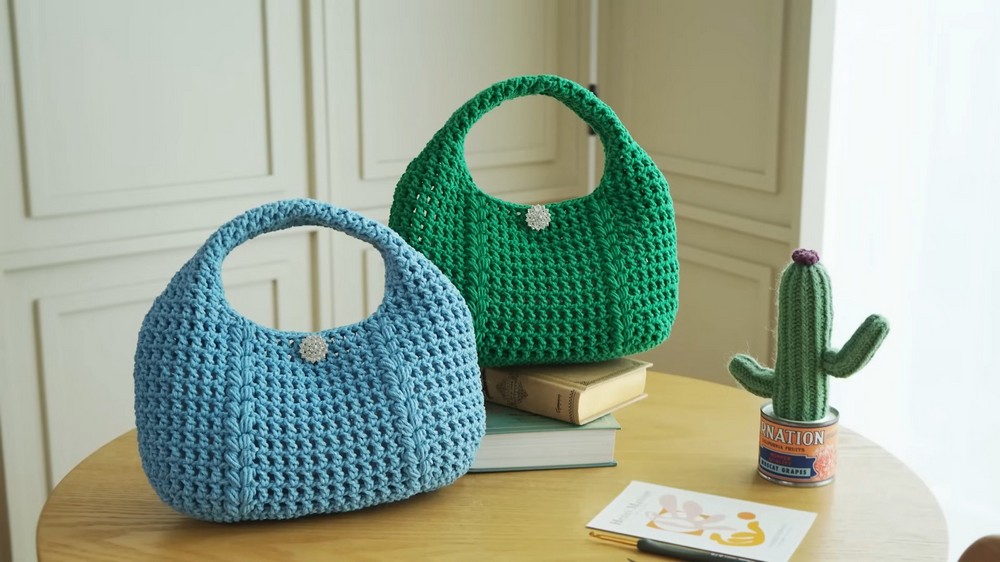
Learn how to crochet a round net bag with an integrated handle and a lovely mesh texture designed for beginners and experts. The design has a clean net pattern and puff stitches for texture and stability. Using durable Dandi thread, the bag is lightweight and holds its shape. The tutorial covers every detail, starting with the oval base and progressing to the elegant handle. With clear instructions and tips, even beginners can create this stylish, functional egg bag!
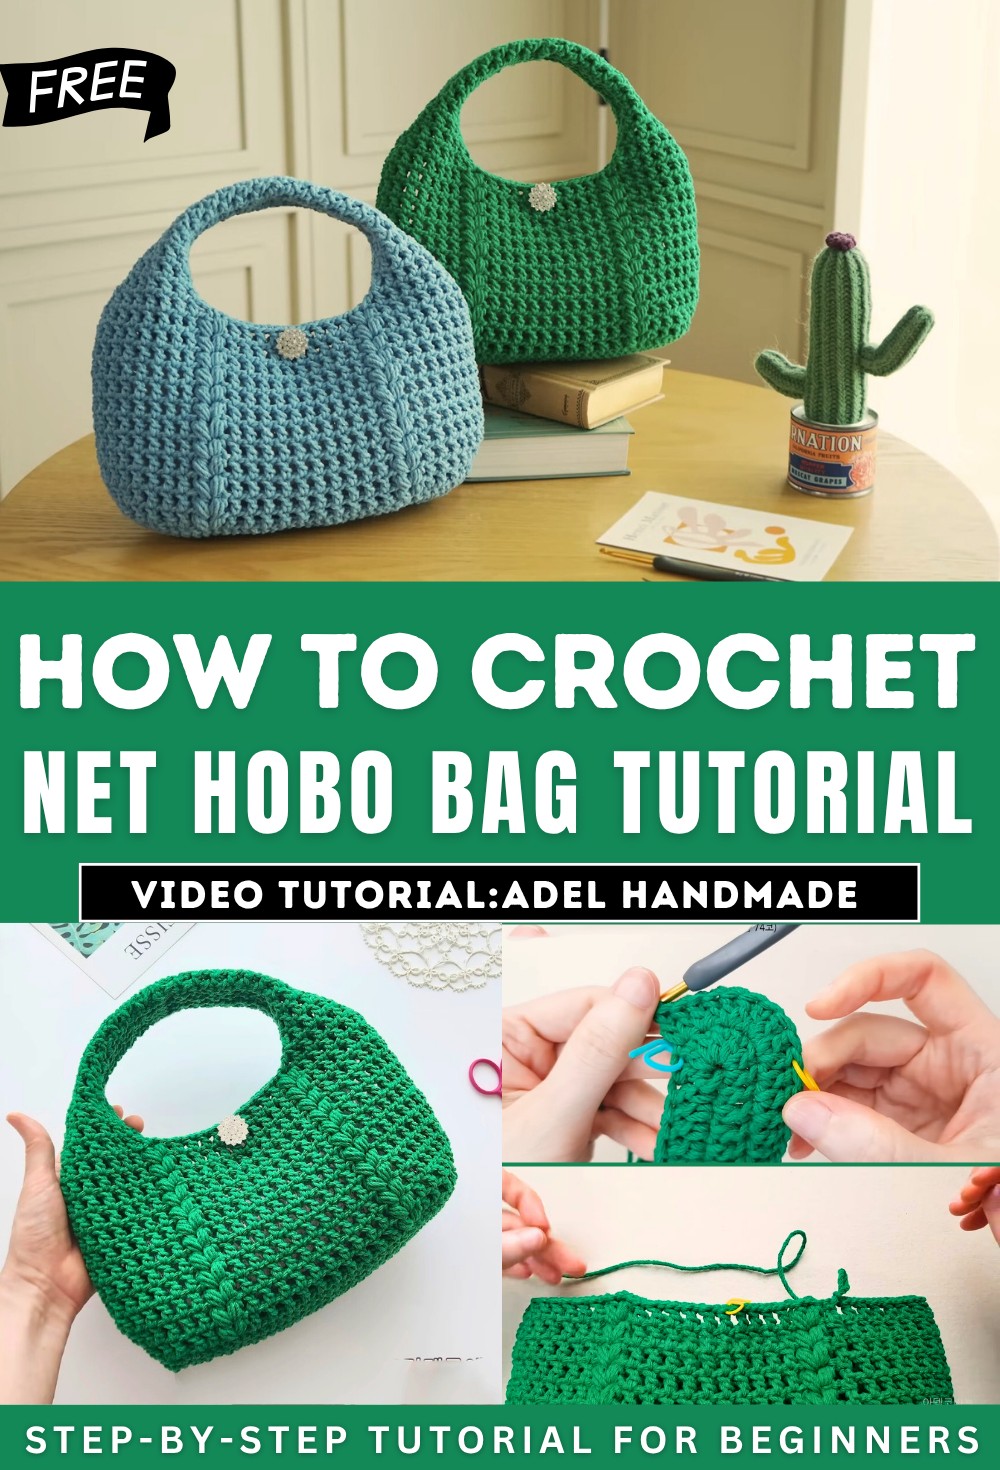
Crochet Net Hobo Bag Tutorial
The video details the process of creating a round net bag with integrated handles using crochet techniques. It is designed to cater to beginners and provides an accessible format for learning with clear explanations and tips.
Introduction and Bag Overview
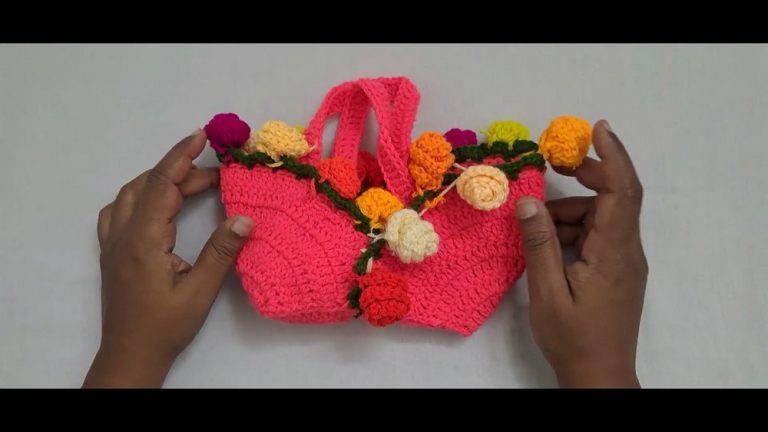
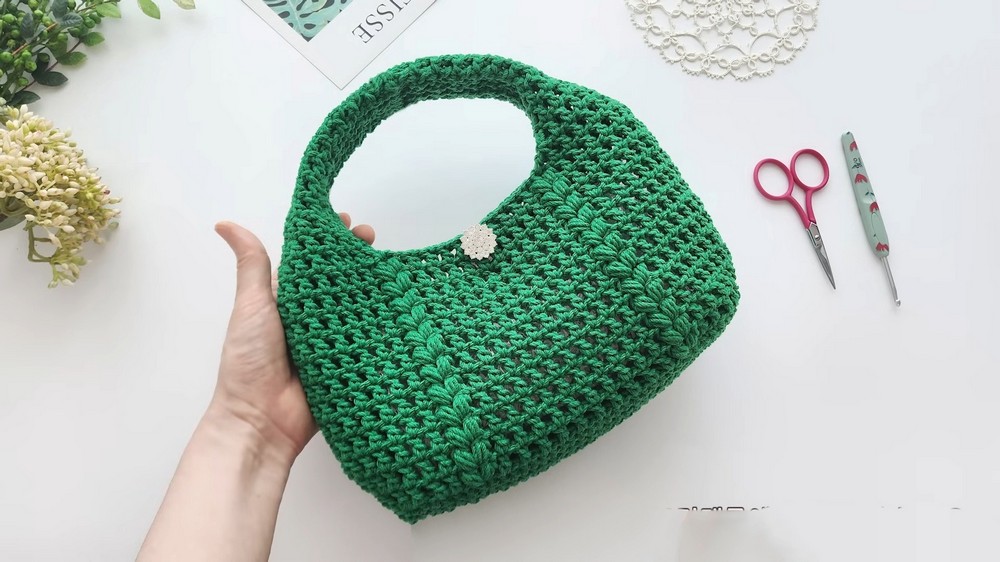
- Purpose and Design: The video tutorial by Adel showcases how to crochet a round net bag with an integrated handle. The design features a clean net pattern accented with puff stitches, intended for a sturdy and aesthetically pleasing result.
- Comparison with Previous Bags: The bag is an enhanced version of an “egg bag” introduced earlier, with an added bottom and size for improved storage capacity and functionality.
- Materials Used:
- Light “Dandi” thread (3 threads used for added sturdiness).
- Crochet hooks (size 6 recommended for tighter, stronger weaving).
- Accessories including a magnetic button and decorative button.
- Crocheting Order: Starts with bottom creation using a long elliptical shape to form the circular structure, followed by straight upward crocheting in a net pattern to add a heart-like feel with puff stitches.
Bottom Construction
- Elliptical Bottom Design: The video explains how to crochet the bottom in a long elliptical shape. The focus is on symmetry, ensuring structural integrity while maintaining an attractive round appearance.
- Detailed Knitting Process: The tutorial walks through crocheting the bottom layer step by step with various placements of long knits. By adding stronger stitches at the ends, the bag gains additional roundness and stability.
- Tips for Beginners:
- Adel demonstrates using chain-free methods for creating the crochet nose to maintain a sleek final look.
- Beginners are encouraged to follow her exact stitch sequence for better results.
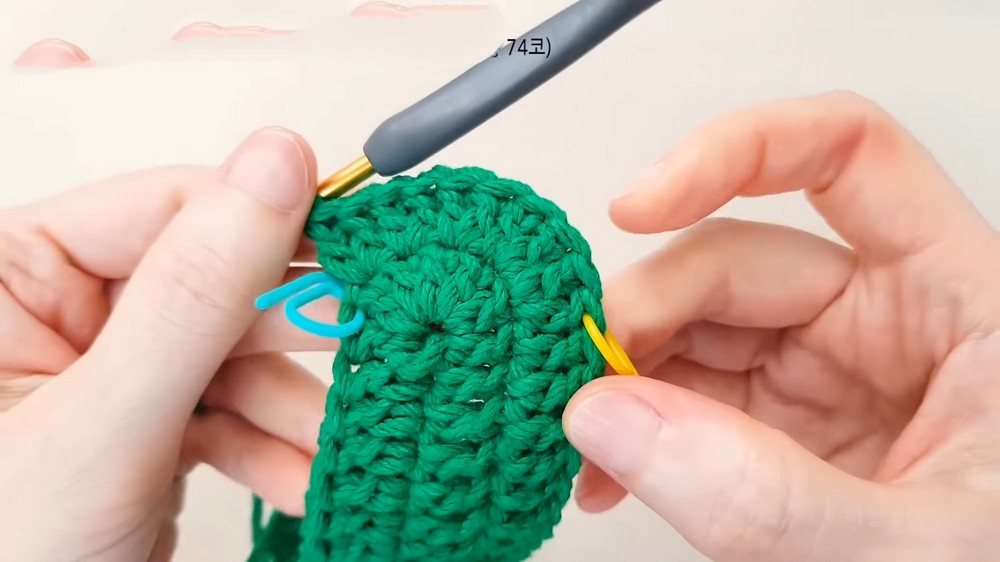
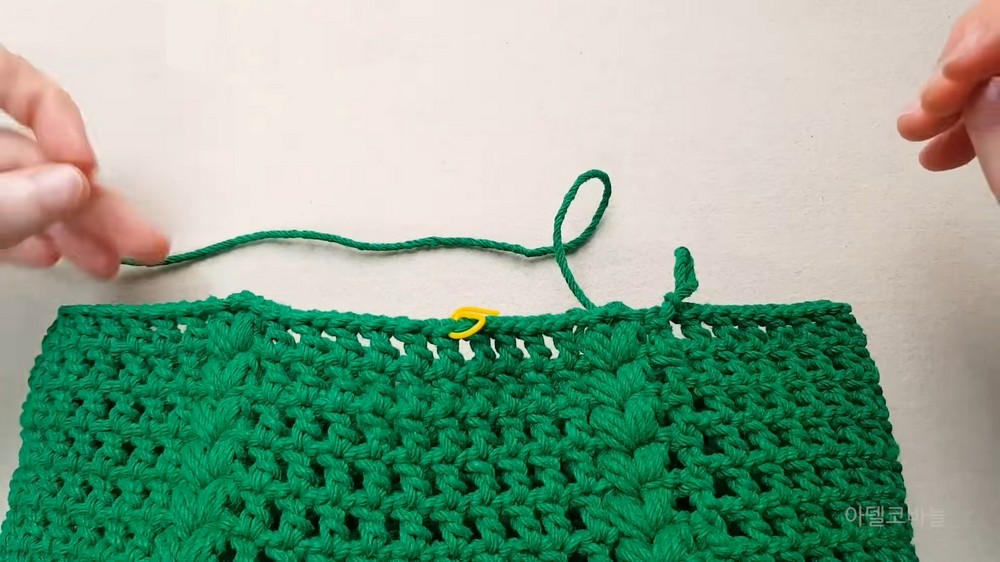
Pattern Creation
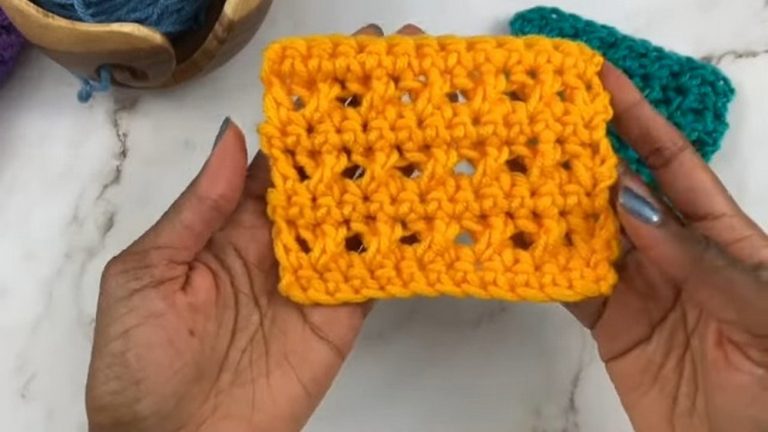
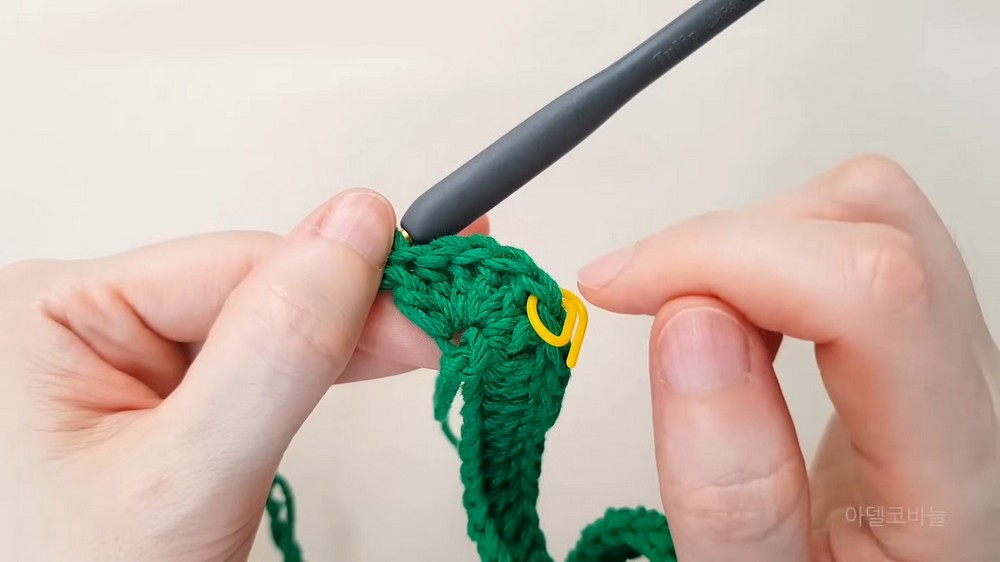
- Integration of the Net Pattern: The next phase transitions to weaving the net pattern. The tutorial emphasizes skipping stitches creatively to form neat patterns while linking puff stitches at strategic intervals to define the bag’s aesthetic.
- Repetition of Pattern:
- Puff stitches are repeated throughout while the net pattern carries forward.
- The process builds on symmetry for consistent results until the layer is complete.
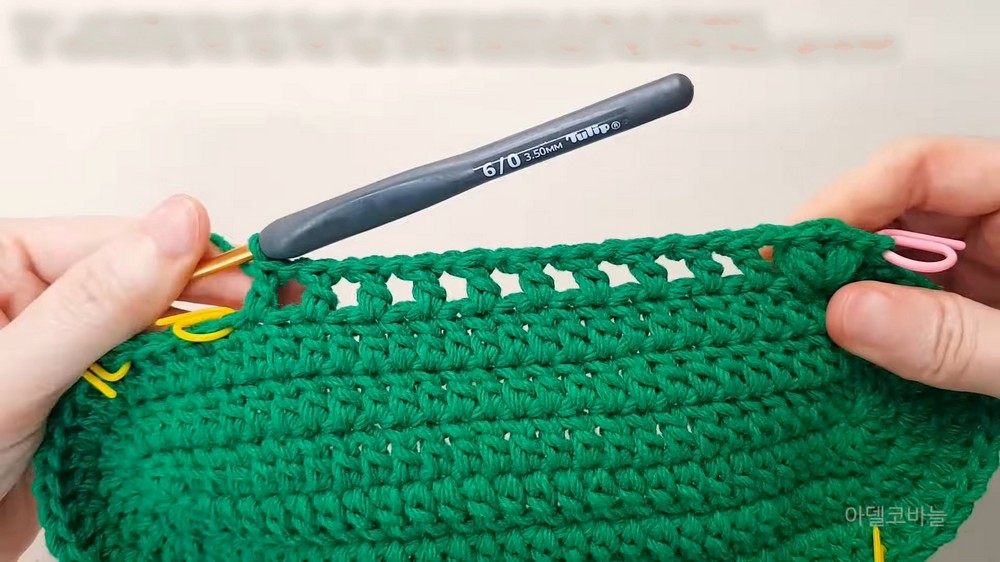
Extending the Body
- Layer Construction: Starting with the third tier, the body of the bag is extended vertically. Adel demonstrates careful attention to keep the net pattern consistent while ensuring that stitches are tight enough for durability.
- Straight Sections: Following the bottom hem, she transitions seamlessly into the straight sections with repetitive net patterns, allowing the bag to grow in height.
- Adjustment Options:
- Viewers are given the freedom to modify the body size by adding more layers or stopping at a specific number (e.g., 11 tiers).
Handle Creation
- Placement and Technique: Handles are knitted directly onto the body using net patterns for consistency. Gathered knitting is incorporated in the middle sections to give the handle a rounded and structured appearance.
- Layer Progression: After narrowing columns in earlier steps, Adel stretches the handle design upward in a cylindrical form. A total of 11 rows is suggested for creating a comfortable handle size.
- Customization: Viewers can extend the length by adding rows to suit their preferences.
Final Touches
- Hemming and Joining: The handle sides are hemmed with a longer thread (approximately 50 cm) for a clean finish. Both sides are joined precisely with darning techniques.
- Adding Buttons:
- A magnetic button is incorporated inside for functional closure.
- A decorative jewel-like button is sewn onto the front for aesthetic appeal.
- Storage Tips: Adel suggests storing the bag with fillers (e.g., yarn balls) to maintain its plump, rounded shape.
Conclusion
This detailed tutorial not only guides viewers through knitting the round net bag step-by-step but also offers tips on customization, assembly, and finishing for a polished final product. The result is a beautifully crafted, functional bag that is lightweight yet sturdy, making it suitable for both beginners and seasoned crocheters.