How to Crochet Strawberry Headband for Beginners

In this post, learn how to crochet a charming strawberry headband using the bobble stitch with a step-by-step tutorial for beginners. You’ll need white, red, and green acrylic yarn, scissors, and scrap yarn for stitch markers. The process begins with creating a slip knot and foundation chain, followed by rows of single and double crochets to form the base and strawberry pattern.
The video also demonstrates changing yarn colors and adding a border with triangle accents. The result is a delightful accessory perfect for any crochet enthusiast. So, follow through with us for the complete tutorial.

Strawberry Headband Crochet Tutorial
This tutorial by the creator provides a detailed step-by-step guide on how to crochet a cute strawberry-themed headband. Below is a summarized version of the tutorial, with instructions broken into clear sections to ensure understanding. The tutorial assumes basic knowledge of crochet stitches like slip knots, chains, single crochets, and double crochets.
Materials Needed
- White, red, and green 8-ply acrylic yarn.
- A crochet hook.
- Scissors.
- Yarn scraps (used as stitch markers).
Step 1: Foundation Chain
- Begin by creating a slip knot with white yarn.
- Crochet a foundation chain according to the specified length. The chain will serve as the base for your project.
Step 2: First Row – Single Crochets
- Work a row of single crochets into the back loops of the foundation chain. This technique creates a neat appearance for the headband.
- Use a stitch marker to mark the first stitch for tracking.

Step 3: Second Row – Single Crochets
- Turn your work and work another row of single crochets.
- Place a stitch marker in the first stitch to maintain alignment.
Step 4: Double Crochet and Color Change
- Crochet a row with double crochet stitches. Introduce red yarn as you work to start creating the strawberry patterns.
- After switching to red yarn, skip one stitch, and create clusters of double crochets in the next stitch.
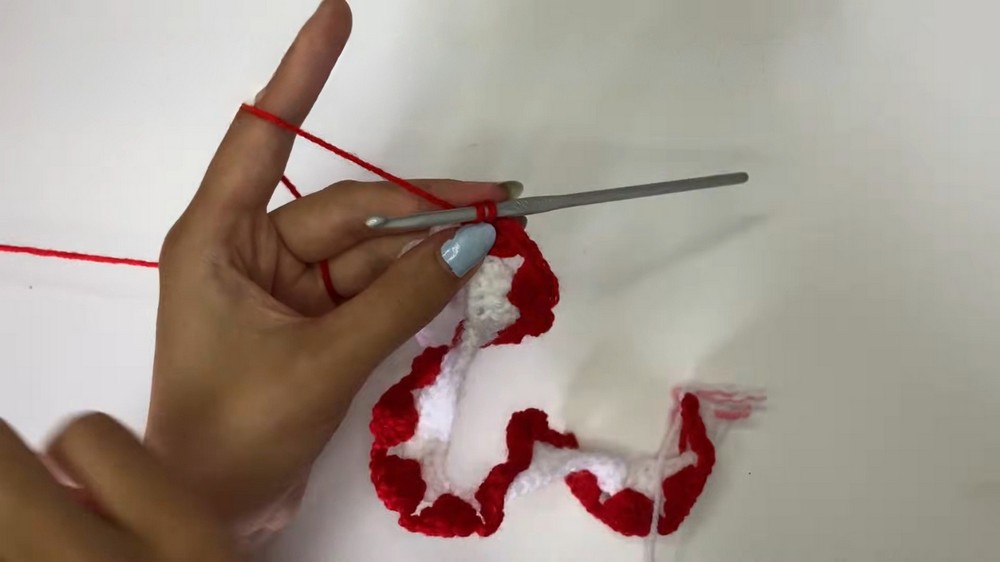
Step 5: Create Strawberry Shapes
- Continue the pattern of skipping stitches and creating clusters.
- Alternate between chaining and working into the specified loops to form the strawberry motifs.
- Switch back to white yarn when finishing the last double crochets of the pattern.

Step 6: Add Green Tops to Strawberries
- Introduce green yarn to create the tops of the strawberries.
- Work into specific stitches above each red cluster to build the strawberry shapes.
- Alternate between green yarn and white yarn for subsequent steps.

Step 7: Adjustments and Neatening
- Finish the row by securing all loose ends.
- Work rows of single crochets and adjust the edges for neatness.
Step 8: Create Triangular Ends
- Crochet small triangles on either end of the headband for better functionality and aesthetic balance.
- Work in rows of decreasing single crochets until a single stitch remains.

Step 9: Border and Ties
- Add ties to the ends by chaining long strands from the tips of the triangles.
- Create slip stitches or single crochets along the chain, then reinforce the edges of the headband by crocheting along the borders.
- Ensure to hide all loose yarn ends as you work.
Finishing Touches
- Cut and secure the yarn with a final knot.
- Weave in any remaining yarn tails for a clean finish.