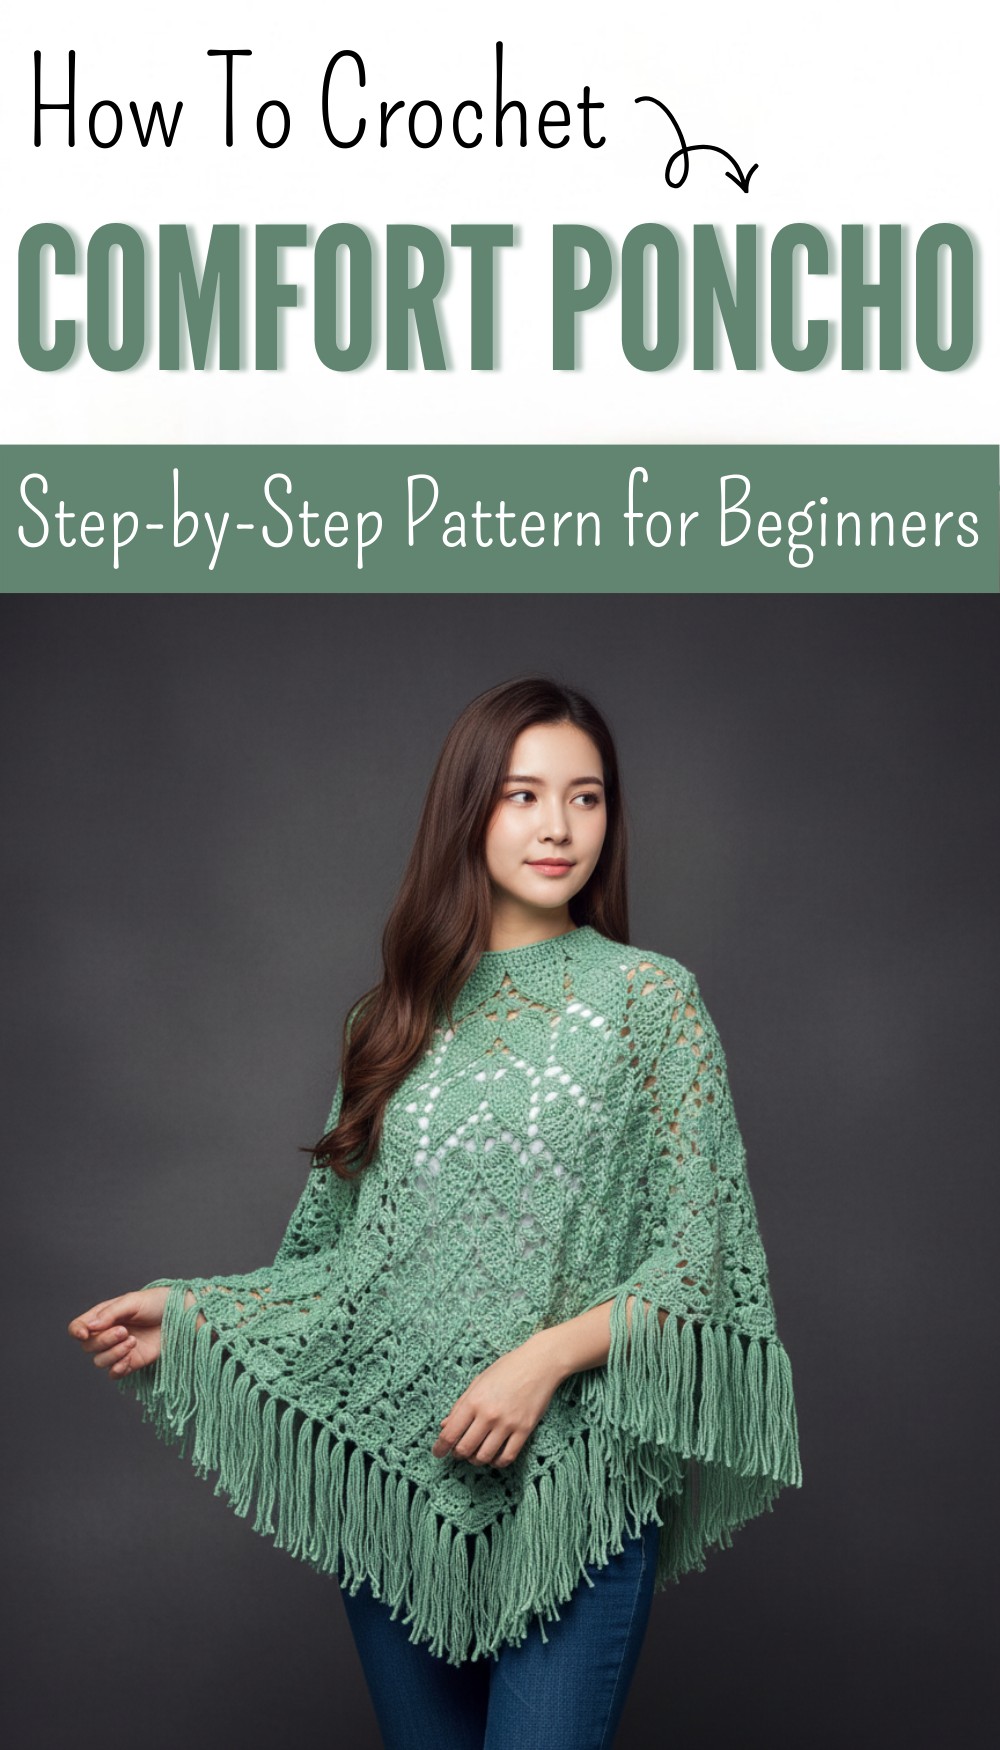
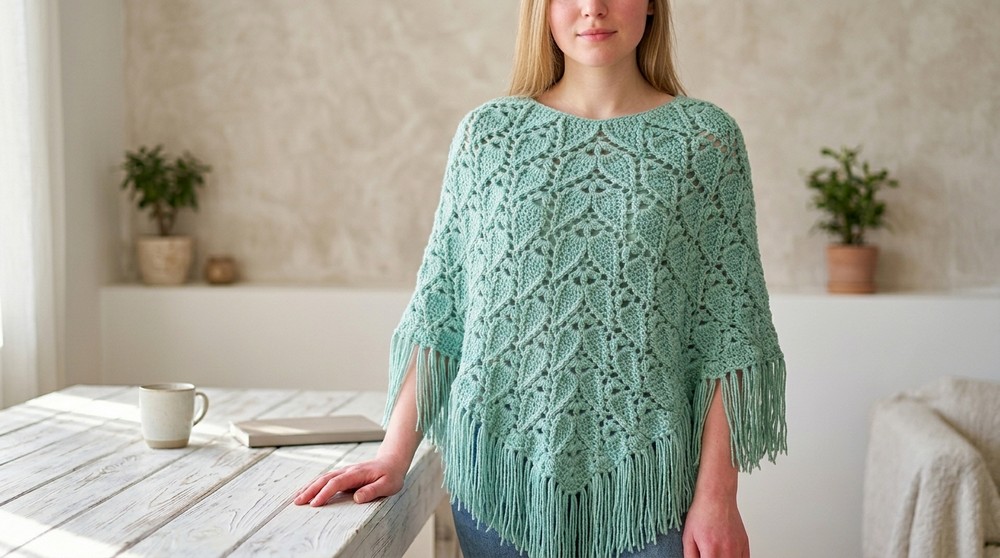
Elegant Free Crochet Poncho Pattern for a Stylish Layer

Effortlessly stylish and cozy looks await with a free crochet poncho pattern perfect for adding comfort and charm to any outfit with ease.
Many clothes cannot give you the same mix of comfort and beauty that a crochet poncho pattern brings. Soft and warm, it rests gently over your shoulders, making you feel both cozy and stylish. Its open shape offers easy movement and fits all body types, so there is never any struggle with tight or tricky sleeves. The crochet poncho pattern lets you choose bright, fun colors or calm, gentle shades to match your favorite looks and moods.
Lacy Free Crochet Poncho Pattern for a Lightweight Feel
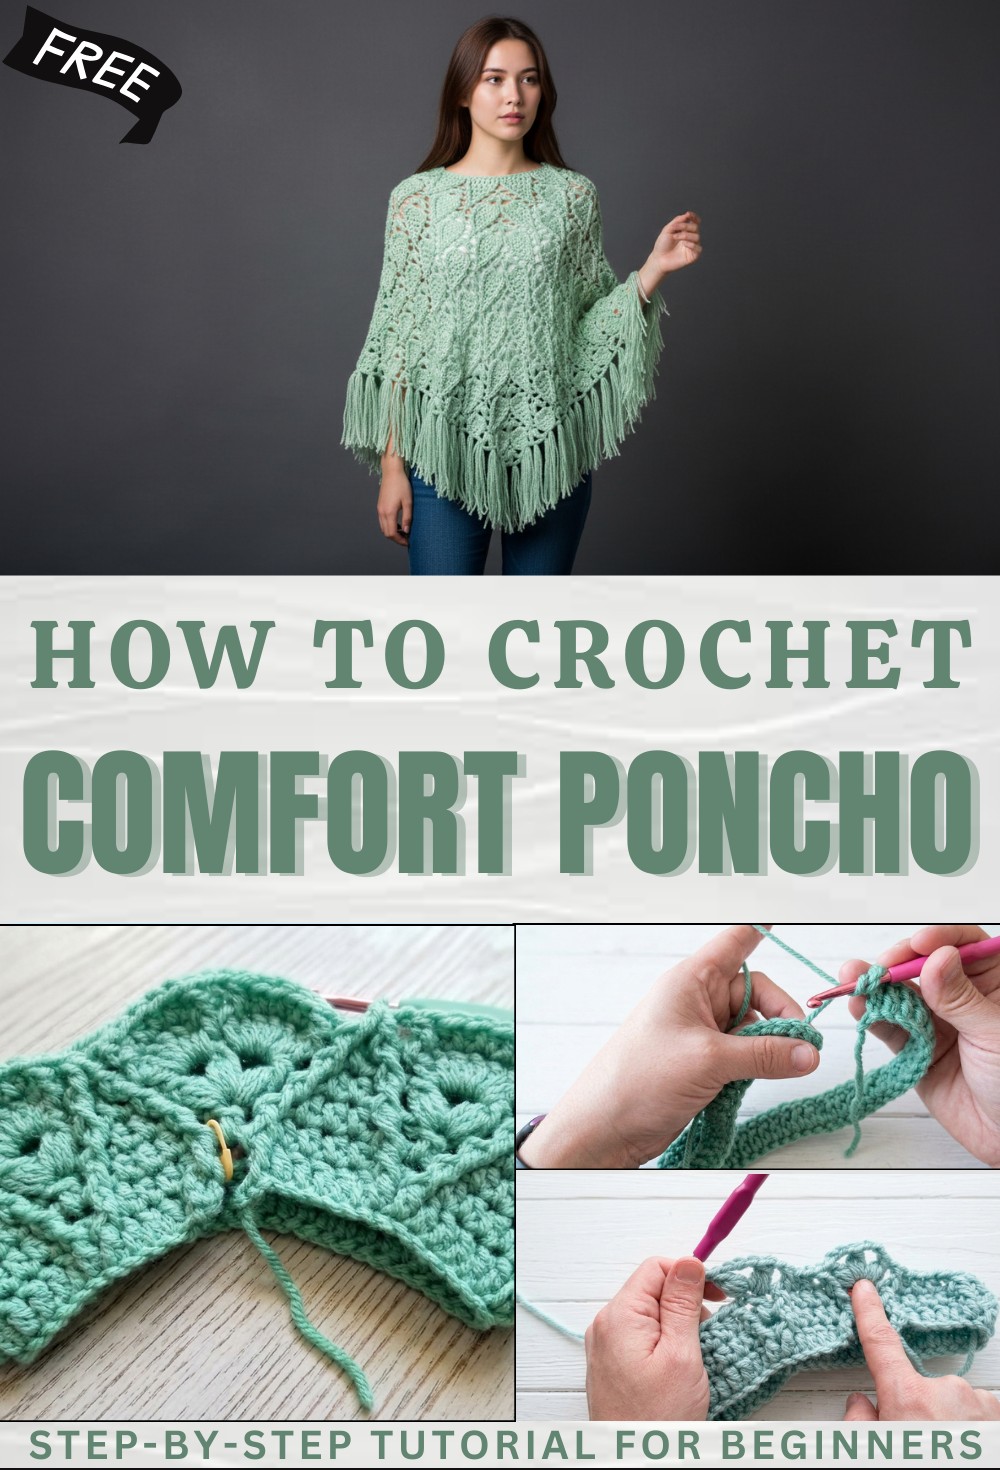
It works perfectly for cool evenings, quick walks, or simply relaxing at home. Easy to wash and take care of, this poncho pattern is made to fit easily into your daily life. Simple to make and fun to wear, it adds charm, warmth, and flexibility to any outfit, becoming a trusted piece that brings joy each time you put it on.

Free Crochet Poncho Pattern
Materials
- Yarn: Size 4 (Medium / Worsted Weight Yarn)
- Hook: US Size H-8 (5 mm)
- Notions (Optional): Stitch markers, tapestry needle, measuring tape, scissors
Abbreviations (US Terms)
| Abbreviation | Meaning |
|---|---|
| ch | chain |
| sl st | slip stitch |
| sc | single crochet |
| hdc | half double crochet |
| dc | double crochet |
| sk | skip |
| st(s) | stitch(es) |
| rep | repeat |
Special Notes
- The beginning chain must be a multiple of 7, and should measure the circumference of the head plus 4-6″ (10–15 cm) for a comfortable fit.
- Always count your stitches at the end of rounds to ensure pattern alignment.
- The pattern is worked in the round; do not join unless specified, simply continue to the next round.
- For a longer poncho, continue repeating rounds as desired.
Pattern Instructions
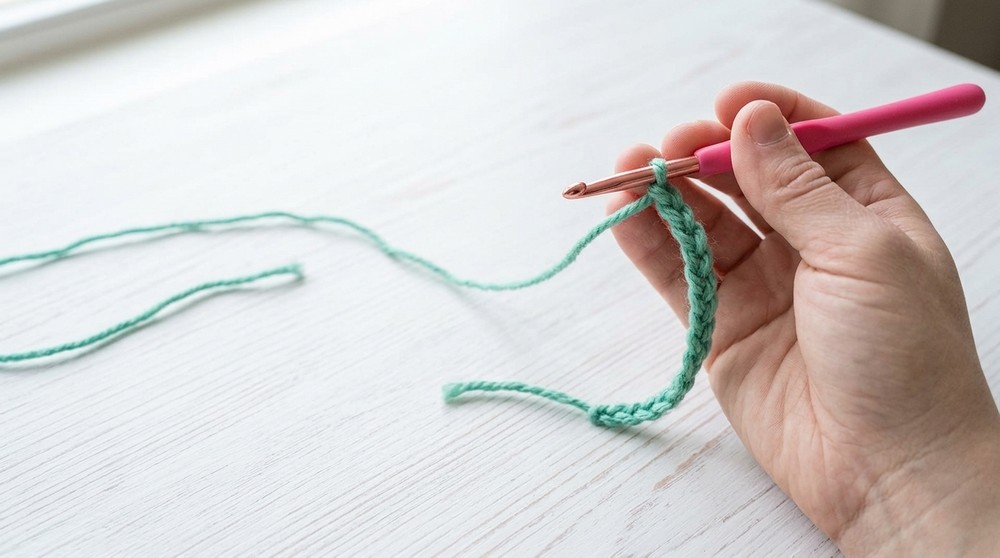
1. Foundation Chain
- Start with a slip knot and chain a multiple of 7.
- Example: Chain until the length fits head circumference + 10–15 cm (for stretch and comfort).
- (Tip) For children’s ponchos, make fewer chains, for adults add more as needed.
2. Setup Round
- Ch 3 (counts as first dc).
- Dc in the 4th ch from the hook and in each ch across.
- If you have extra chains, unravel them or ignore (they can be woven in later).
- Do not join; continue working in rounds.
3. Round Structure Overview
Each round alternates between groups of back post double crochets (BPdc) and hdc clusters for texture, separated by chains and V-shape increases at marked points.
4. Round 1
- Ch 3 (counts as first dc), dc in each st around.
- Place a marker at the midpoint and opposite side of your round. These mark the “peaks” (V-points).

5. Round 2
- Ch 2, BPdc around the first dc of the previous round.
- Ch 2, sk 1 st, BPdc around next st (repeat across).
- At each marker (peak), work [dc, ch 2, dc] in the same st (creates the V-shape).
- Between peaks, repeat [4 hdc in next 4 sts, BPdc, ch 2] sequence.

6. Round 3
- Over each ch-2 space: Work 1 dc, ch 1, BPdc around next st.
- After each peak, adjust as follows:
- At V-point [dc, ch 3, dc] in same space (increase).
- In groups, work hdc in next 3 sts, BPdc in next st.
7. Round 4
- At each ch-3 V-point: Work 3 dc, ch 3, 3 dc in the same space (for each “V” tip).
- Continue established pattern [BPdc, hdc clusters] in sections as before.
8. Round 5
- In each chain space of V-point: Work 7 dc.
- Between V-points: Continue [BPdc, hdc groups].
- Ch 1 between each motif for spacing.
9. Round 6
- After a BPdc, work 4 hdc in next 4 sts.
- At each peak:
- BPdc in next st, ch 2, BPdc in next st (decrease),
- ch 1, [BPdc2tog over next 2 sts], ch 1.
- This reduces the cluster to prepare for repeat.

10. Pattern Repeat
- Repeat Rounds 3–6 until the poncho reaches your desired length.
- Always place V-point increases at the marked center front and back.
Assembly & Finishing
- Fasten off.
- Weave in all ends using a tapestry needle.
- (Optional) Add fringe, edging, or decorative buttons as desired.
Pattern Correction
- Be sure to maintain multiples of 7 throughout; this is essential for the proportions of the peaks and valleys in the poncho.
- Mark the centers after the first round and verify before each increase round.
Helpful Tips
- If confused by the direction of BPdc, remember: Insert hook from the back, around the post of stitch, and complete dc as usual.
- Use stitch markers at the peaks (front and back) to remember where to make your increases.
- Check your gauge for size accuracy; adjust hook or yarn weight as needed.
Conclusion
Congratulations! You now have a step-by-step written pattern based on the video instructions. This easy-to-customize poncho will grow smoothly as you repeat the pattern rounds. For even more clarity, refer to the chart/graph linked in the blog or description.