Fashionable Crochet Neckpiece Pattern With Luxe Vibes

Accessorize any outfit with this Crochet Neckpiece Pattern featuring elegant detail and a lightweight feel that adds instant flair to looks.

Unique Crochet Neckpiece Pattern Ready for Styling
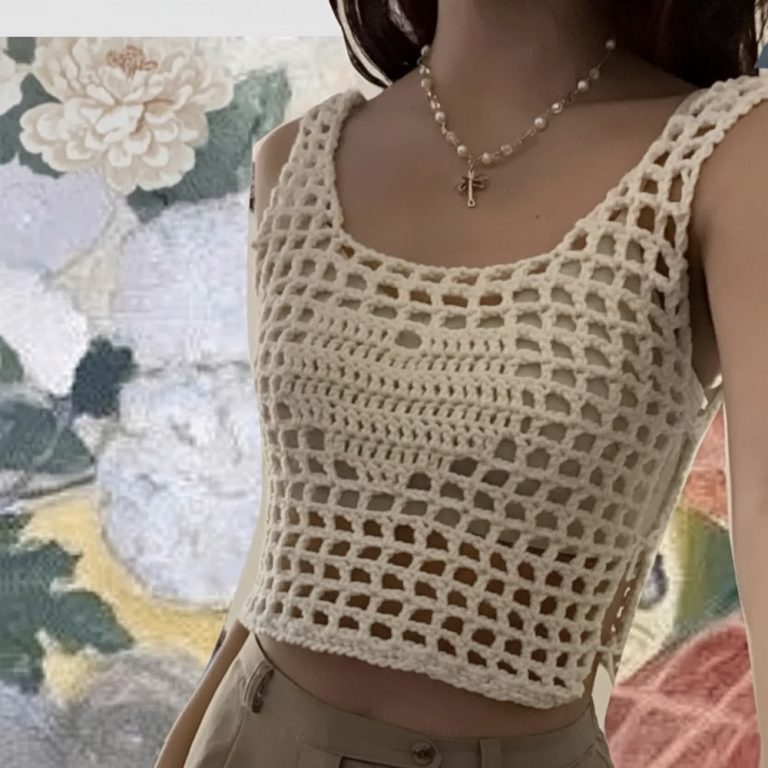
Delicate details and elegant designs make this accessory a favorite choice for those who love stylish looks. The crochet neckpiece pattern brings a beautiful blend of soft texture and eye-catching colors, turning simple outfits into something special. It works well with many types of clothing—whether you pair it with a dress, a blouse, or a t-shirt, it always adds a touch of grace. Lightweight and comfortable, it’s easy to wear all day, and the adjustable ties let you find just the right fit.

You can choose the shades and style that suit you best, making every piece one-of-a-kind. This pattern stands out for its mix of elegance and versatility, offering a beautiful way to show off your personality and upgrade your everyday or party look. With its simple care and lasting beauty, it makes every outfit feel more charming and memorable.
Materials Needed
-
Yarn: Bernat Maker Home Dec (Tubular Cotton Yarn)
-
Hook: 6.5 mm (K) crochet hook
-
Tools: Scissors, tapestry needle
Pattern Details
-
Skill Level: Beginner
-
Stitch Guide:
-
sc: Single crochet
-
hdc: Half double crochet
-
sl st: Slip stitch
-
BLO: Back loop only
-
FLO: Front loop only
-
Step-by-Step Instructions
Phase 1: The Foundation Band
-
Foundation: Create an adjustable loop and chain 33.
-
Row 1: sc in the 3rd chain from hook and in every chain across.
-
Row 2 (Ribbing Setup): Ch 2, turn. Work hdc in the BLO of every stitch across (approx. 32 hdc).
-
Row 3 (Finishing the Band): Ch 2, turn. Work hdc in the FLO of every stitch across. This creates a ribbing effect on the front side only.


Phase 2: Creating the Graduated Loops
In this section, you will create long chains that loop back and forth across the band, decreasing in length to form a “V” shape.
-
Loop 1: Starting at the end of Row 3, chain 120.
-
Attach Loop 1: Stretch the chain to the opposite corner of the band and sl st to attach.
-
Step Down: sl st into the very next stitch on the band.
-
Loop 2: With the wrong side facing up, chain 110.
-
Attach Loop 2: Skip 1 stitch on the band and sl st into the next stitch.
-
Graduation: Continue this process, rotating the piece and attaching on the opposite side each time. Decrease the chain count by 10 for each loop until you reach 60 chains.
-
Center Finish: Once you hit 60 chains, decrease the chain count by 5 for each loop until you reach 15 chains.
-
Secure: sl st at the very center of the neckpiece and fasten off.

Phase 3: Neckties & Finishing
-
Tie 1: Chain 30.
-
Upper Border: With the right side facing up, sl st the chain to the upper corner of the band. Work sl st into every stitch across the top edge of the band.
-
Tie 2: Once you reach the opposite corner, chain 30 again.
-
Fasten: Cut yarn, fasten off, and weave in all loose ends with your tapestry needle.

Conclusion
Your African-inspired neckpiece is complete! The tubular yarn ensures the loops stay defined and lightweight. Feel free to experiment by adding wooden beads to the loops or using contrasting colors for the band and the fringe.