Free Crochet Pareo Skirt Pattern (Beach Ready)
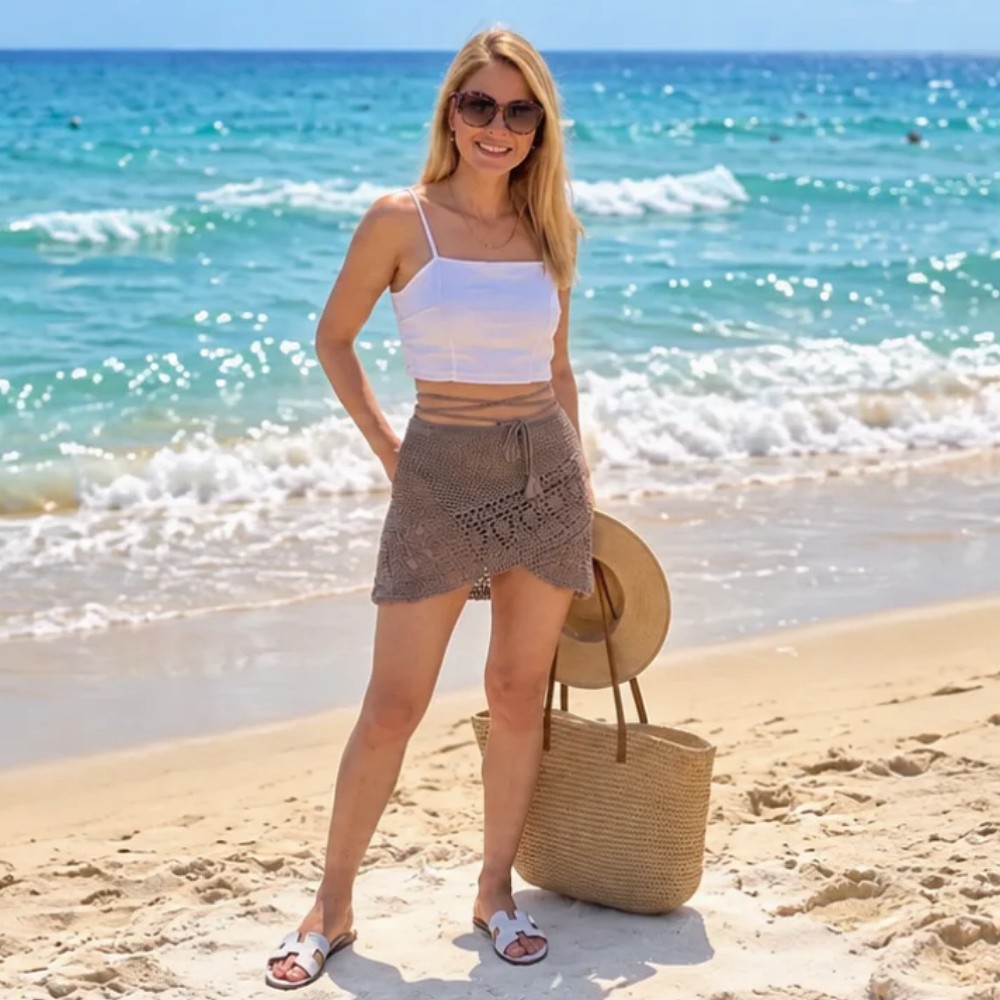
Flaunt effortless beach style with this free crochet pareo skirt pattern that layers comfort and breezy elegance perfect for warm weather outings.
Get ready for sunny days with a beautiful handmade accessory. This Free crochet Pareo Skirt Pattern guides you in making the perfect beach cover-up. It’s a stylish and useful addition to your vacation wardrobe or a wonderful, thoughtful gift for a friend. This beautiful pattern comes from the creative channel Magic Knots. They specialize in clear, step-by-step tutorials that help you create stunning handmade projects with ease.
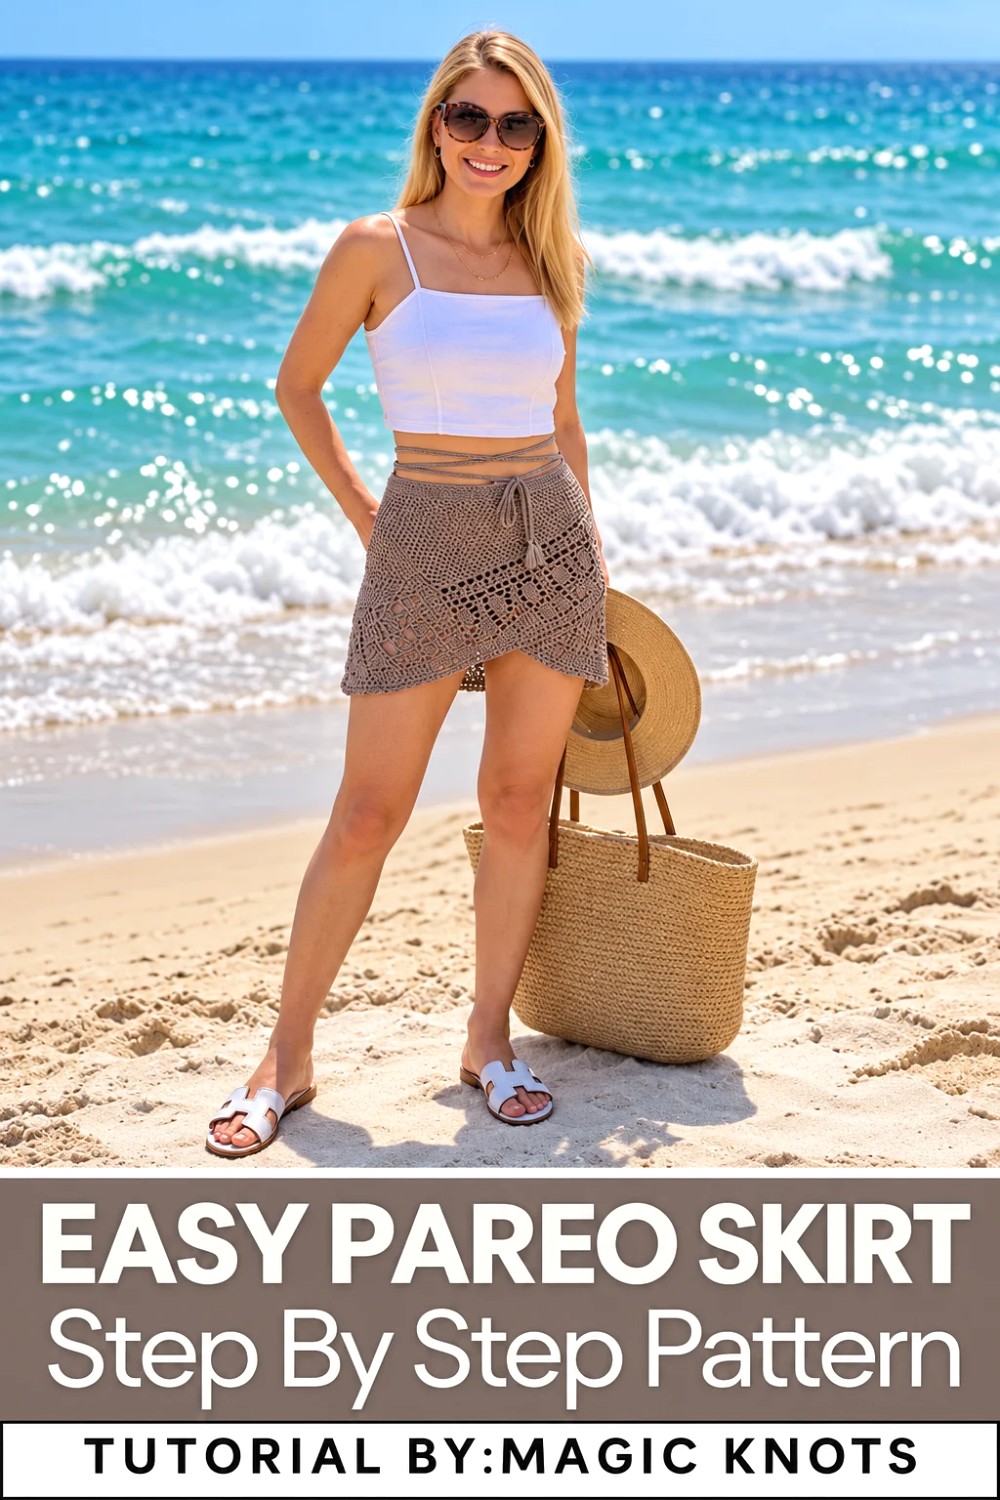
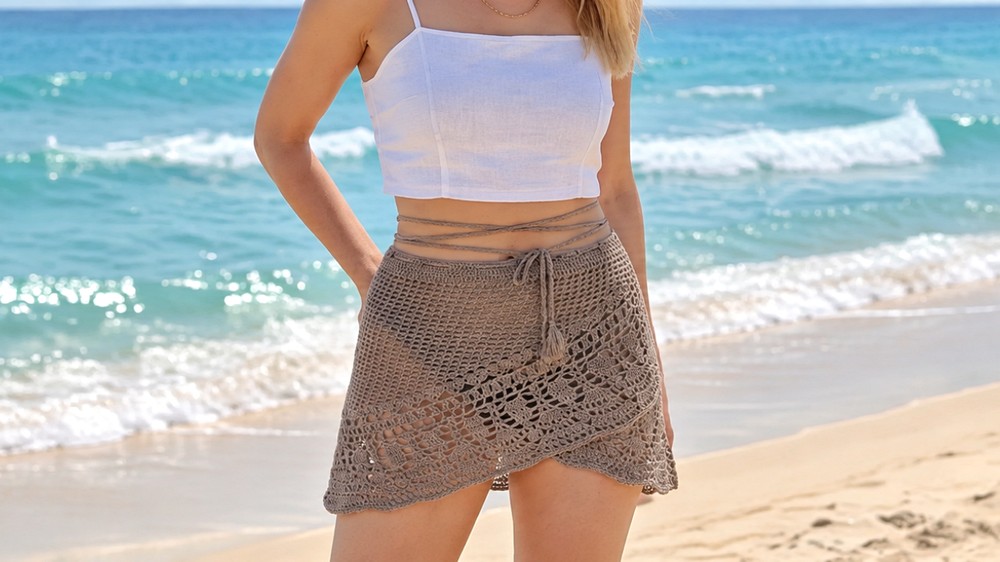
This gorgeous skirt features an airy, mesh-like stitch pattern that creates a beautiful, lightweight fabric. The openwork design is perfect for warm weather, offering a bit of coverage while still feeling breezy and cool against your skin. You’ll love how it drapes and flows with every step.
Free Pattern: Tie-Front Crochet Pareo Skirt
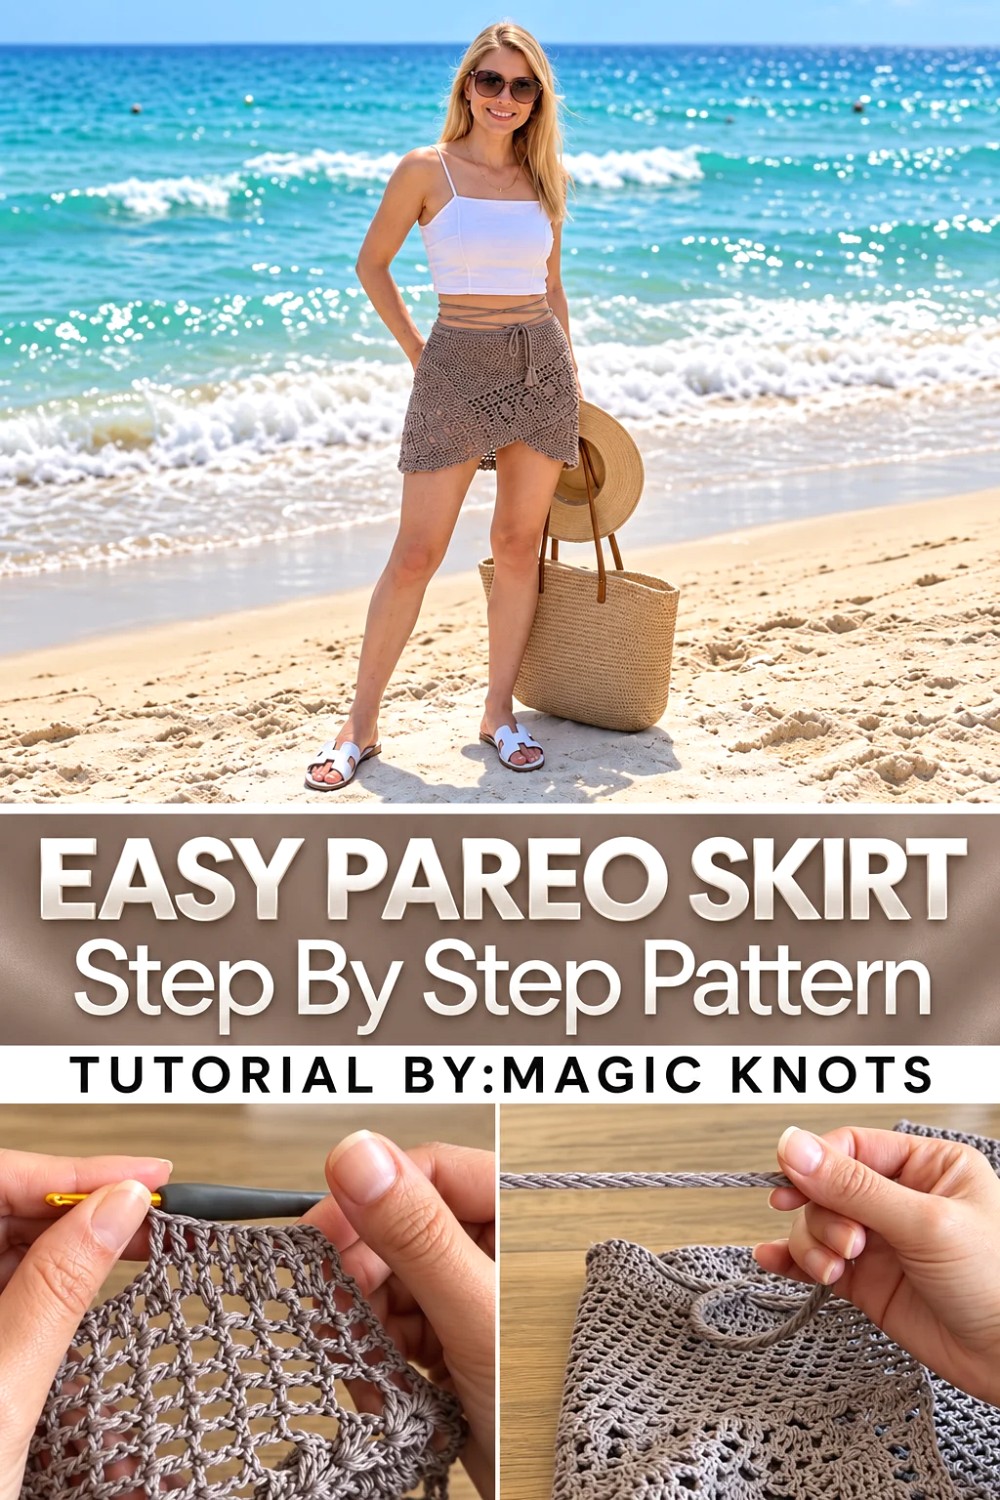
The clever construction shapes the skirt perfectly to wrap around your body. It begins with increases to create a flowing, triangular panel, then works straight across the back for more coverage, and finally decreases to mirror the shape on the other side for a truly custom fit.
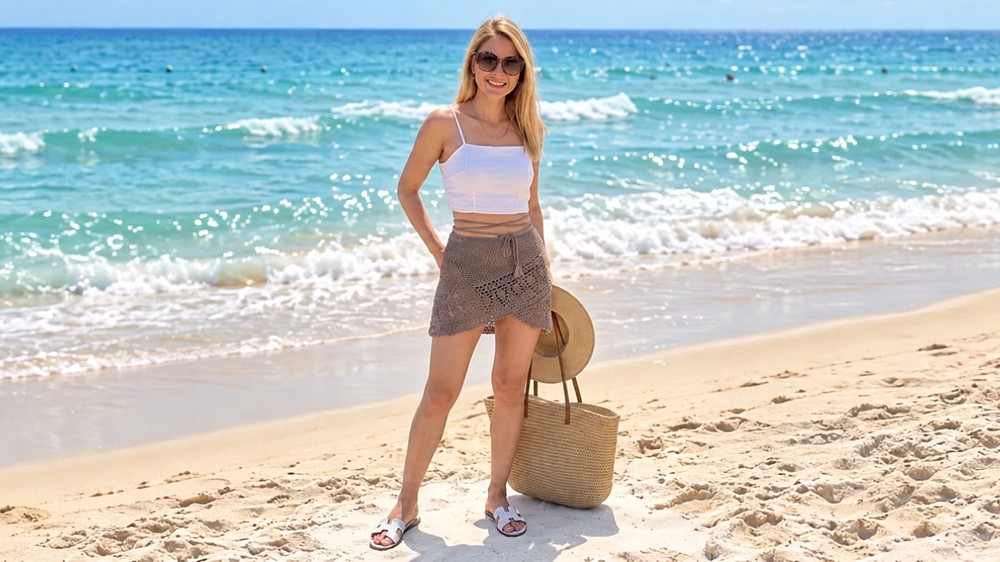
A stunning, decorative lace border along the hem adds an extra touch of elegance and visual interest, making it stand out from typical cover-ups. The simple drawstring waistband ensures a comfortable and adjustable fit, making it easy to tie on over your favorite swimsuit.
Easy Crochet Pareo Skirt Pattern for Beginners
This pattern will guide you step-by-step to create a lovely, lightweight crochet pareo skirt using thin cotton yarn and a 2.5 mm crochet hook. The skirt is triangular in shape and features a pretty lacy border with a functional waistband and drawstring for adjustability. Follow along to make your own beautiful and comfortable skirt!
Materials Needed
- Thin cotton yarn suitable for 2.5 mm hook
- Crochet hook size 2.5 mm
- Yarn needle
- Scissors
- Stitch markers (optional)
- Measuring tape
Abbreviations to Know
| Abbreviation | Stitch | How to Work |
|---|---|---|
| ch | Chain | Yarn over, pull loop through initial loop |
| dc | Double Crochet | Yarn over, insert hook, pull yarn through 2 loops twice |
| tr | Treble Crochet | Yarn over twice, insert hook, pull through loops |
| sc | Single Crochet | Insert hook, yarn over, pull through 2 loops |
| popcorn | Popcorn Stitch | Group of stitches worked into one base stitch, drawn together to pop out |
| V-stitch | Special Stitch | (2 dc, ch 2, 2 dc) all worked into the same stitch or space forming a “V” shape |
Overview of the Pattern
- Start with a small foundation chain.
- Create V-stitches to form the base row and start shaping the skirt.
- Increase stitches on one edge for skirt flare, working back and forth in rows.
- Work straight rows to build length.
- Decrease symmetrically to complete the triangle shape.
- Add a pretty lacy border with treble crochet clusters and fan stitches.
- Finish with a waistband and drawstring casing.
Step-by-Step Crochet Instructions
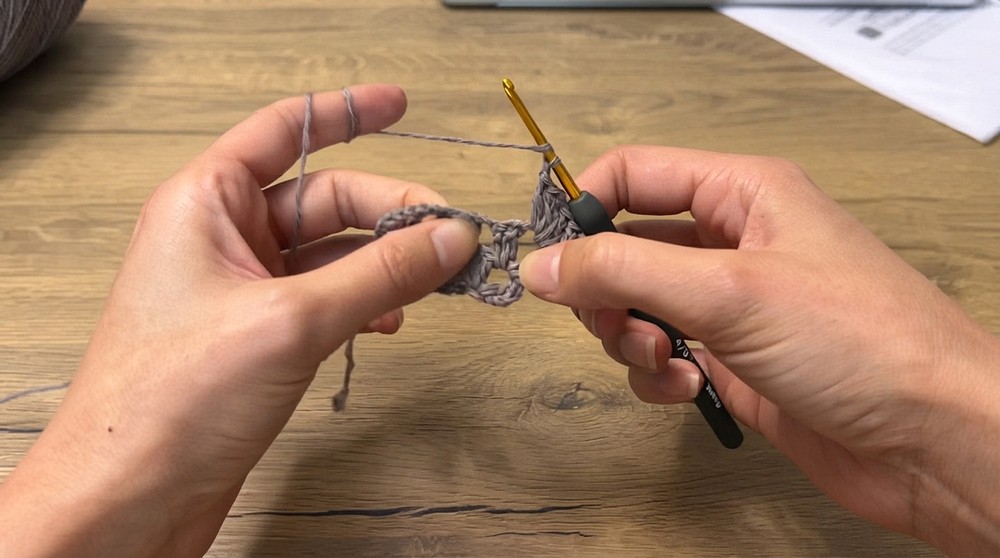
1. Foundation and First Row (Starting the Base)
- Chain 12 stitches.
- Skip the first 3 chains from your hook.
- In the 4th chain from the hook, work a V-stitch:
- 2 double crochets (2 dc),
- then chain 2 (ch 2),
- and 2 double crochets (2 dc) into the same stitch.
- Continue across the row: separate double crochet (dc) stitches with chain 1 (ch 1) spaces, working evenly to make a base row of V-stitches and single dc stitches.
2. Increasing Rows (Shaping the Skirt Flare)
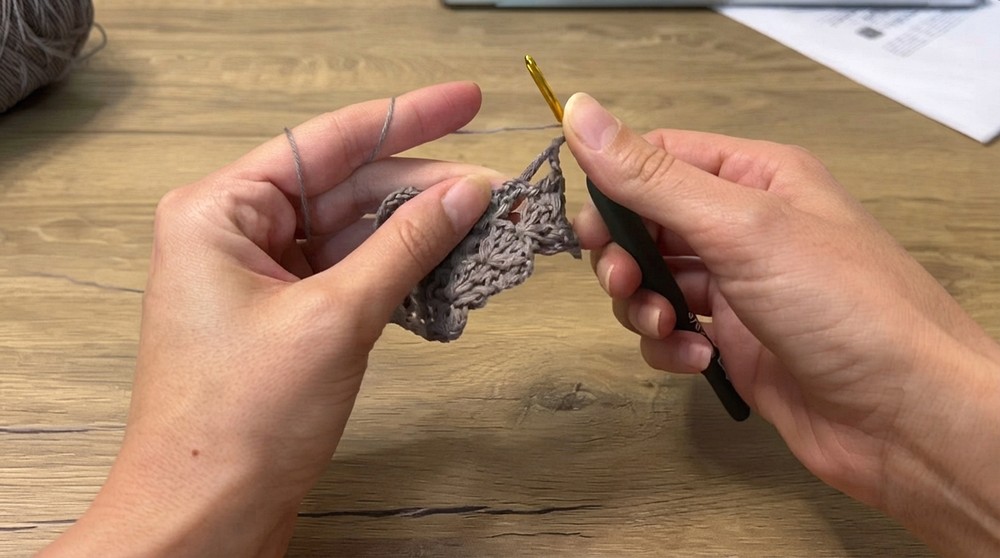
For the next 30 rows, you will increase on one edge to create a triangle shape.
- Work back and forth in rows as follows:
- Add 1 extra double crochet (dc) at the V-stitch point (increasing edge) on every row — this will gradually widen the skirt.
- Keep the opposite edge (waist edge) flat without increases for a straight line.
- After 30 rows, you should have about 40 cm along the increasing edge.
- This shaping causes the skirt to flare out beautifully.
3. Straight Rows (Adding Length)
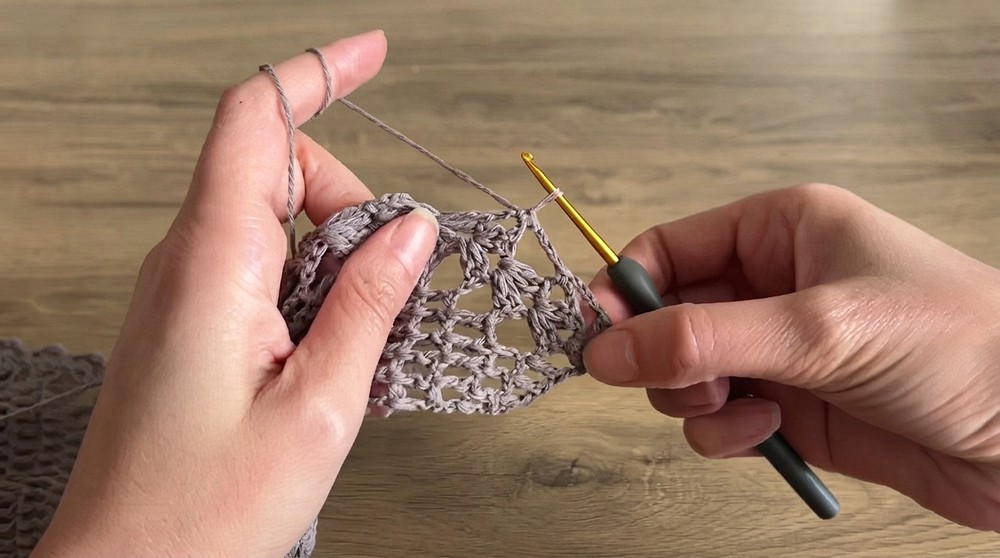
- Stop increasing stitches and continue working straight rows.
- Work 41 rows with a constant stitch count on both edges.
- This will give your skirt approximately 45 cm of length while keeping the flare steady.
4. Decreasing Rows (Forming the Other Side of the Triangle)
Now you will shape the skirt back towards the starting point by decreasing stitches on the flared edge.
- Skip the last stitch at the end of each row on the increasing side — this reduces the stitch count gradually.
- Continue decreasing until the stitch count returns to the original 4 stitches at this edge.
- This completes the symmetrical triangular shape of the skirt.
5. Decorative Border & Lace Details
Add a beautiful edge and texture to your skirt with these steps:
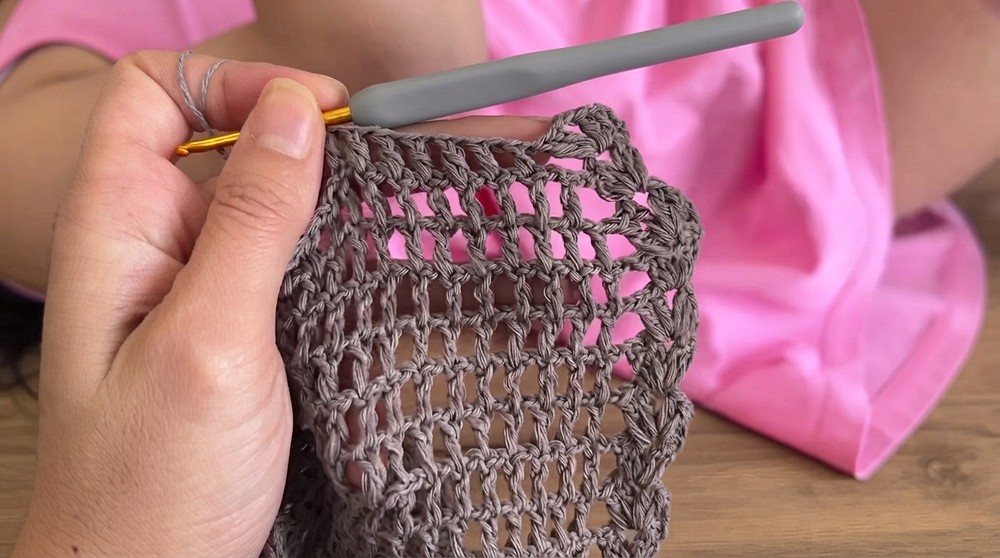
- Along the entire edge, work loops of chain 4 (ch 4), and secure each loop with a single crochet (sc) to form a delicate scalloped border.
- Work lace pattern rows including:
- 3 treble crochet (tr) clusters,
- V-stitches (2 dc, ch 2, 2 dc),
- and fan stitches made by working 6 double crochet (6 dc) in one chain loop.
- These stitches create a lovely openwork look, ideal for a breezy skirt.
- For the final detail, make a row of decorative cluster or popcorn stitches that add a raised texture around the hem.
6. Waistband Finishing
- Crochet a neat row of single crochets (sc) around the waistband edge to strengthen and tidy it.
- Create a row with gaps (by chaining and skipping stitches) to form a drawstring casing.
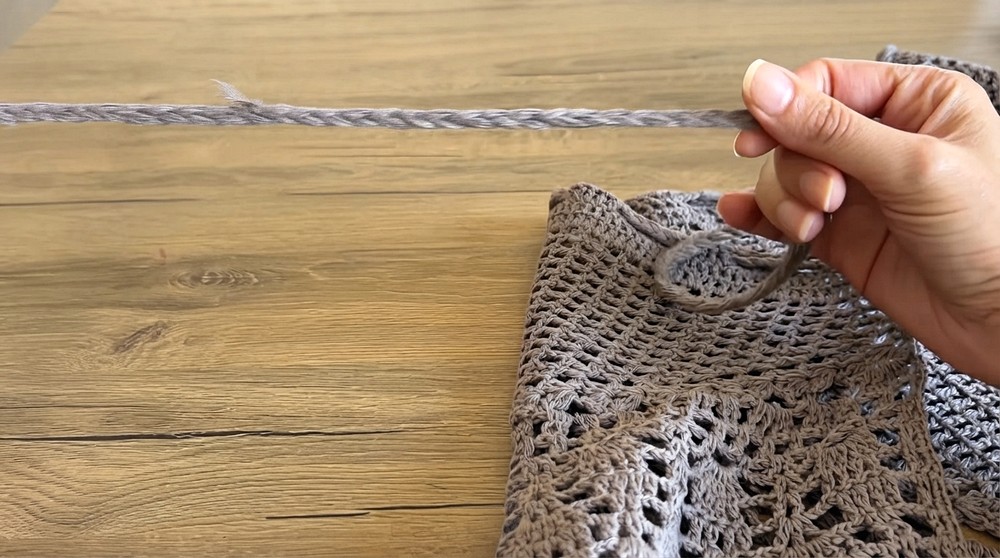
- The drawstring can be a simple braided yarn threaded through these gaps to adjust the waist fit securely.
Assembly & Finished Size
- The completed skirt forms a flexible triangular panel approximately 85 cm long combining all sections.
- The waistband edge is straight and finished with a sturdy row of single crochet stitches and drawstring casing.
- The flared hem features a scalloped and lacy design that hangs beautifully.
- You can customize width and length by changing the number of increase, straight, and decrease rows to suit your size.
Final Tips
- Use stitch markers to help count increases and decreases evenly.
- Take measurements frequently for fitting adjustments.
- Practice the special stitches like V-stitch, popcorn, and fan stitches on a swatch before starting the skirt.
- Maintain consistent tension for even shaping and neat edges.
Conclusion
With just a few foundational crochet stitches, you can create this stylish, lightweight crochet pareo skirt perfect for warm weather or beachwear. The pattern introduces shaping through simple increments and decrements, combined with pretty lacy accents that elevate the overall look.
Intermediate beginners will find this project an excellent way to grow skills and produce a stunning handmade garment. Adjust sizing easily, enjoy the relaxing rhythm of crochet, and take pride in wearing a skirt you made yourself!