Free Crochet Short Skirt | Simple Pattern
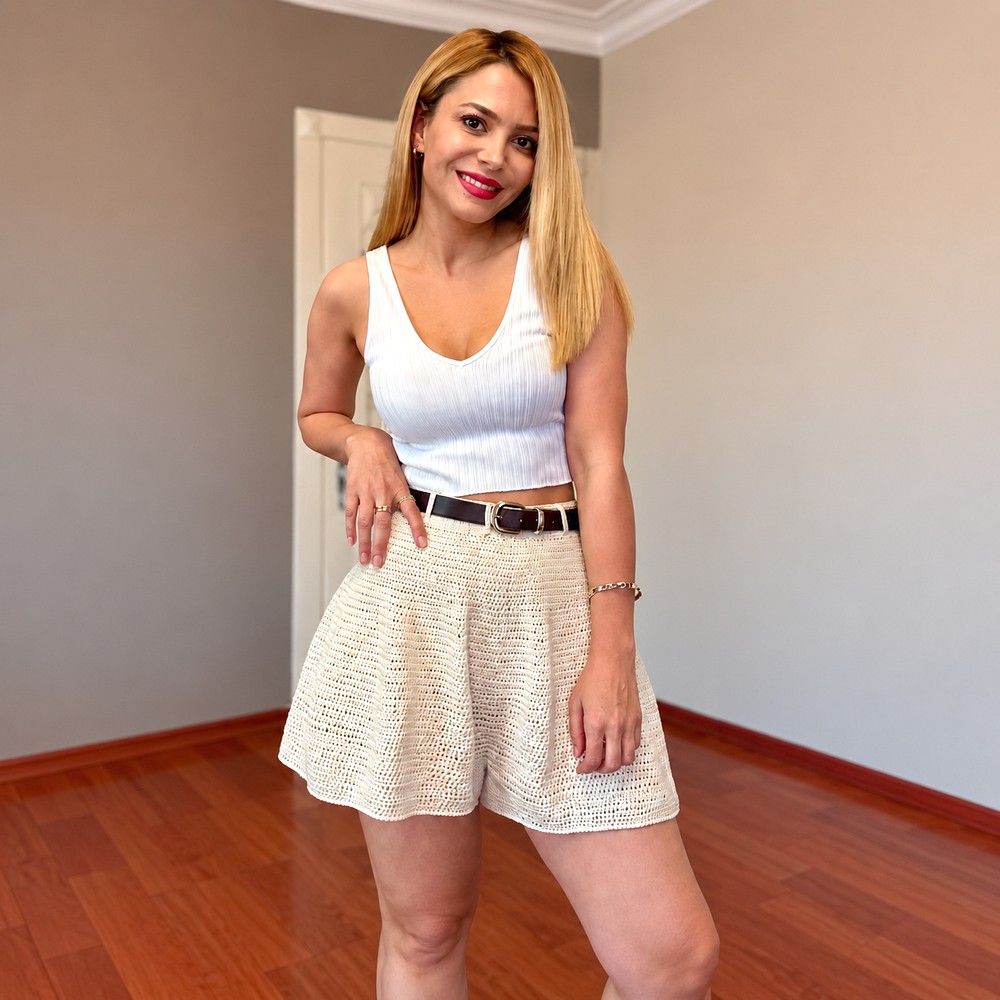
Refresh weekend attire attractively with this free crochet short skirt pattern that’s showcasing lightweight construction and flattering silhouette appeal.
Making your own clothes is so much fun, and the Magic Knots YouTube channel has fantastic videos to help you. With their easy-to-follow tutorial for this Free Crochet Short Skirt Pattern, you can make a super cute, handmade skirt for your wardrobe. It’s the perfect project to create something you’ll be proud to wear for any casual day out. This is a great way to learn new skills while making something beautiful.
This crochet mini skirt is designed to be both pretty and comfy. It has a lovely shape that is fitted at the top and gently flares out at the bottom, making it fun to twirl in. The fabric you create with your hook has a wonderful, soft feel that is pleasant to touch.
Free Short Skirt Crochet Pattern for Summer
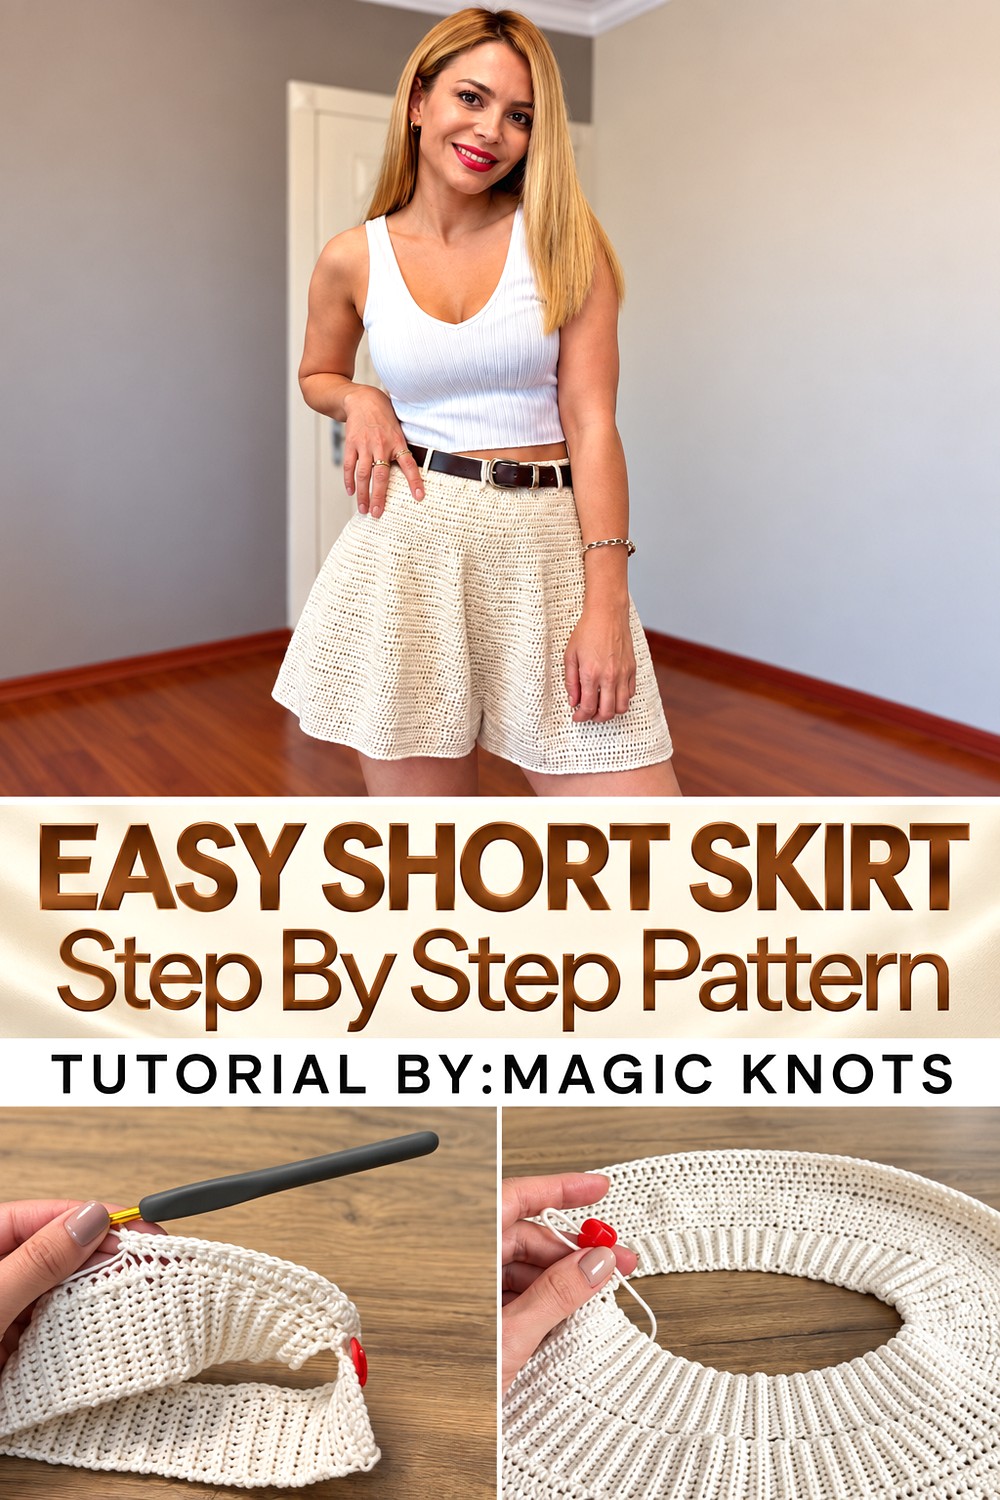
It’s not just a flat piece of fabric; the special stitch gives it a beautiful, raised design that looks really cool and makes the skirt stand out from anything you could buy in a store. One of the best things about making this skirt is that you crochet it from the top down. This is great because it means you can try it on as you make it to get the perfect fit.
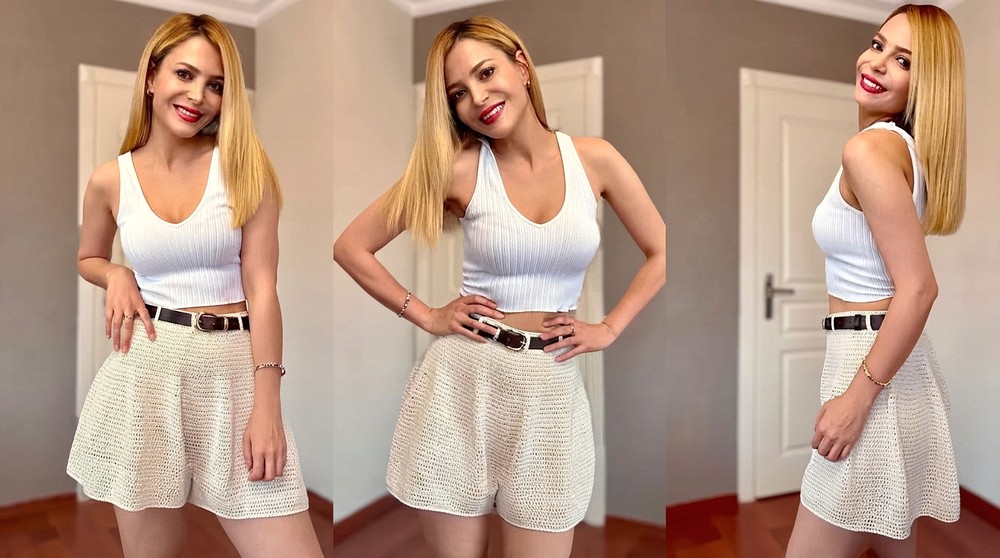
The waistband is made to be stretchy and cozy, and it has a simple drawstring you can tie to make sure it feels just right. You can make it your own by choosing bright, happy colors for summer fun, or warm colors for a cute fall outfit with tights. It’s a wonderful way to create a skirt that shows off your unique style.
Comfortable and Stylish Crochet Skort Pattern
This detailed crochet pattern instructs you on how to create a comfortable, stylish crochet skort — a skirt with integrated shorts — perfect for casual wear with the ease of shorts and the look of a skirt. Made with thin, tightly wound cotton yarn and worked mostly in half-double crochet stitches, this skort features a flexible ribbed waistband, shaped body with gradual increases, and comfortable shorts.
Quick Overview of Pattern
- Construct the waistband using single crochet in the back loops only to achieve a ribbed, elastic effect.
- Join ends to create a flexible waistband band.
- Transition into half-double crochet (hdc) stitches for body construction with carefully placed increases to shape the skirt portion.
- Design shorts by dividing the piece and bridging legs with a chain connecting back of the legs.
- Finally, work legs in continuous rounds of half-double crochet, finishing edges with single crochet and optional belt casing.
Notes
- The pattern is worked in the round starting from the waistband.
- Increases occur gradually in specified rounds to give shaping without bulk.
- Stitch markers are essential for marking divisions and tracking rounds.
- The waistband width and skort size can be customized by adjusting chain foundation and length worked.
- This design prioritizes both comfort and style, with well-defined leg openings and shaped skirt overlay.
Skill Level
This pattern is suitable for advanced beginners to intermediate crocheters familiar with:
- Working in rows and rounds
- Single crochet (sc), especially worked in back loops only (BLO)
- Half-double crochet (hdc)
- Increasing stitches by working two stitches in one base stitch
- Using stitch markers and working continuous rounds
- Simple seaming and finishing techniques
Materials
- Thin, tightly wound cotton yarn, suitable for closely worked garments
- Crochet hook size 2.5 mm
- Stitch marker(s) for round and section tracking
- Yarn needle and scissors
Measurements / Sizing
- Waistband circumference approximately 72 cm in example (adjust to fit your waist).
- Total number of stitches around waistband after joining approximately 310 stitches (example — depends on your gauge).
- Shorts divided approximately into two sections of 155 stitches each, connected with a chain of 22 stitches for crotch.
- Leg length approximately 5 rounds of hdc after crotch setup.
- All measurements adjustable by changing foundation chain and number of rounds worked.
Gauge and Stitch Pattern
- Gauge was not explicitly measured but maintaining consistent tension is critical for fit.
- Waistband worked in single crochet stitches into back loops only, forming a ribbed, elastic fabric.
- Body worked mainly in half-double crochet (hdc) stitches with strategically placed increases for shaping.
- Legs finished in continuous rounds of hdc before edging in single crochet (sc).
Stitch Abbreviations
| Abbreviation | Stitch | Description |
|---|---|---|
| ch | Chain | Basic foundation or spacing stitch |
| sc | Single Crochet | Insert hook, yarn over, pull through two loops |
| hdc | Half-Double Crochet | Yarn over, insert hook, yarn over, pull through three loops |
| BLO | Back Loop Only | Work the stitch only into the back loop of stitch below |
| inc | Increase | Work two stitches into the same base stitch |
Special Stitches
- Back Loop Only Single Crochet (BLO sc): Insert hook only through the back loop of stitch (the loop furthest from you when looking at work), then complete sc as normal. This creates a ribbed, elastic texture for the waistband.
- Increase (inc): Work two half-double crochet stitches into the same stitch to widen the fabric gradually.
The Crochet Pattern: Step-by-Step
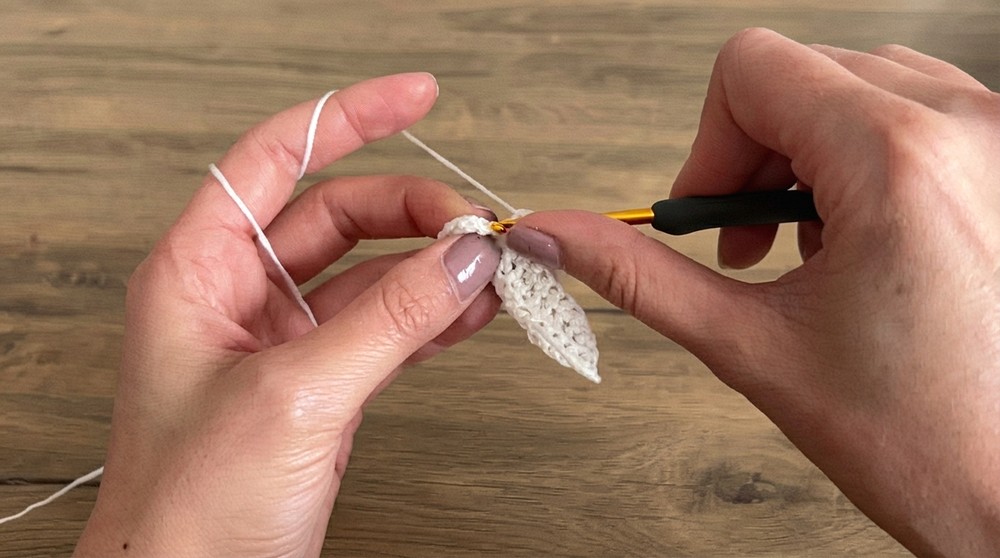
1. Waistband Construction (Using 2.5 mm hook)
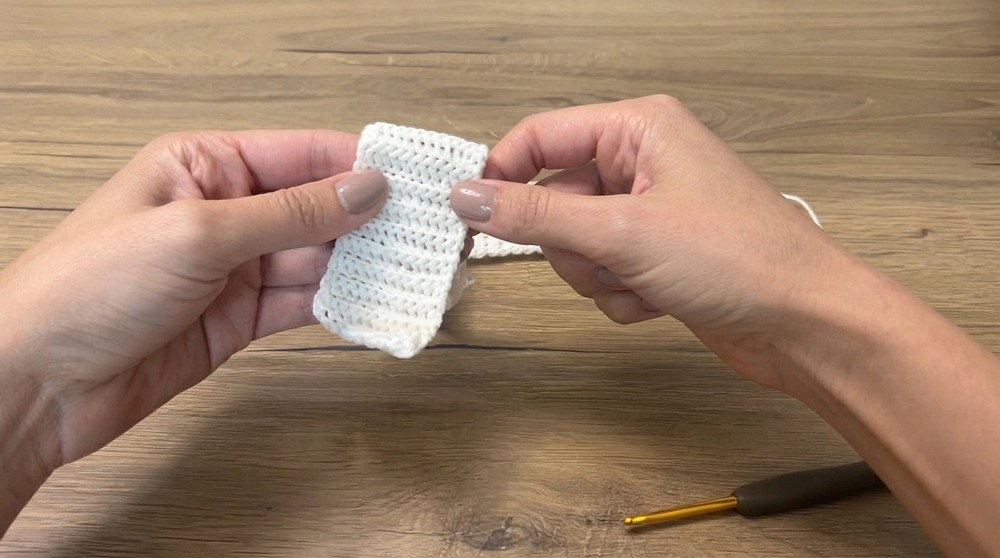
- Begin with a foundation chain of 12 stitches, which defines the approximate width of your waistband belt.
- Turn and work single crochet (sc) stitches into the back loops only (BLO) across the chain. This gives the fabric an elastic ribbed texture, ideal for comfortable waist fit.
- Continue working rows of back loop only single crochet until the piece measures about 72 cm in length or your desired waist circumference.
- Use a flexible measuring tape to periodically check length for accurate waist measurement.
- Once desired length is achieved, join the two short ends of the ribbing together to form a loop, creating the waistband.
2. Initial Body Construction (Joining Row)
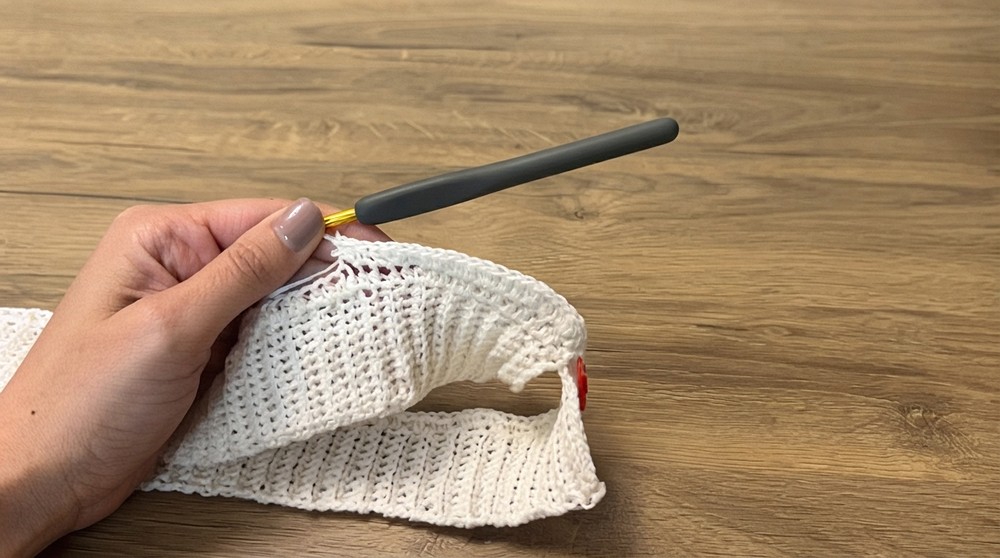
- After joining the waistband edges, work one round of half-double crochet (hdc) stitches evenly around the entire waistband loop.
- This round transitions the fabric from waistband ribbing into the skirt portion construction.
3. Increasing Rounds (Shaping the Skirt)
- Round 1 of increases: Start by working two half-double crochet (hdc) stitches followed by an increase stitch (work two hdc stitches in the same stitch). Repeat this pattern — 2 plain hdc, 1 inc — evenly around the skirt. This systematically increases the stitch count and flares the garment.
- Work 5 to 9 rounds of plain half-double crochet stitches after this increase round without further increases. These rows build the foundation and shape of the skirt section.
4. Further Expansion (Additional Increase Rounds)
- Secondary increase round: Work the pattern of 3 half-double crochets (hdc), then 1 increase (inc) around. This adds further flare to the skirt.
- Follow this with several plain rows of hdc, continuing to shape.
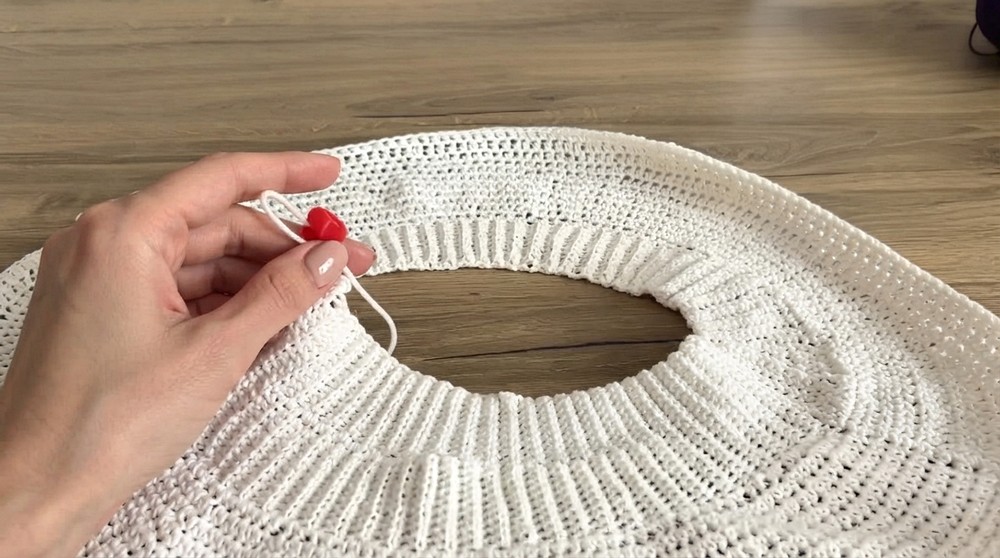
- Final increase round: Work 4 half-double crochets (hdc), then 1 increase (inc) to achieve the angle and fullness desired in the lower skirt part.
5. Creating the Shorts (Crotch and Leg Divisions)
- Once the formed circle reaches total stitches (approx. 310 for your gauge), divide your work into two equal sections (e.g., 155 stitches each) using stitch markers. This division represents the two leg openings.
- To create the crotch, crochet a chain of 22 stitches across the gap between the two leg sections, connecting them by slip stitching or joining at the opposite side.
- This chain acts as the bridge between the legs forming the shorts underneath the skirt.
6. Finishing the Legs
- Work continuous rounds of half-double crochet (hdc) separately around each leg opening to form the shorts leg portions.
- The pattern suggests 5 rounds per leg to complete the length comfortably (adjust according to your preference).
- Add a final row of single crochet (sc) around the edges of the legs and waistband for a neat, clean finish.
7. Optional Belt Casing Construction
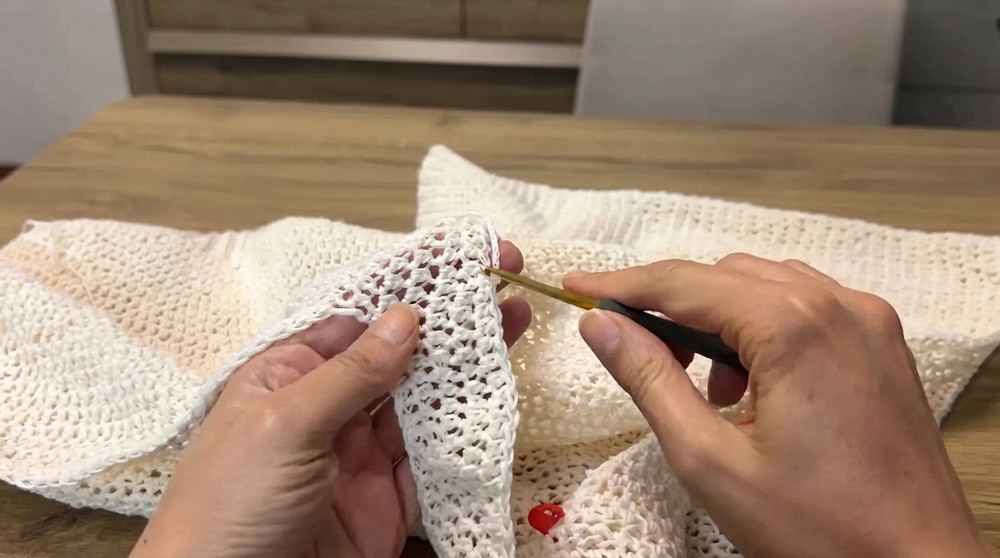
- To allow the option of inserting a belt for better fit, create a small casing by chaining 8 stitches and attaching it across the waistband area (this is typically done in single crochet rows).
- This casing allows you to thread a yarn belt or elastic if preferred.
Assembly & Finished Size
- The waistband circumference is approx. 72 cm, adjustable by measuring during construction to fit your waist comfortably.
- Shorts leg circumference and length depend on stitch count division and number of rounds worked; example leg length is 5 rounds of hdc.
- Overall garment has smooth transitions from elastic ribbed waistband through slightly flared skirt overlay to functional shorts underneath.
- Finished skort is comfortable, stylish, and practical for casual wear.
Conclusion
This crochet skort pattern offers a wonderful balance of comfort and style, combining an elastic back loop single crochet waistband with a gently flared half-double crochet skirt body and built-in shorts. Close attention to increasing rounds shapes the skirt gently, while the crotch chain construction cleverly forms functional shorts underneath.
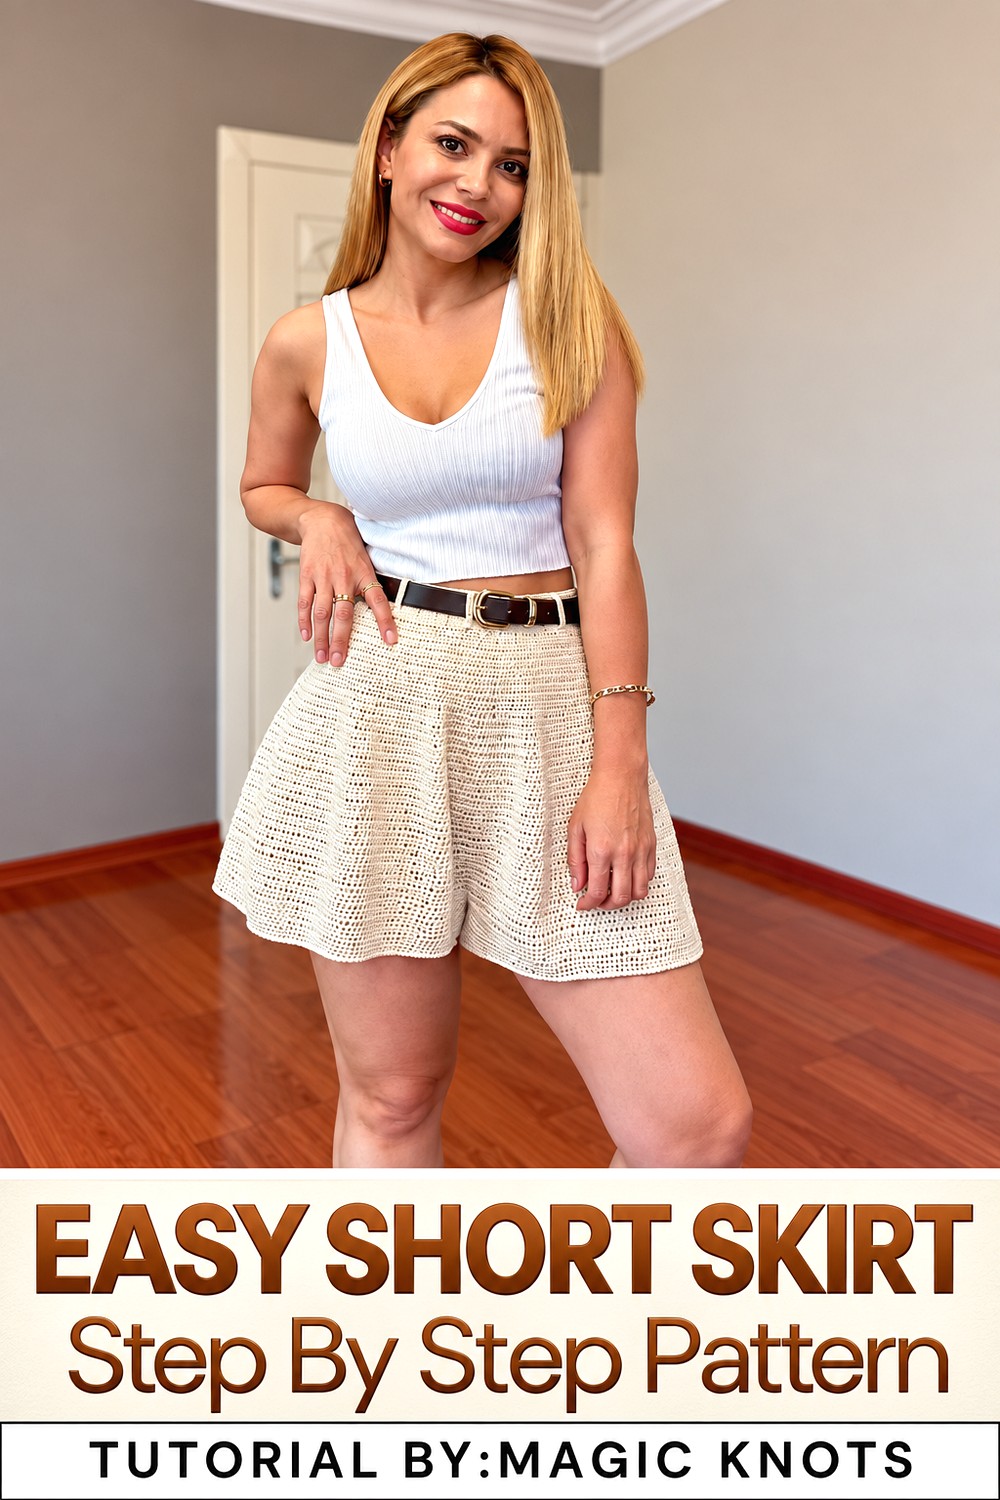
Intermediate crocheters will enjoy the challenge of working in rounds with strategic increases and mastering different stitch techniques like back loop only and half-double crochets. The result is an attractive, versatile garment perfect for warm weather or layering.
By checking measurements periodically and adjusting stitch counts and rounds, you can tailor this skort to your exact size. Adding a belt casing offers further customization with elastic or decorative belts.