How to Crochet a Granny Square Handbag for Beginners
This tutorial provides a step-by-step guide to creating a granny square handbag for beginners and experts. The project involves making three 11-round granny squares using 100% cotton yarn, folding them, sewing them together, and attaching a strap. The video explains how to crochet granny squares, including the magic ring and double crochet clusters, as well as color changes for borders. It demonstrates how to seam the squares together with a whip stitch and create a sturdy half-double crochet border.
Finally, the tutorial guides viewers on crafting and attaching a strap, offering tips for a polished, handmade finish. Perfect for beginners and crafting enthusiasts!
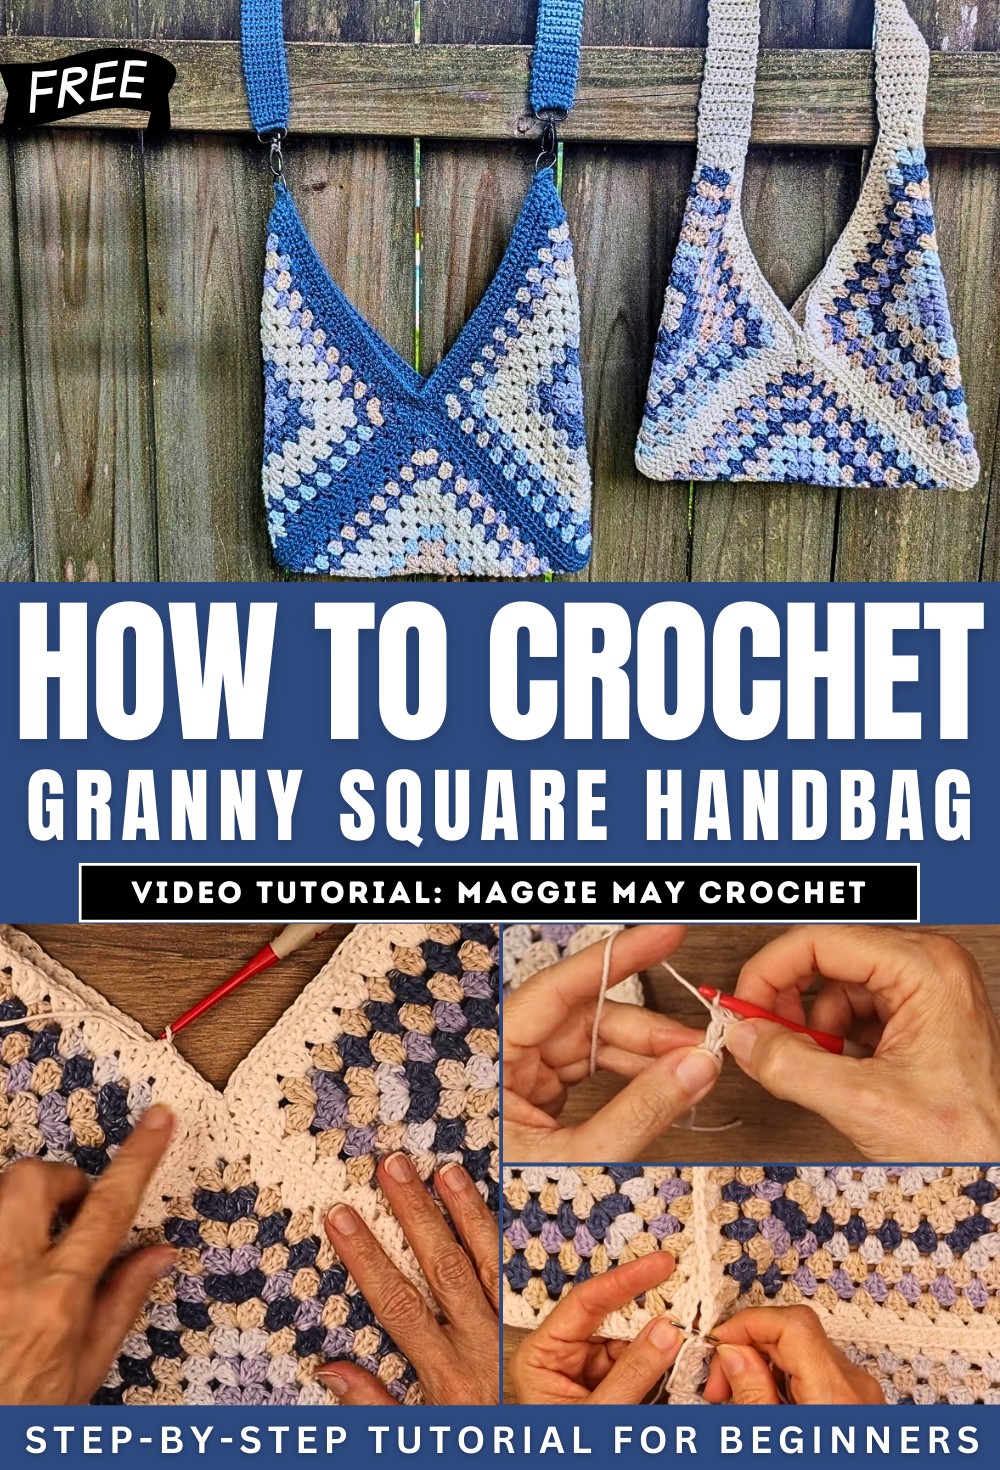
Crochet Granny Square Handbag Tutorial
This tutorial demonstrates how to create a stylish and functional granny square handbag using simple crochet techniques. The project involves making three granny squares, joining them to form the bag, and attaching a strap. The result is a durable and beautiful handmade accessory. Below is a step-by-step summary of the process.
Materials Needed
- Yarn: The tutorial recommends 100% cotton yarn for its strength and durability (e.g., Peaches and Cream #4 weight yarn). Approximately four skeins are suggested.
- Hook: A 5mm (H size) crochet hook.
- Additional Supplies: Scissors, darning needle, stitch markers, and optional strap hardware.
- Optional: You can use different colorways, such as denim or ecru, to add design variety.

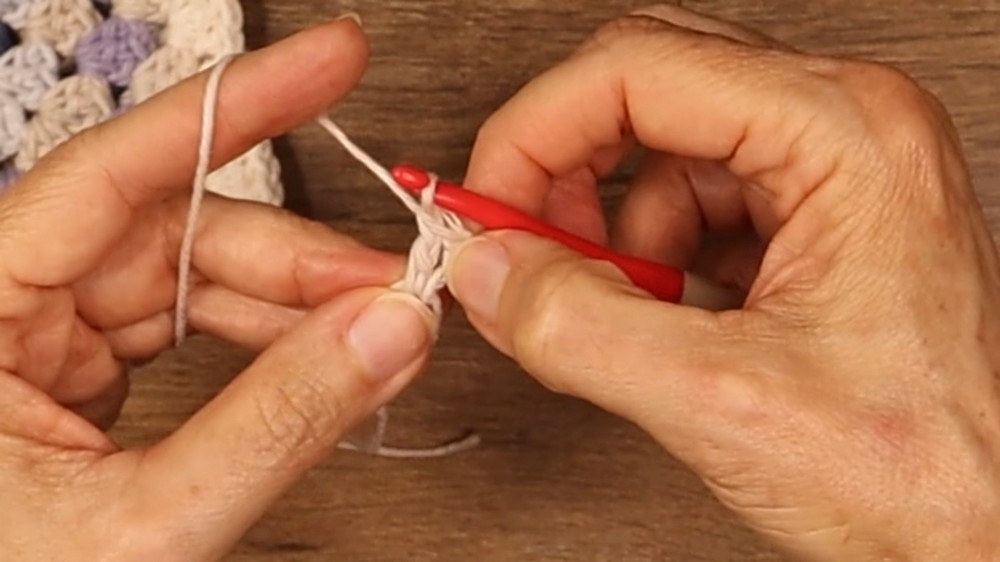
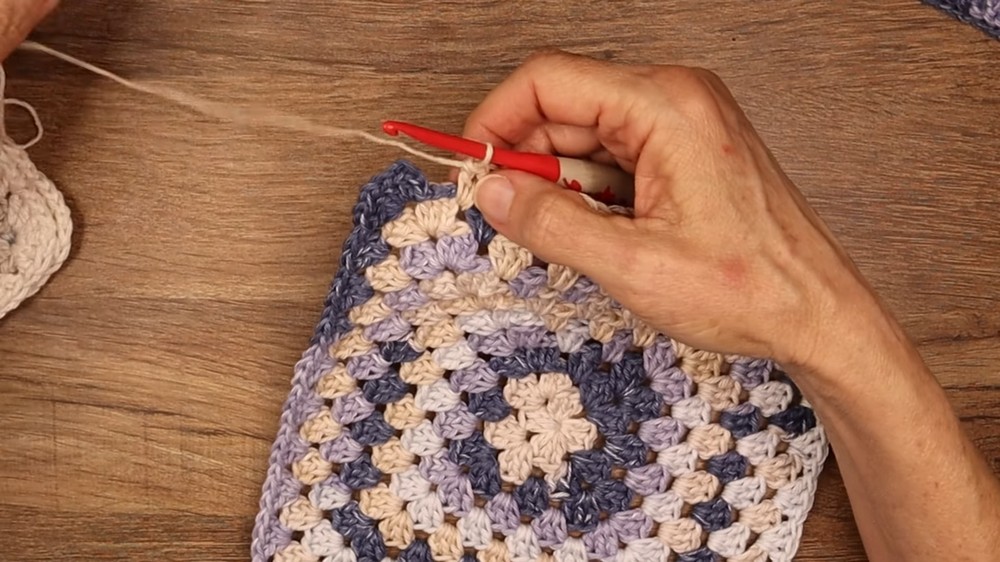
Crocheting the Granny Squares
- Starting the Squares:
- Make a magic ring, and work double crochet clusters to form the first round. The pattern follows the classic granny square technique.
- Create clusters of three double crochets, separated by chain spaces. Corners have two clusters separated by a chain.
- Building the Rounds:
- Repeat the granny square pattern for 11 total rounds, ensuring even cluster distribution and defined corners.
- Optional: Change the border color for the final round, using techniques to seamlessly join the new yarn.

- Finalizing the Squares:
- Complete the 11th round, secure the ends, and weave them into the square to ensure a clean finish.
- Make three identical granny squares following the same pattern for uniformity.
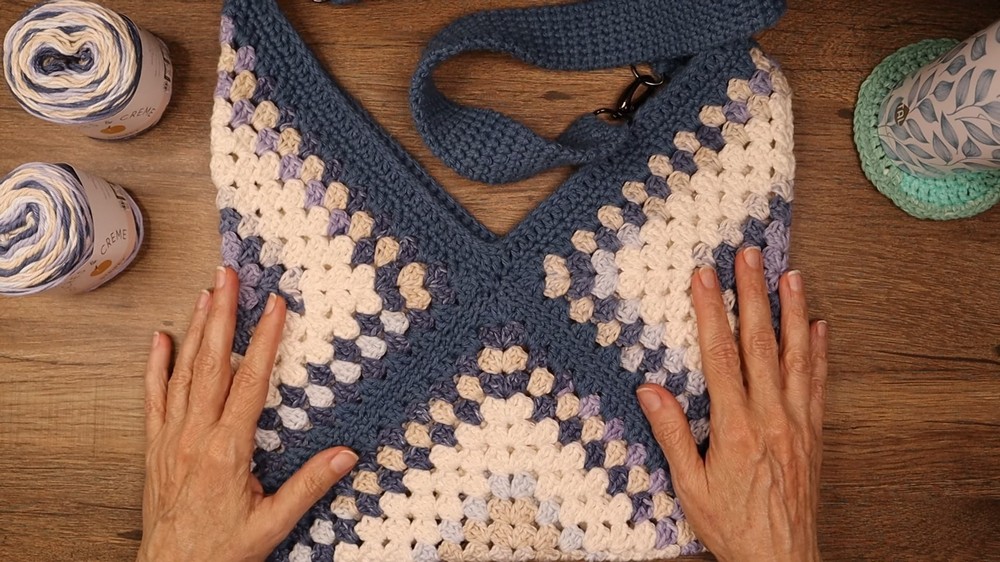
Assembling the Handbag
- Positioning the Squares:
- Lay out the three granny squares to understand how they will fold into the shape of the bag. Use stitch markers to secure their positions.

- Joining the Squares:
- Use a whipstitch technique to seam the edges of the squares together. Work through the inside loops of the stitches to create a clean and sturdy seam.
- Stitch the front pieces first, then turn the structure and close the back seams.
- Adding the Border:
- Once the squares are joined, create a border around the edge of the handbag using half double crochet stitches. This step reinforces the shape and provides a polished look.
Creating and Attaching the Strap
- Crocheting the Strap:
- The strap is made with rows of half double crochet stitches, with 7 stitches per row. Adjust the length of the strap based on personal preference or handbag style.
- Attaching the Strap:
- Align the strap to the top corners of the handbag with right sides facing each other, ensuring there’s no twist. Use single crochet stitches to join the strap to the bag for a seamless look.

- Optional Hardware:
- For a more polished look, consider using strap hardware. The tutorial provides ideas for adding these components.
Final Touches
- Weave in all remaining loose ends for a neat finish.
- Adjust and tighten the seams as needed to ensure the bag holds its shape.
- The finished handbag is ready to use or gift!
Conclusion
This tutorial provides clear instructions for creating a beautiful granny square handbag, making it beginner-friendly while still enjoyable for advanced crocheters. The project is not only practical but also allows for endless customization through yarn choices, colors, and strap designs.