How to Crochet Stylish Blouse With This Free Pattern & Tutorial
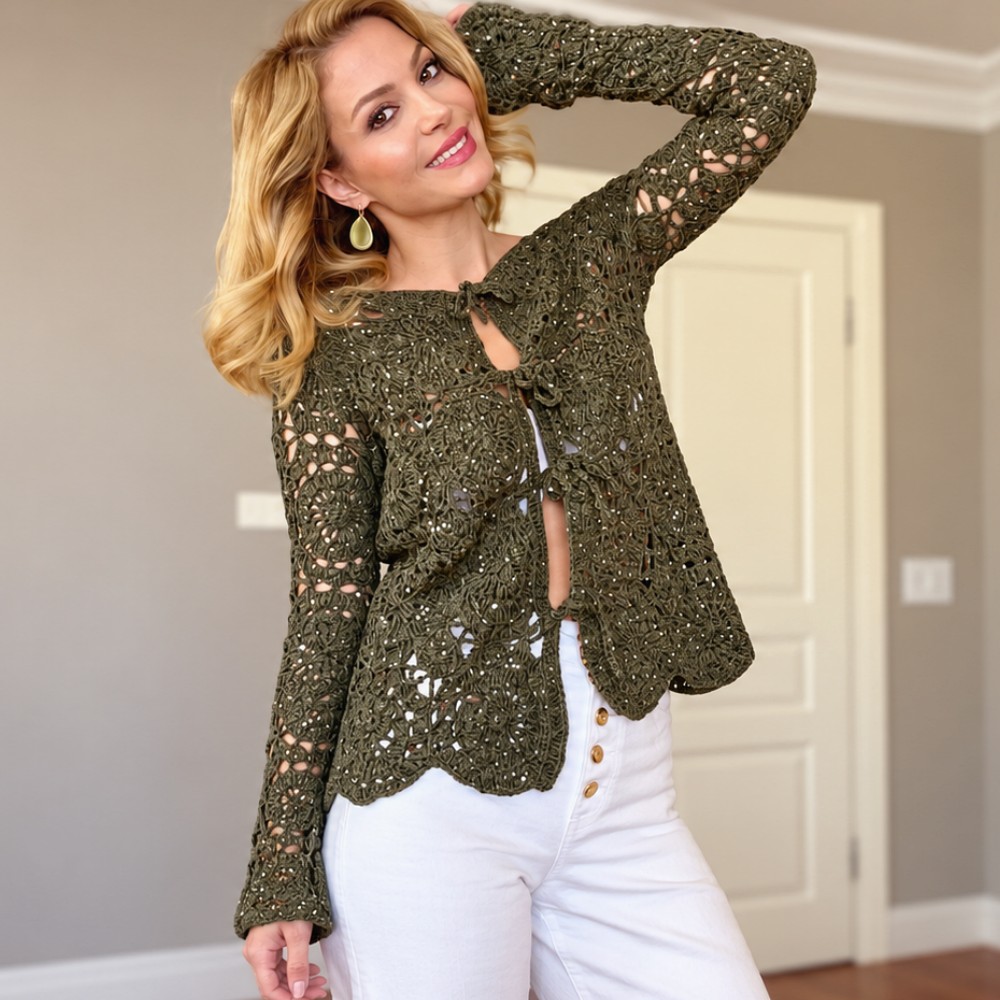
Pick a lovely new top through this free crochet blouse pattern that brings handmade texture and everyday charm to outfits, making them feel fresh and easy to wear.
Wardrobes often have plenty of basic tops, yet finding one with a little personality can still be difficult. This Blouse Free Crochet Pattern gives a familiar clothing staple an interesting surface that stands apart from ordinary fabric. Unlike a heavy outer layer, a blouse takes its place at the center of an outfit.
Lightweight Blouse Free Crochet Pattern for Relaxed Outfits
The stitch texture becomes visible across the top, which means even a simple color can feel special. Open areas in crochet may also give the fabric a light appearance, although the amount of coverage depends on the stitches used. A camisole underneath can be a comfortable choice when needed. Keeping the fit comfortable around the shoulders and chest helps the finished blouse sit naturally.
About the Channel — magic knots
Clothing ideas take many forms on magic knots, where crochet and knitting both have a place. The channel includes tops as well as layers and accessories, giving viewers different project choices. Its broad selection suits people who prefer useful pieces that can become part of regular outfits throughout the year.
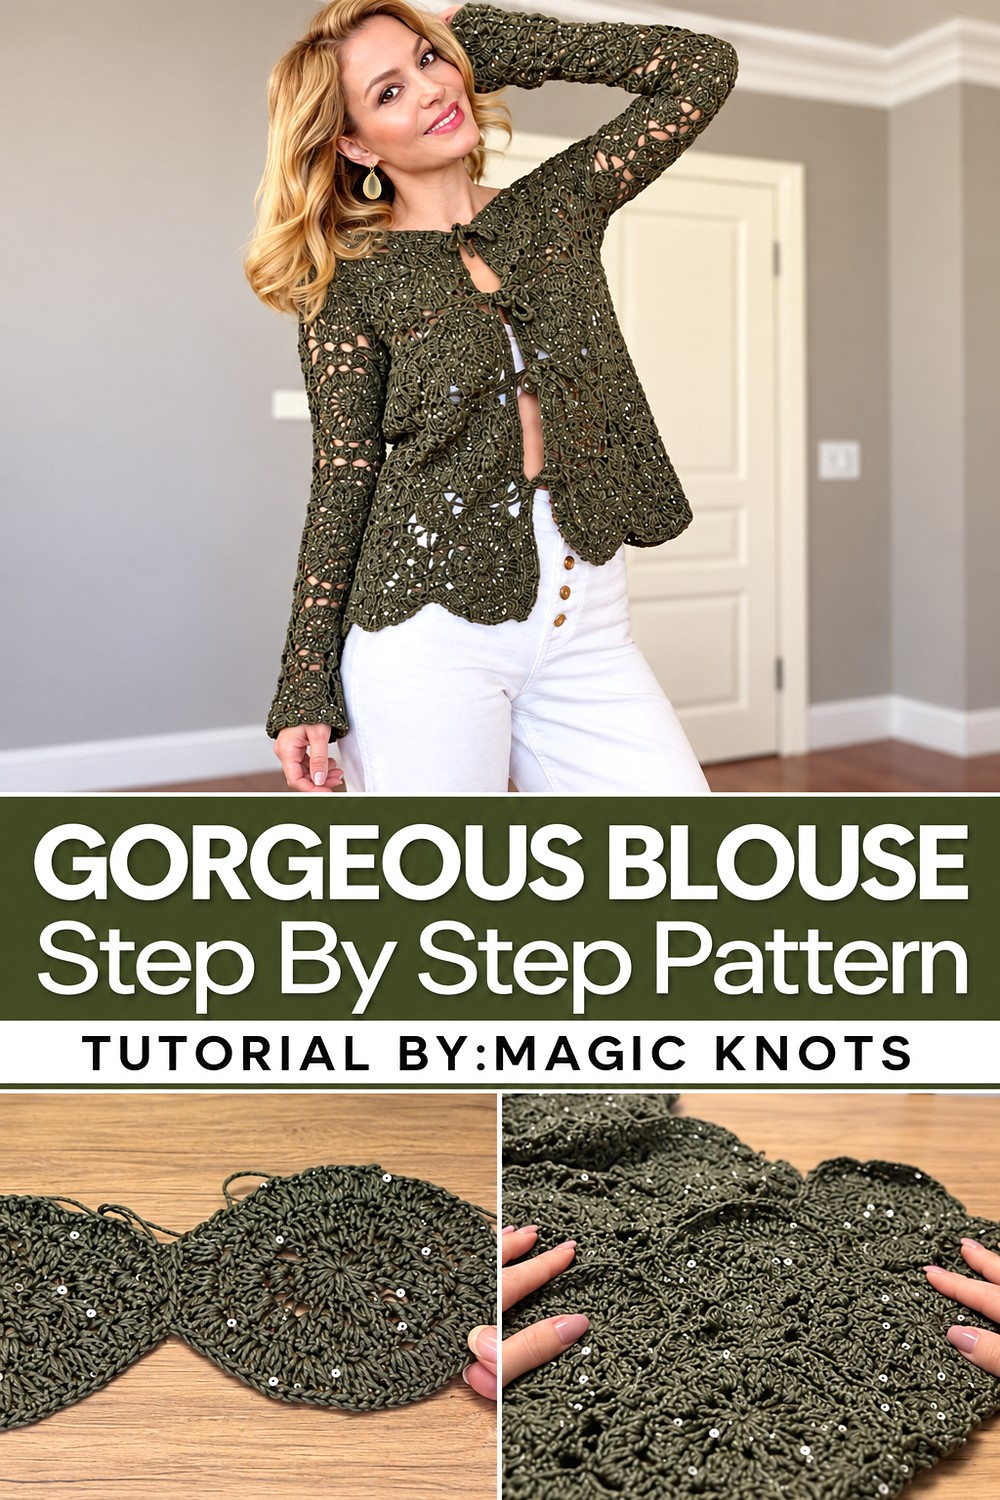
There are many easy ways to wear a crochet blouse without changing your usual style. Straight jeans and casual shoes give it a relaxed feel for daytime plans. Trousers and a small necklace offer a tidier option for visiting family or going out for lunch. With a longer skirt, the same top can feel softer and a little dressier.
Small finishing details are worth noticing. Neat edges around the neckline, sleeves, and hem help the whole blouse look balanced. When the clothing underneath is simple, the stitches remain the main feature. It is a nice choice for anyone who wants more than another plain shirt but still values comfort and everyday use.
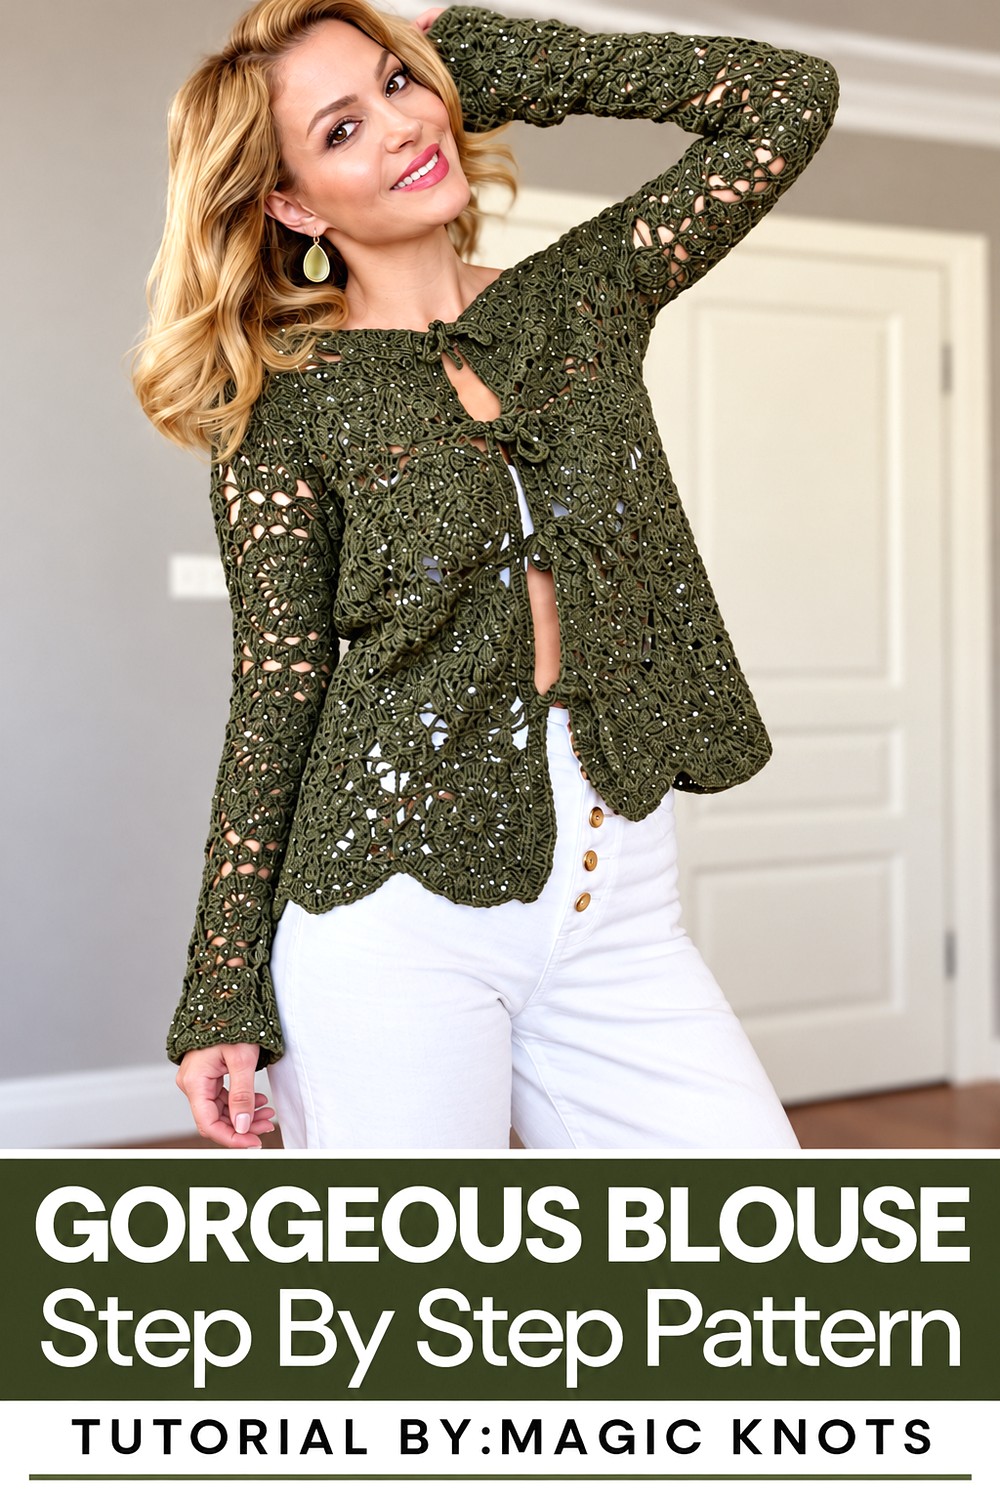
Motif-Based Crochet Blouse Inspired by Zara
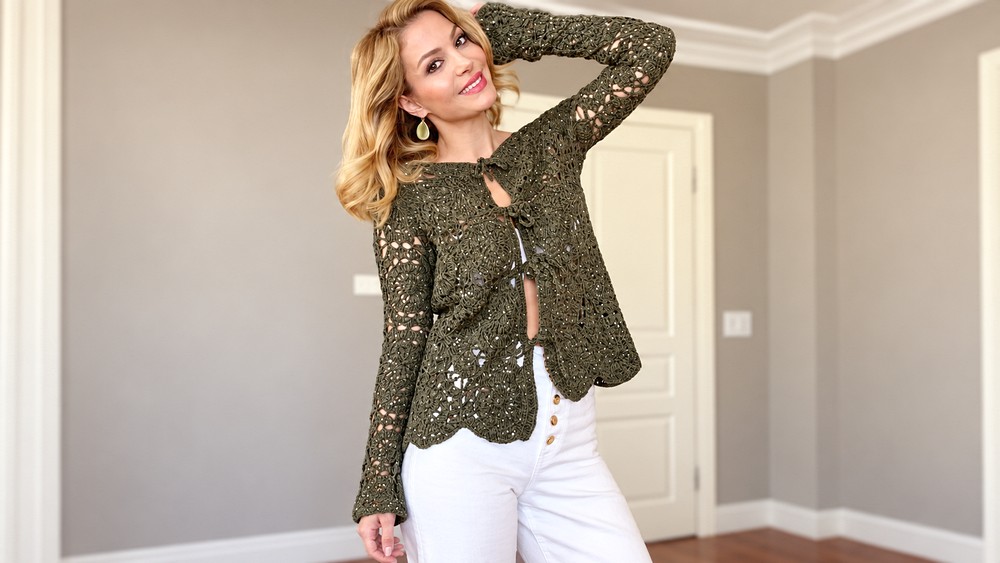
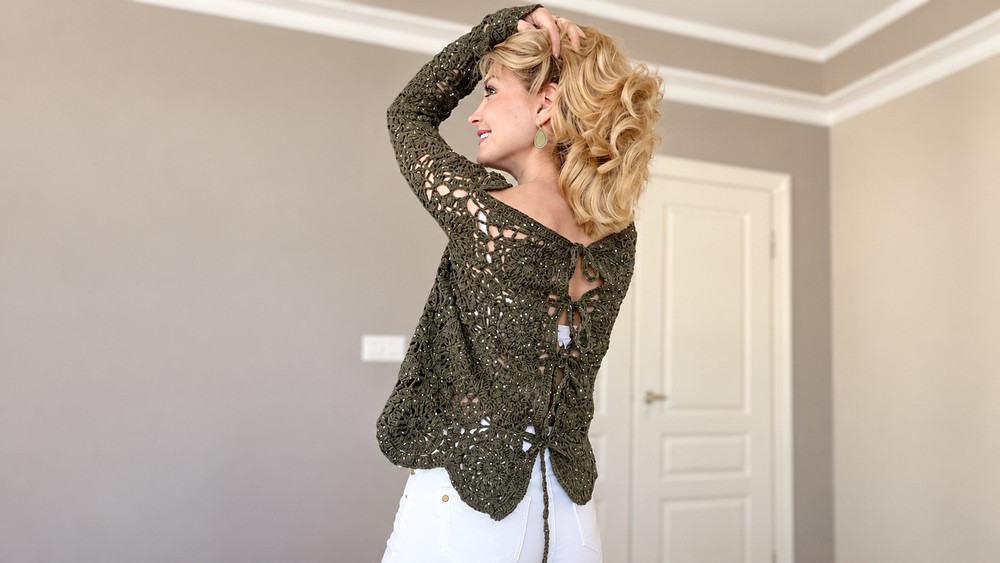
This crochet blouse is a stylish, motif-based design inspired by Zara, featuring a lightweight and intricately textured look. Built from larger motifs for the main structure and smaller filler motifs for seamless connections, it offers a flowy, draped effect perfect for layering. The blouse incorporates sparkly yarn with mini sequins for a touch of elegance, and its lacy elements create a versatile and comfortable garment suitable for various occasions. Detailed step-by-step instructions make it an exciting project for intermediate crocheters.
Skill Level
Intermediate – This pattern is ideal for crocheters who understand core stitches like single crochet (sc), double crochet (dc), half-double crochet (hdc), treble crochet (trc), the magic ring technique, filet-style chain stitches, and motif joining.
Materials
- Yarn: 500g of cotton yarn, mixed with a thin, sparkly yarn featuring mini sequins for texture.
- Hook: 3.5mm crochet hook (adjust to 3mm or 4mm to match your tension).
- Other Materials: Tapestry needle, scissors, and measuring tape.
Stitch Abbreviations
- ch = chain
- sl st = slip stitch
- sc = single crochet
- hdc = half-double crochet
- dc = double crochet
- trc = treble crochet
- magic ring = adjustable loop start
Useful Tips
- Keep tension loose to give the blouse a soft and flowy design.
- Use stitch markers to ensure motifs are joined evenly.
- Count stitches carefully to maintain a uniform appearance, especially for filler and half motifs.
- Block each completed motif prior to joining to ensure uniformity and smoothness in the final garment.
- Test the combination of cotton and sparkly yarn beforehand to ensure they work well together.
Pattern Instructions
1. Motif Creation
The blouse’s main structure consists of larger motifs, which will be joined to form the front and back panels.
Steps to Create a Motif:
- Round 1:
- Begin with a magic ring, then crochet 16 dc into it.
- Tighten the magic ring by pulling the starting tail. Join with a sl st into the first dc.
- Round 2:
- Ch 2 (this counts as the first stitch). Into the same stitch, work 1 trc, 1 dc, and 1 hdc.
- Repeat this pattern (1 trc, 1 dc, 1 hdc) in each stitch around.
- Join with a sl st to finish the round.
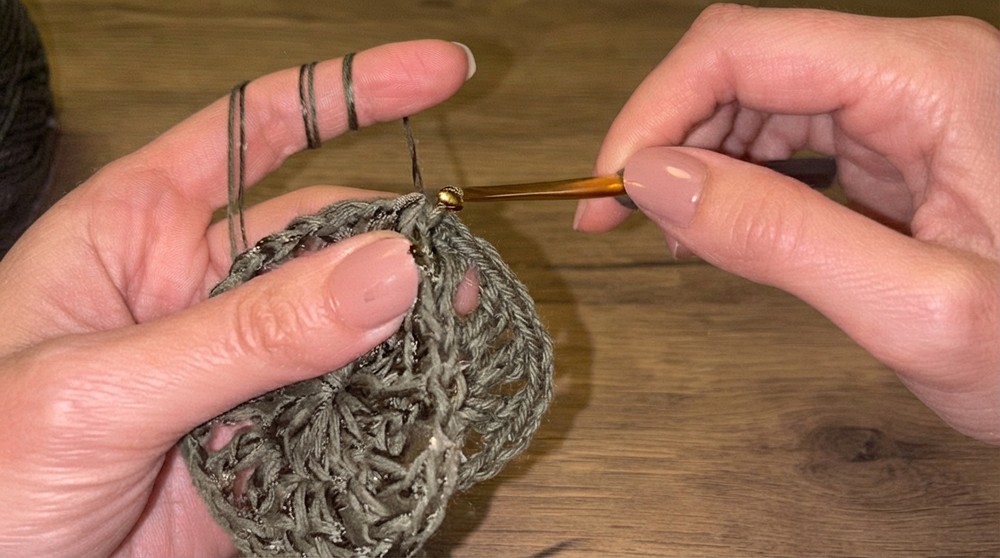
Repeat this process to create 16 motifs in total. Be sure to maintain even tension and consistent stitch sizes across all motifs.
2. Joining Motifs
The larger motifs will be connected to form the front and back panels of the blouse. The panels will each consist of 4 rows of 4 motifs.
Joining Steps:
- Arrange 4 rows of 4 motifs to create the main fabric for the panels.
- Use sl st to connect motifs at three points along their edges:
- Align the motifs so the edges match.
- Insert the hook through corresponding stitches of adjacent motifs and work sl st to join.
- Ensure corners line up neatly for a symmetrical layout.
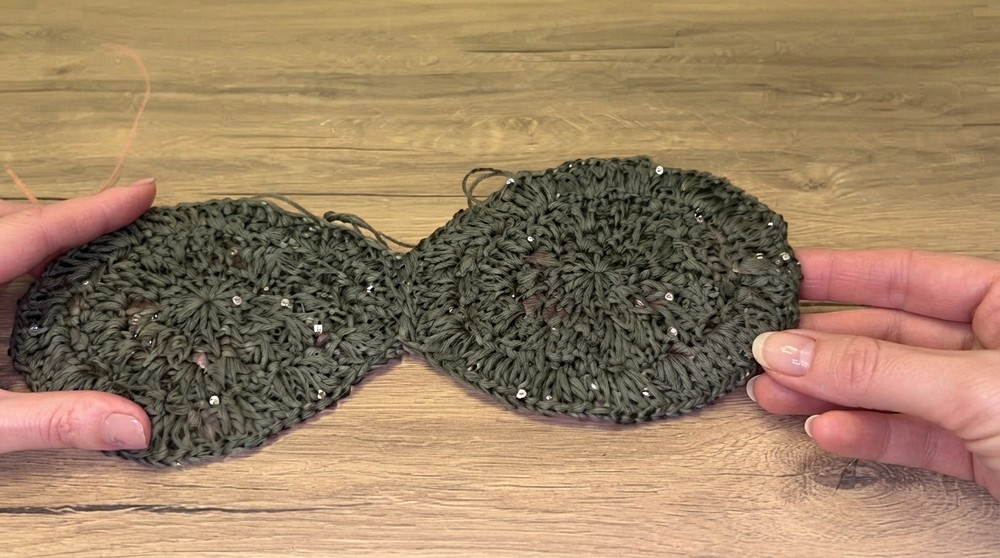
Complete the front and back panels by joining all 16 motifs in this arrangement. Set aside extra filler motifs for the next step.
3. Filling Gaps with Small “Minnoş” Motifs
To create a cohesive and lacy appearance, small filler motifs are used to connect the larger motifs along the body.
Creating Filler Motifs:
- Round 1:
- Start with a magic ring and work 16 dc into the ring, similar to the larger motif.
- Tighten the loop and join with a sl st to complete the foundation.
- Round 2:
- Create filet-style netting by alternating ch 3 and sl st, working the sl st into every other stitch of the previous round.
- This creates small filler pieces to be placed between the gaps of the larger motifs.
Filler Motif Placement:
- Arrange the filler motifs in the empty spaces between larger motifs, ensuring they align evenly and connect seams neatly.
- Use sl st to join them, paying close attention to symmetry and alignment.
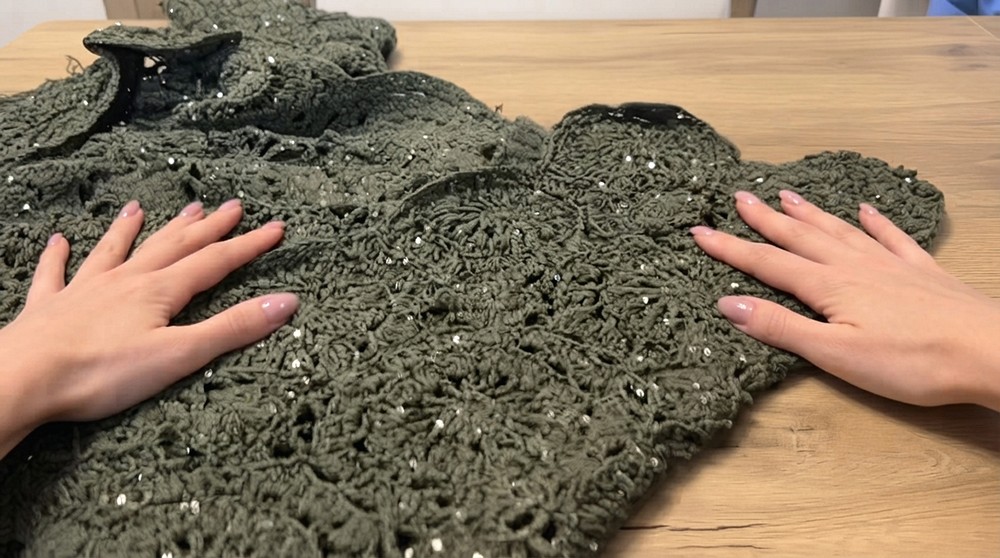
4. Assembly and Sleeves
4.1 Front and Back Panel Assembly
- Use sl st to join the shoulder seams of the front and back panel rows together.
- Leave an opening on either side for the armholes, ensuring the width matches your measurements.
4.2 Sleeve Construction
- Step 1: Begin working around the armhole opening, using the existing gaps as a foundation.
- Step 2: Continue adding rows of motifs around the armhole, following the same joining technique as used for the front and back panels.
- Step 3: Adjust the number of motifs and the length of sleeves to match your desired style. Full-length or half-length sleeves can be achieved by adding fewer or more rows of motifs.
5. Finishing and Edging
Closing Armpit Gaps:
- Use filet-style stitches to close any gaps left in the underarm area: Work ch 3, place a sl st, and repeat until the gaps are joined seamlessly.
Neckline Finishing with Half Motifs:
- At the neckline, create half motifs to fill the gaps and round out the edges. This creates a polished and symmetrical shape around the neck.
Final Edge and Borders:
- Work a finishing border:
- Crochet a row of dc clusters along all blouse edges, including the neckline, bottom hem, sleeves, and any other visible borders.
- Follow this with a final round of sc using the 3.5mm crochet hook for clean, finished edges.
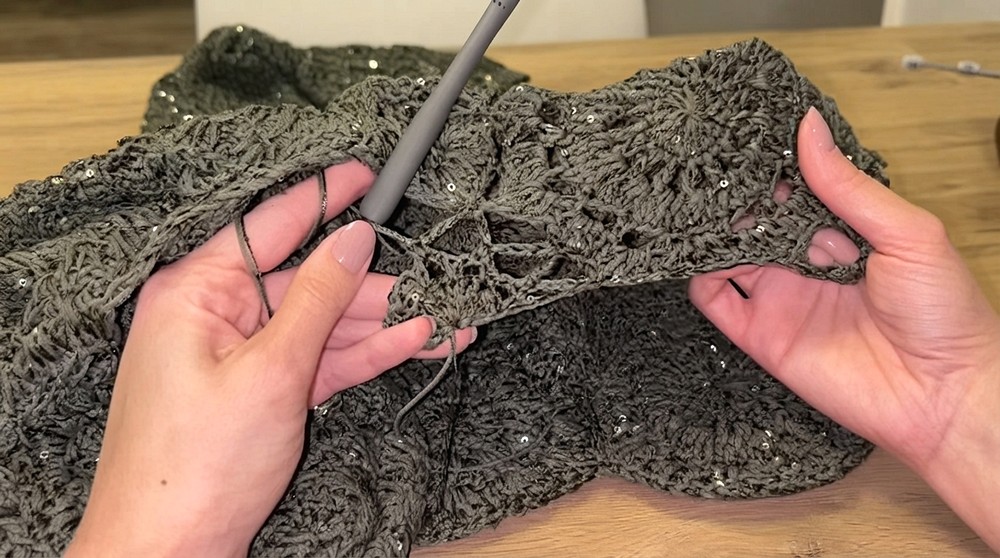
Creating Decorative Ties:
- Step 1: Chain 36, and then work sc stitches along the chains to create a sturdy tie.
- Step 2: Attach the ties with a sl st to their designated areas on the blouse. You can add four ties and place two at the neckline and two at the sides for a customized fit.
Conclusion
The motif-based Zara-inspired crochet blouse is a timeless piece that allows for creativity and customization. By combining larger motifs, filler pieces, and decorative edging, this pattern creates a unified and stunning design. With its lightweight, lacy texture and sparkly accent yarn, this blouse is elegant and versatile, perfect for casual and formal occasions. By following the step-by-step guide, you can create your own chic wardrobe addition, whether as a gift or for your personal collection.