
Easy Crochet Seasonal Cardigan Pattern & Free Tutorial
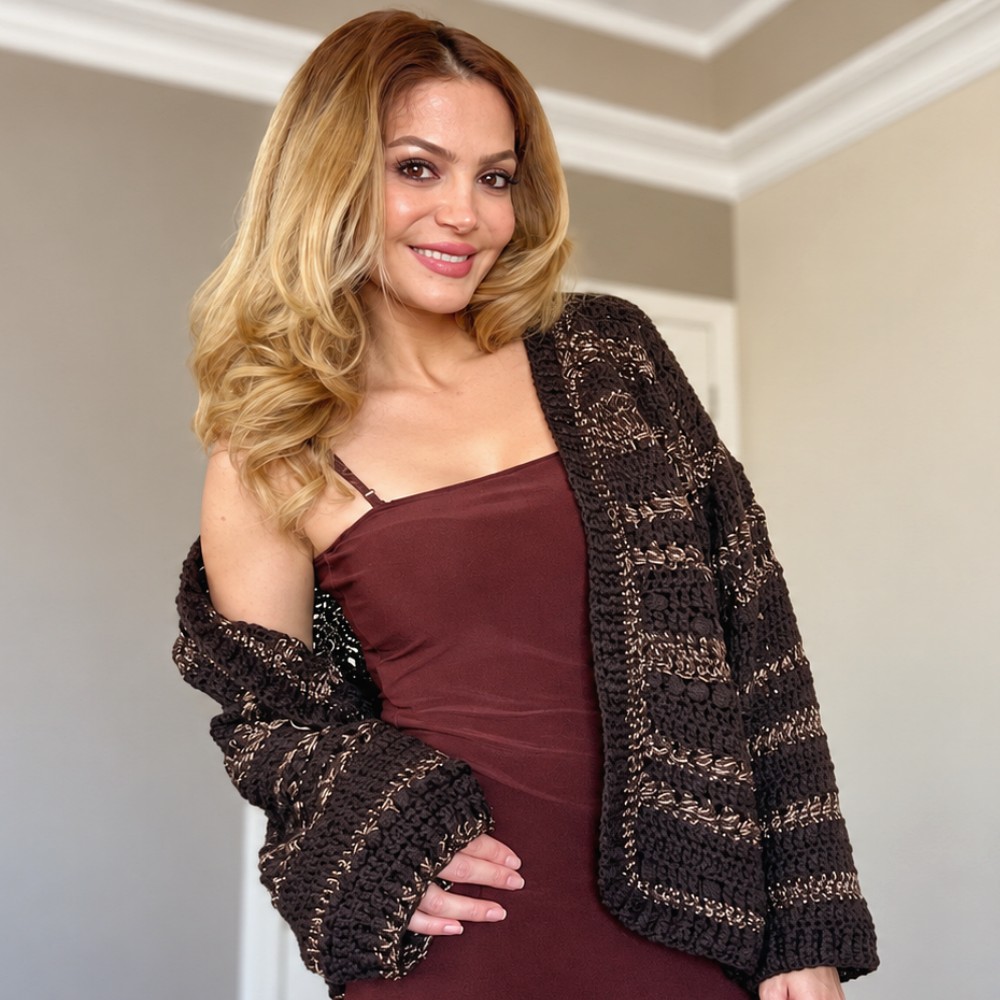
Refresh your favorite outfits with this Free Crochet Seasonal Cardigan Pattern for an easygoing layer that pairs nicely with dresses, jeans, and simple tops.
Changing temperatures can leave you reaching for an extra layer more often than expected. The Seasonal Cardigan Free Crochet Pattern gives that everyday need a softer, more personal answer through a wearable piece that fits into different outfits. Rather than being saved for one special occasion, a cardigan can stay close at hand for school, shopping, or quiet afternoons at home.
Comfortable Seasonal Cardigan Free Crochet Pattern for Changing Weather
Its main strength is how easily it goes over another top. Leave the front open to show a printed shirt, or wear it over a plain dress when you want a little more coverage. The crochet surface adds detail without needing bold accessories. Think about where you plan to wear the cardigan before choosing your colors.
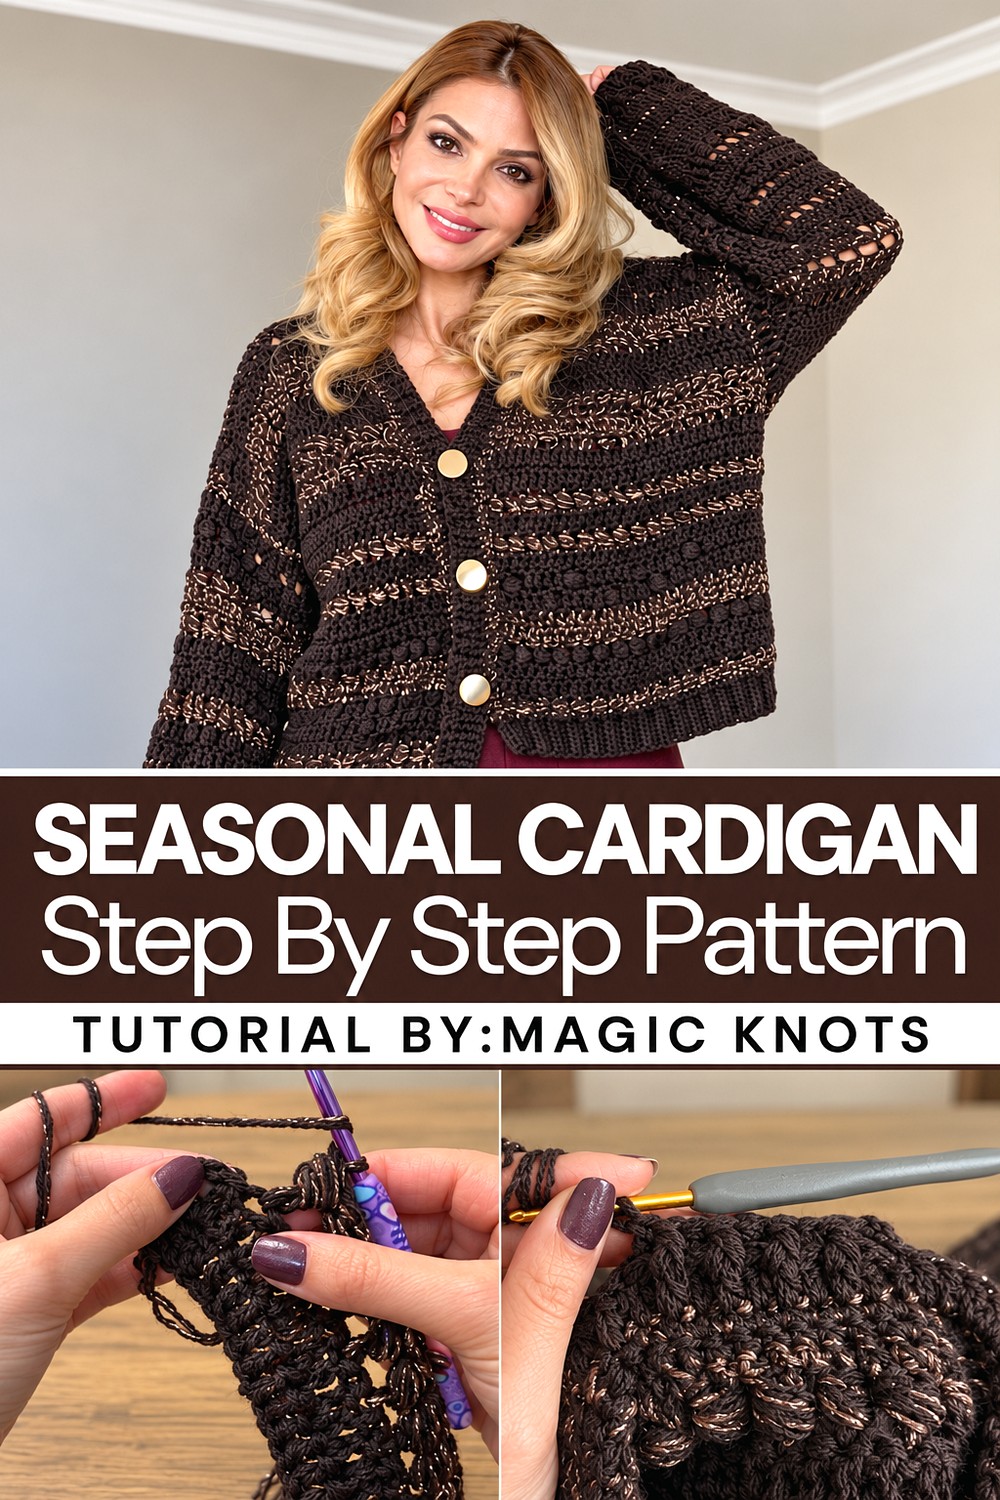
Meet the Designer — magic knots
For anyone who likes wearable yarn projects, magic knots offers a varied collection of crochet and knitting ideas. Cardigans sit alongside other clothing and smaller accessories on the channel. Its focus on practical pieces gives visitors several directions to consider when planning their next handmade wardrobe item for daily life.
Gentle, neutral shades sit comfortably with clothes you already own, while a stronger color can become the part of an outfit people notice first. Sleeve comfort and the way the cardigan rests on your shoulders matter as much as its appearance. A relaxed fit can feel pleasant for long periods, especially when you move between indoor and outdoor spaces.
There’s something useful about having a layer that feels familiar but doesn’t look like every shop-bought sweater. Paired with wide-leg trousers, leggings, or a long skirt, this cardigan can take on several moods. It earns its place in a wardrobe by being simple to reach for and easy to style again.
Elegant Puff Stitch Crochet Cardigan Pattern
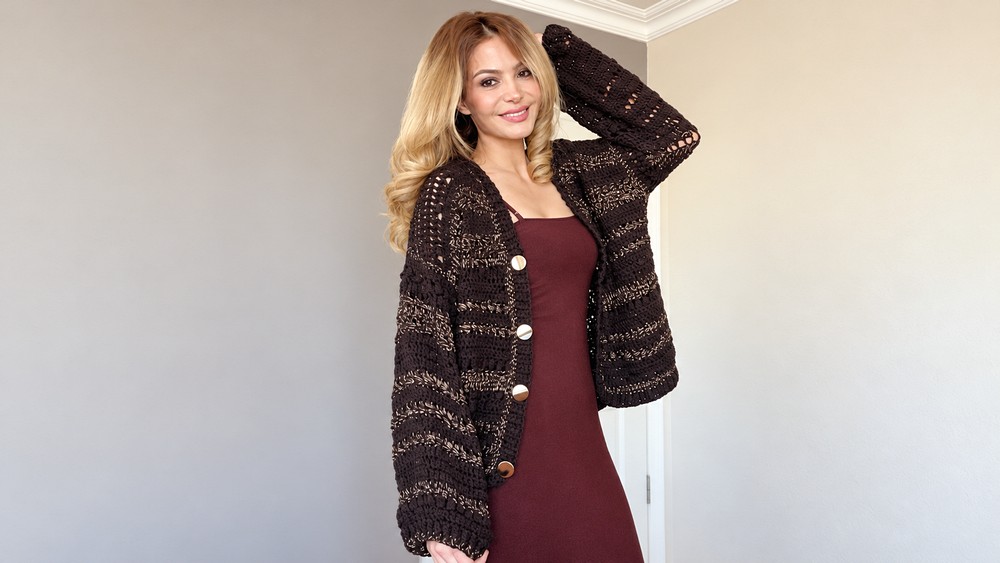
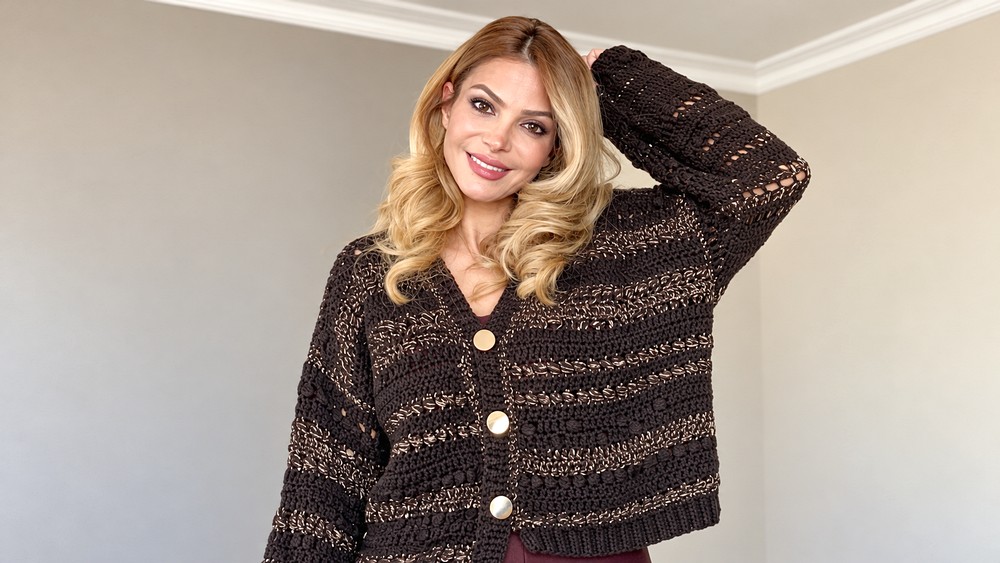
Crochet this gorgeous puff stitch cardigan for a seasonal wardrobe upgrade. This pattern combines texture, polished finishes, and metallic thread accents for a stylish and wearable piece. Constructed with front and back body panels along with sleeves worked in rounds, the cardigan is easy to customize for various sizes. Its design includes a refined V-neck, ribbed cuffs, and decorative edges that blend beauty with practicality.
Skill Level
Intermediate – While the pattern is straightforward, familiarity with basic crochet stitches like single crochet (sc), double crochet (dc), puff stitches, and techniques such as working ribbing, decreases, and assembly is required.
Materials Needed
- Yarn: Approximately 500g of medium-weight sarma (winding) yarn (2 strands of dark brown yarn held together with a gold metallic thread for a total of 4 strands).
- Hook Sizes:
- 5mm hook for body and sleeve construction.
- 3mm hook for fine finishing and edging.
- Other Materials: Buttons of choice for the front closure.
Stitch Abbreviations
- ch = chain
- sl st = slip stitch
- sc = single crochet
- hdc = half-double crochet
- dc = double crochet
- fpdc = front-post double crochet
- bpdc = back-post double crochet
- cluster puff stitch = 4-loop cluster puff stitch
Tips for Beginners
- Maintain Even Tension: Work tightly but consistently when holding multiple yarn strands with metallic thread to prevent uneven stitches or tangles.
- Check Alignment: Use stitch markers to identify neckline decreases, armhole openings, and shoulder joining points for accuracy during assembly.
- Count Stitches Regularly: Always confirm stitch counts at the end of each row or round to ensure panel symmetry and proper shaping.
- Pre-Blocking: Block each completed panel before assembly to ensure uniform sizes and clean edges.
Step-by-Step Pattern Instructions
1. Front Panels
The cardigan consists of two identical front panels which are worked individually.
Foundation Chain:
- Step 1: Start with a chain (ch) of 32 stitches using the 5mm crochet hook.
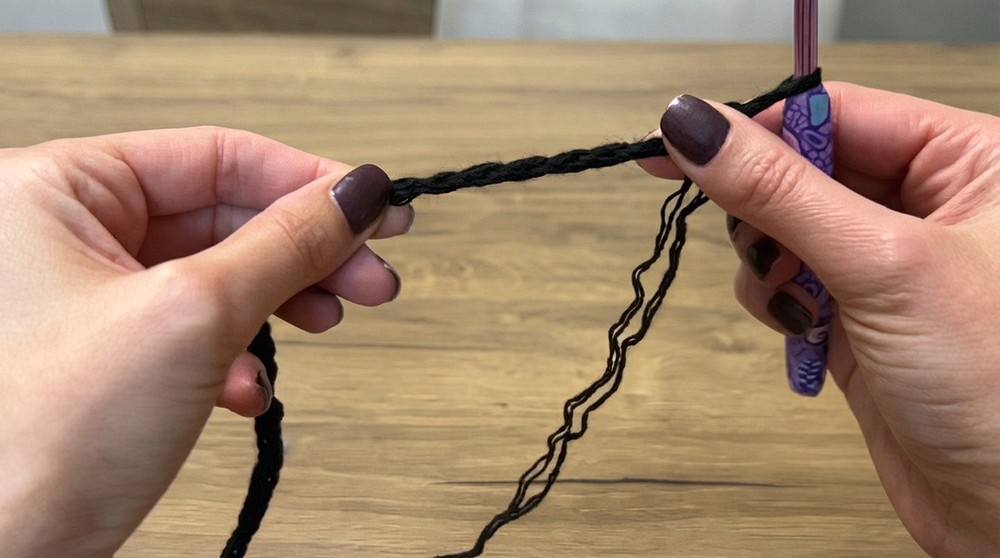
Base Stitch Pattern:
- Round 1:
- Work double crochet (dc) across all 32 stitches.
- Turn your work at the end of the row.
- Round 2:
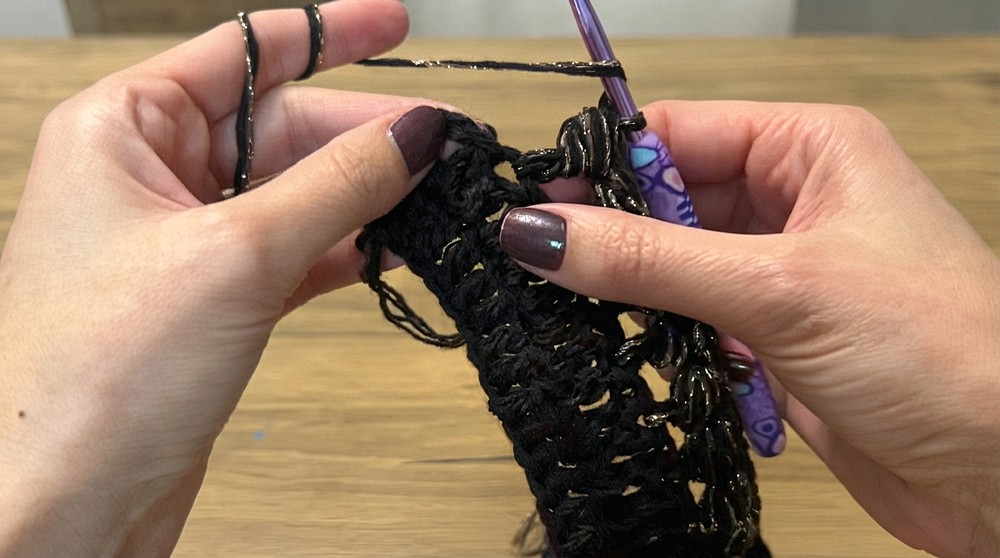
- Alternate rows with textured cluster puff stitches, worked every few stitches:
- Yarn over, insert hook into stitch, yarn over and pull through. Repeat this step until 4 loops are on the hook. Yarn over and pull through all loops.
- Alternate puff stitches with regular dc for balance and texture.
- Alternate rows with textured cluster puff stitches, worked every few stitches:
Length:
- Repeat Round 1 and Round 2, maintaining 32 stitches per row, until the panel measures 31cm.
2. Neck Shaping (V-Neck)
Create the V-neck shape by decreasing stitches at the neckline edge of each front panel.
Shaping Steps:
- Step 1 (Row 1):
- Begin decreasing: Work half-double crochet (hdc) at the neckline edge and transition to single crochet (sc) to create a smooth gradient.
- Step 2 (Row 2 and onward):
- Gradually decrease 1 stitch per row at the neckline edge by working sc stitches in the first few stitches of each row.
Shoulder Section:
- Continue the neckline decreases until you reduce the stitch count to 20 stitches at the shoulder width.
Repeat this process for both front panels to keep the neckline symmetrical.
3. Back Panel
The back panel is wider than the front panels and is worked as a single piece.
Foundation Chain:
- Step 1: Start with a chain (ch) of 64 stitches using the 5mm hook.
Base Stitch Pattern:
- Round 1:
- Work dc across all 64 stitches.
- Turn your work at the end of the row.
- Round 2:
- Add textured rows of cluster puff stitches, alternating between puff stitch rows and regular dc rows.
Panel Length:
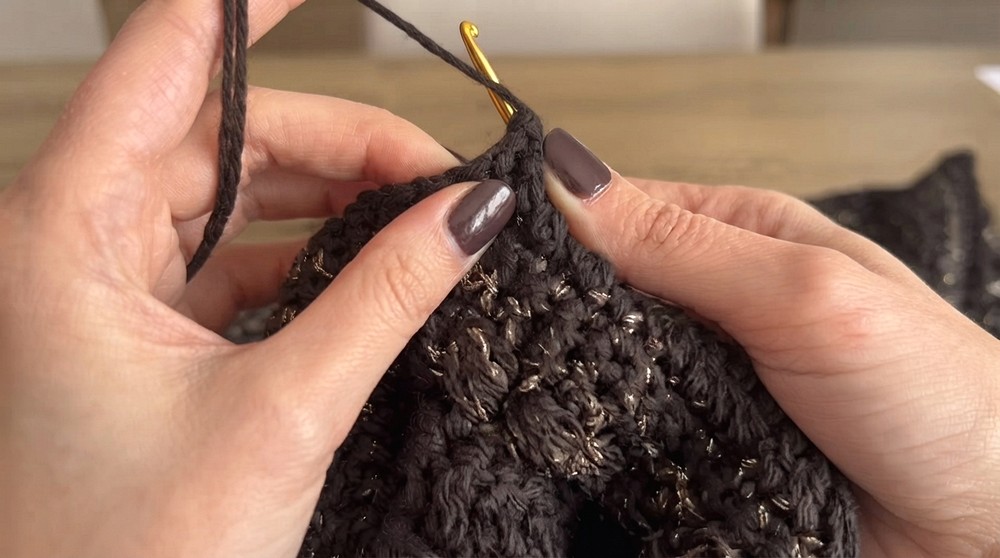
- Continue the alternating stitch pattern until the back panel measures 50cm in length.
Neckline Indentation:
- To shape the neckline:
- Gradually decrease the central section by transitioning from dc, to hdc, and finally sc stitches.
- This creates a smooth, curved neckline indentation.
4. Finishing Panel Edges
Clean edges enhance the structure of the panels and ensure easy assembly.
Edge Finishing:
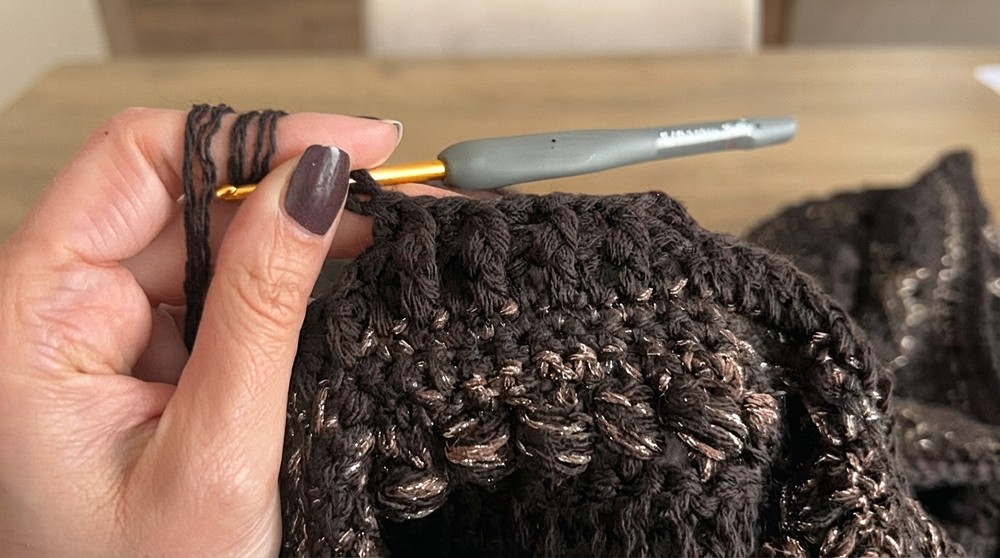
- Use the 3mm hook to work sc stitches along all edges of each panel.
V-Neckline Finishing:
- Use sc and hdc alternately along the neckline edges to eliminate the “staircase effect” caused by the decreasing rows, creating a polished and smooth transition.
5. Sleeves
The sleeves are worked directly from the armhole openings created during assembly.
Step 1: Picking Up Stitches
- Use the 5mm hook to pick up 66 stitches around the armhole evenly.
Step 2: Working in the Round
- Round 1:
- Work dc in the round across all 66 stitches.
- Subsequent Rounds:
- Decrease stitches after every few rounds by evenly skipping stitches until you reduce the count to 42 stitches at the cuff edge.
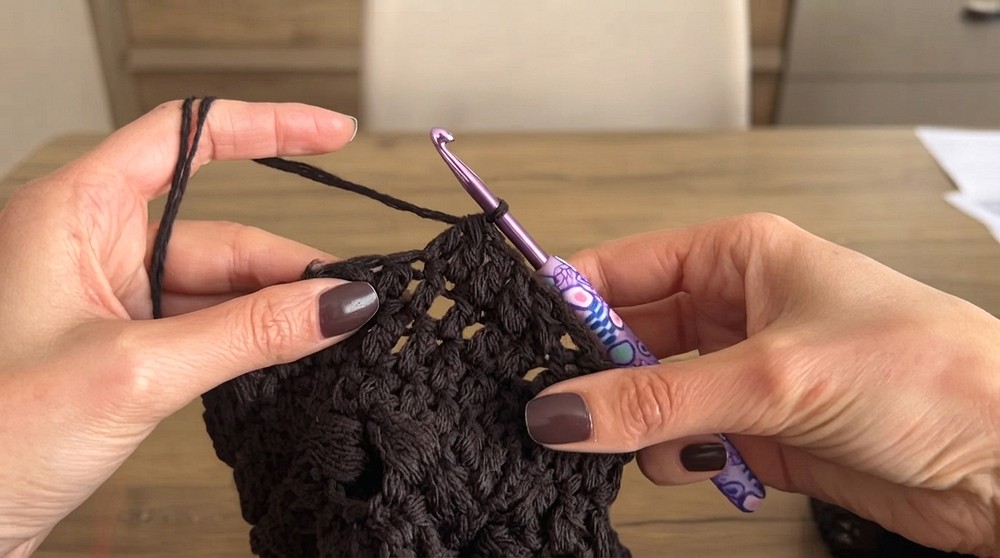
Step 3: Cuff Ribbing
- Add 2–3 rows of ribbing at the cuffs by alternating front-post double crochet (fpdc) and back-post double crochet (bpdc) stitches.
6. Assembly and Finishing Details
Connecting Panels:
- Join the front panels to the back panel using sl st along the shoulder seams, leaving open spaces for the armholes.
- Use sl st or whip stitch to secure the side seams.
Button Placement:
- Attach buttons to one vertical front border.
- Create corresponding buttonholes during ribbing rows by skipping stitches at precise intervals along the opposite vertical border.
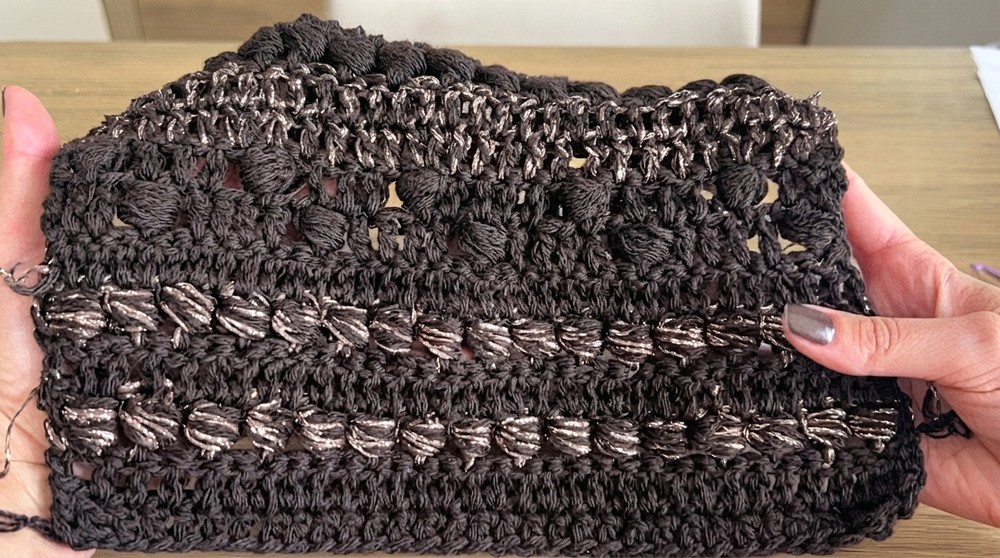
Decorative Borders:
- Finish the cardigan edges (front border, neckline, and hemline) with 2-3 rows of ribbing using alternating fpdc and bpdc stitches for texture and elasticity.
Tips for Customization
- Adjust the length of panels or sleeves to suit your preferred fit; simply add or reduce rows.
- Experiment with different yarn colors or metallic threads to personalize the overall look.
- For extra embellishment, add embroidery or surface crochet along the textured puff stitch areas.
Conclusion
This puff stitch crochet cardigan is a timeless design that combines beauty and functionality. Its textured panels, metallic thread accents, and polished finishing details make it suitable for casual or formal occasions. With clear instructions, precise shaping techniques, and decorative ribbing, this pattern provides both style and versatility. Perfect for intermediate crocheters, this cardigan is a rewarding project that allows for plenty of creative customization. Add your personal flair by choosing buttons, colors, or embellishments to make it uniquely yours!


