Lightweight Crochet Mesh Tassel Top Pattern For Warm Weather

Bring bold flair with this Crochet Mesh Tassel Top Pattern for airy mesh detail and swinging accent that create movement in warm-weather wear.

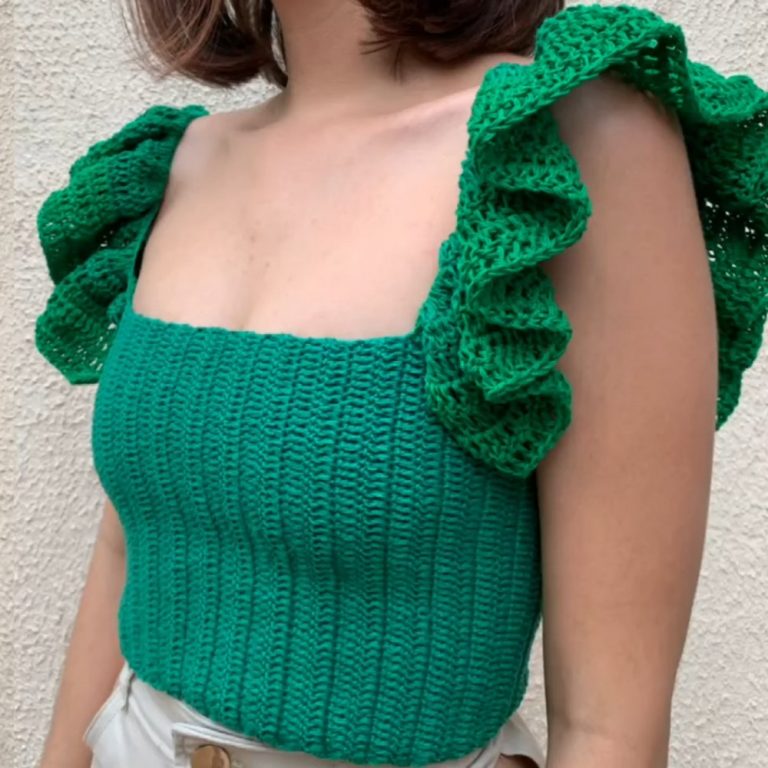
Charming Crochet Mesh Tassel Top Pattern With Summer Flair
Elevating everyday style with bohemian flair, this versatile garment brings a fresh and contemporary twist to casual dressing. Featuring a delightful combination of airy mesh texture and playful tassels, the crochet mesh tassel top pattern creates a visually stunning effect while maintaining lightweight comfort. The breezy openwork design makes it perfect for layering over camisoles, swimwear, or fitted tees, catering to both relaxed weekends and festival-ready outfits.

Chic tassel accents add movement and personality, ensuring the top becomes a standout piece in any wardrobe. Its adaptable fit suits various body shapes and fashion preferences, while the handmade look embodies effortless sophistication. Ideal for spring and summer, it offers breathability and style without compromising on elegance. this top instantly enhances your ensemble with creative charm and wearable art, making each experience in the crochet mesh tassel top both fashionable and memorable.
Materials Needed
-
Yarn: Size 4 (Medium Weight/Worsted) cotton or acrylic yarn in 3 colors (e.g., Pink, Green, Turquoise).
-
Hook: 3.50 mm crochet hook.
-
Tools: Tapestry needle, scissors, and a measuring tape.
Part 1: The Multi-Color Bra Cups (Make 2)
Round 1 (Color A):
-
Foundation: Chain 14 (for B-cup).
-
Base: Half-double crochet (hdc) into the 3rd chain from the hook and in each chain across.
-
Peak: In the last chain, work: 2 hdc, ch 1, 2 hdc.
-
Opposite Side: Work hdc down the other side of the foundation chain.
-
Growth: Repeat the pattern (hdc in each stitch, ch-1 at the peak) for 2 rows.


Round 2 (Color Swapping):
-
Color B: Change color every 2 rows. To swap, pull the new color through the last 3 loops of the final hdc.
-
Repeat: Follow the hdc pattern for 2 rows of Color B, then 2 rows of Color C.
-
Finish: End with 2 final rows of Color A.

The Border & Joining:
-
Attach your border color. Single crochet (sc) evenly along the bottom of both cups to join them together.
-
Work sc around the entire outer edge of the joined cups.
-
Finish: Chain 1 and fasten off.

Part 2: The Draped Mesh Center
-
Placement: At the top inner edge of Cup 1, count down 5 spaces and attach yarn.
-
Row 1: Chain 13. Count down 5 spaces on the inner edge of Cup 2 and slip stitch (sl st) to attach.
-
Row 2 (Travel): sl st down the next 5 spaces of the cup edge.
-
Row 3 (Arcs): * Chain 13. Work 1 sc into the center of the previous ch-13 loop.
-
Row 4: Chain 13. sl st to the opposite cup edge (skipping 4 spaces).
-
Growth: Repeat until the mesh reaches the bottom of the cups.
Decreasing the Mesh (Triangle Point):
-
Fasten off and reattach to the second loop of the mesh.
-
Work arcs across, but skip the first and last loops of every row. This creates a downward-pointing triangle shape.
Part 3: Tassels & Straps
1. Tassels (The Fringe):
-
Cut several strands of all 3 colors (approx. 8–10 inches long).
-
Fold strands in half and use your hook to pull the loop through the mesh gaps at the bottom.
-
Pull the ends through the loop to secure.
2. Lazy Girl Straps:
-
Neck Straps: Create two chains of 150–250. Attach them to the top peak of each cup with a double knot.
-
Back Ties: Create one long chain of 250–300. Lace it through the outer edges of the cups to tie behind the back.

Conclusion
Finishing this mesh bralette provides you with a custom, festival-ready garment that showcases your ability to blend structured cup work with airy mesh draping. By mastering the arc-join technique, you’ve created a unique 3D texture that is as functional as it is visually striking. Once you trim your tassels and secure the straps, your unique handmade top is ready for the beach.
Pro Tip: If the tassels feel too thin, use 6–8 strands per gap instead of 4 for a bulkier, more “high-end” boho look.