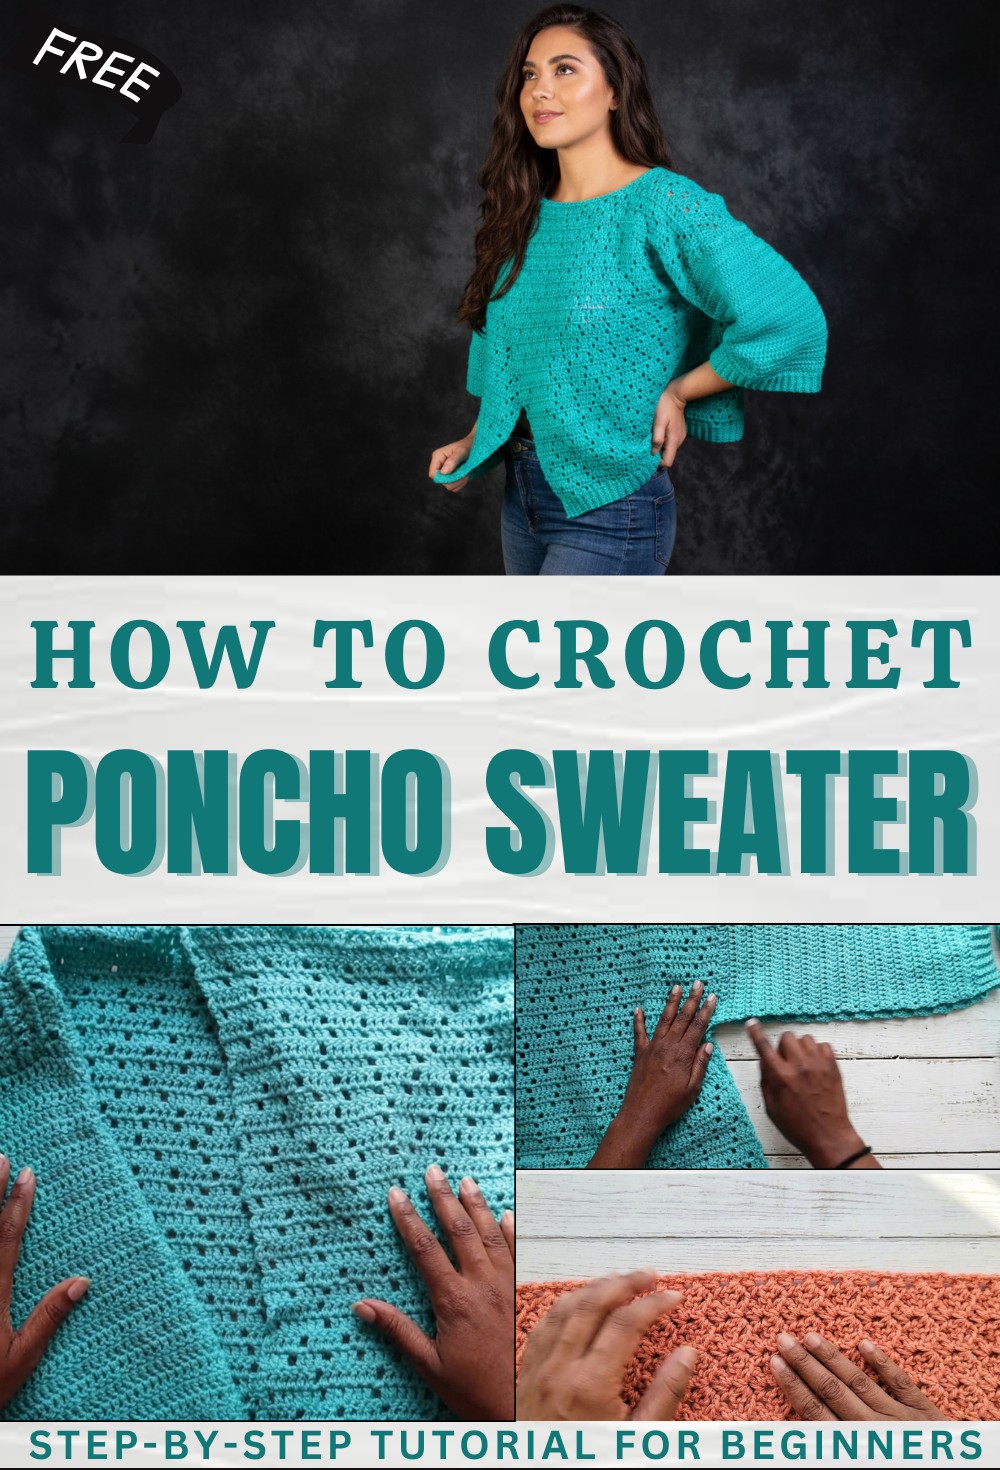
Relaxed Free Crochet Poncho Sweater Pattern for Laid-Back Days

Refresh your style effortlessly with free crochet poncho sweater pattern that’s comfortable attractive & perfect for any season or occasion.
Ever wondered how you can look stylish and feel cozy at the same time without any fuss or tricky fashion rules? A poncho sweater is the answer—a beautiful piece that drapes softly over your body giving you comfort and charm for every day and any occasion. With a crochet poncho sweater pattern you can bring this favorite item to life using your own hands and favorite yarn colors.
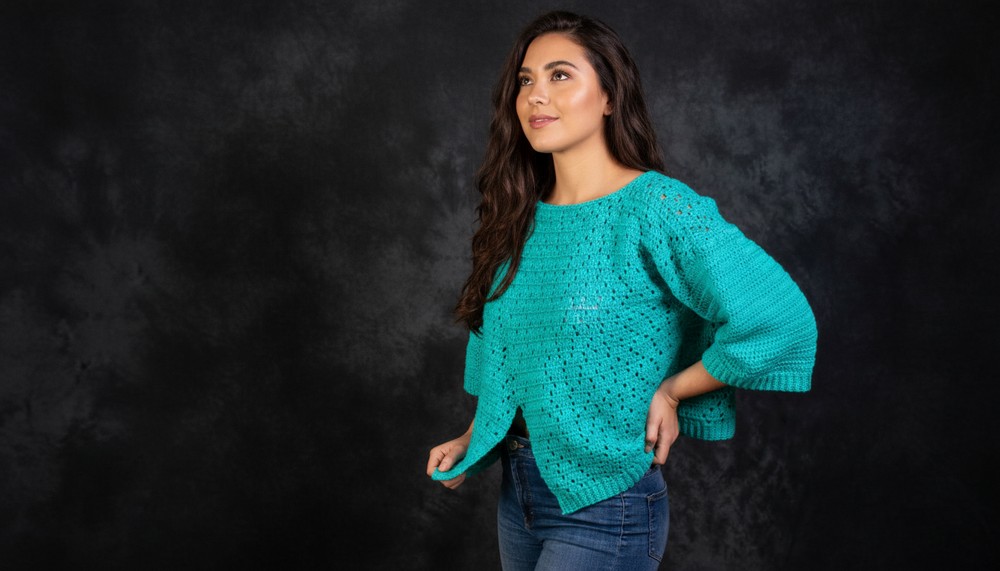
Free Crochet Poncho Sweater Pattern to Brighten Your Style
Its open shape means it suits all body types making it easy to slip on over anything from T-shirts to dresses. The creative stitches and playful shapes turn every poncho into a work of art while keeping you warm on cool days or adding a dash of beauty on breezy evenings. No matter your skill level you can enjoy making and wearing this piece that celebrates handmade style simplicity and a touch of elegance.
Free Crochet Poncho Sweater Pattern
Materials
- Yarn: 500g Lana Carette, 100% Ecotex certified acrylic (100g balls; each ball 380m).
- Hook: Size 4mm (US G-6)
- Optional Hook: Size 3mm (for tighter stitches or ribbing/finishing)
- Notions:
- Yarn needle (for seaming)
- Stitch markers (for marking panels and sleeves)
- Scissors
Key Abbreviations (US Terminology)
- ch = chain
- sc = single crochet
- dc = double crochet
- sl st = slip stitch
- st(s) = stitch(es)
- sk = skip
- rep = repeat
Special Notes
- The project is worked in panels, then seamed and finished.
- Stitch counts may vary depending on your custom measurements; always adjust to fit.
- Use the multiple of 4 + 3 for the foundation chains of panels.
- For sleeves and finishes, measurements are guidelines—feel free to modify for desired length and width.
- For each panel, alternate rows create an intentionally unstructured, perforated effect.
Panel Measurements (Size M)
- Back Panel: 60cm (width) x 49cm (height)
- Front Panels (x2): 40cm (width) x 49cm (height)
- Sleeves: 22cm wide; length: 50cm for 3/4 sleeves, 60–62cm for long sleeves
Pattern Instructions
1. Panel Construction
Back Panel
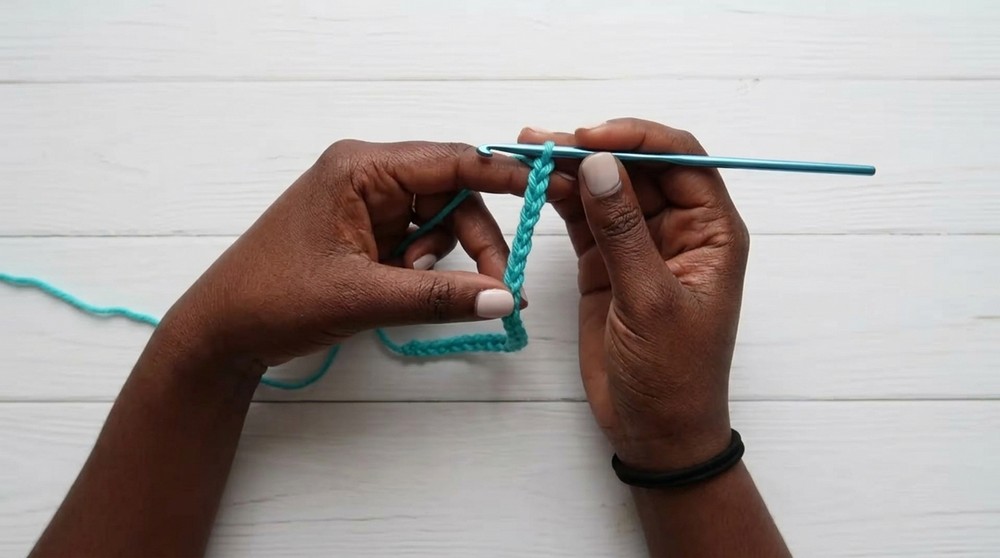
- Foundation Row:
- Make a chain in a multiple of 4 + 3 to reach 60cm width.
- Example: If gauge gives you 1cm per ch, chain 60 x (your gauge).
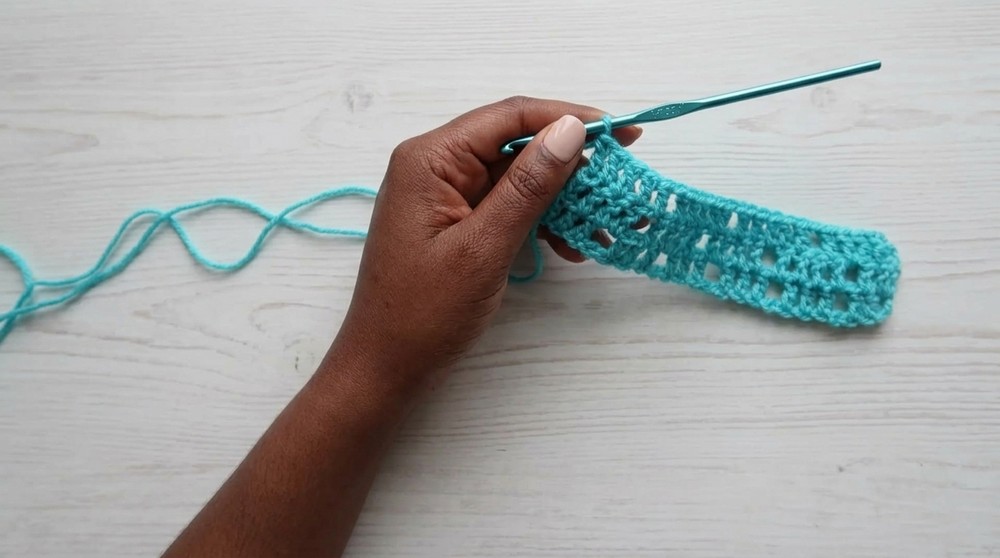
- Row 1:
- Starting in 4th ch from hook, work dc in each of next 2 ch; (ch 1, sk 1 ch, dc in each of next 3 ch); rep from * to end.
- Row 2:
- Ch 3 (counts as 1 dc), turn.
- In next ch-1 space, work 4 dc.
- Ch 1, sk 1 dc, work 4 dc in next space; rep across.
- End with 4 dc or work remaining dc if fewer stitches remain.
- Row 3:
- Ch 3, turn.
- In next space, work 5 dc.
- Ch 1, sk 1 dc, work 5 dc in next space; rep as established.
- Row 4:
- Ch 3, turn.
- In next space, work 6 dc.
- Ch 1, sk 1 dc, work 6 dc in next space; rep as established.
- Repeat Rows 1–4 until you reach 49cm height.
- Optional: Add row with 7 dc as desired.
- Panels will have a deconstructed, perforated look.
Front Panels (Make 2)
- Repeat instructions as above, adjusting width to 40cm and height to 49cm.
2. Panel Assembly
- Lay out all panels: back (center), front panels (left/right).
- Align shoulders: Place stitch markers, measure 19cm for shoulder seams.
- Sew: Using the yarn needle, seam shoulders with back-and-forth stitching for 19cm. Leave central area open for the neck.
- Attach front panels: Align to sides of the back panel.
3. Sleeves
- Measure and mark: Place markers 22cm from top of shoulder on both front and back, count rows for even placement.
- Attach yarn at marker, ch 3 (counts as dc).
- Work dc across: Work dc stitches evenly along sleeve opening (use side rows as guide), not too tight or too loose.
- Continue rows: Turn, ch 3, work dc across for desired length (27 rows for 3/4 length, approx. 50cm; for long sleeves, 60–62cm).
- Repeat for second sleeve.

4. Finishing Touches
Ribbing/Border
- At sleeve or lower edge:
- Ch 7, work 6 sc across chain (sk first ch, sc in next ch).
- Turn, sl st into next dc on main panel.
- Turn, work 6 sc BACK LOOP ONLY.
- Ch 1, turn, work 6 sc BACK LOOP ONLY, sl st into panel.
- Continue for desired edging length.
Tip: Always work into back loop for ribbing effect.
- Repeat for both sleeves and bottom edges.
- Collar: Leave unworked for a delicate, open look. Optional: Add border if desired.
Side Seams
- Turn sweater inside out and sew side seams from sleeve edge down to hem, leaving arm opening free.

Conclusion
This poncho sweater is constructed using simple panels and alternating rows of double crochets, resulting in a relaxed, modern look. All panels are easily adjustable for any size. The sleeves and borders are finished with ribbed single crochet for a professional, polished effect.
Pattern Correction & Tips
Correction:
- Stitch counts may shift at row ends due to the deconstructed pattern; don’t stress—simply continue maintaining the main pattern structure and adjust by working into spaces as needed.
Tips:
- Use stitch markers to keep panel lengths and seams even.
- Measure as you go to ensure proper fit.
- Always work ribbing in back loop only for a defined edge.
- For beginners, focus on maintaining stitch counts for the first few rows, as the pattern becomes intuitive after several repeats.