Trendy Free Crochet Shoulder Bag Pattern with Fun Textures
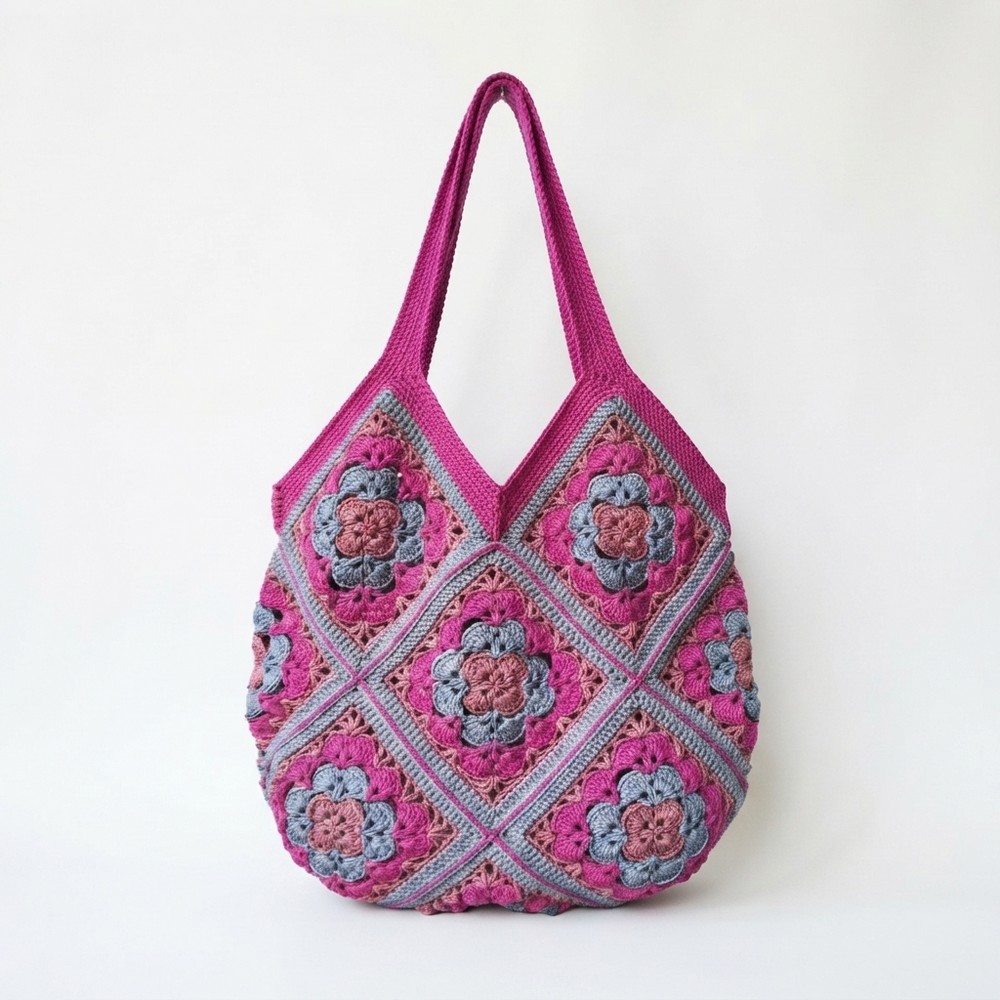
Create your own stylish accessory with this Free Crochet Shoulder Bag Pattern that’s a fun guide to crocheting a beautiful & functional bag you’ll love.
Handmade accessories are a great way to add personality to your style. Rajutan Whita presents a free crochet shoulder bag pattern that combines practicality with a charming look. This project creates a useful item that’s both stylish and comfortable to wear.
Creative Free Crochet Shoulder Bag Pattern to Make at Home
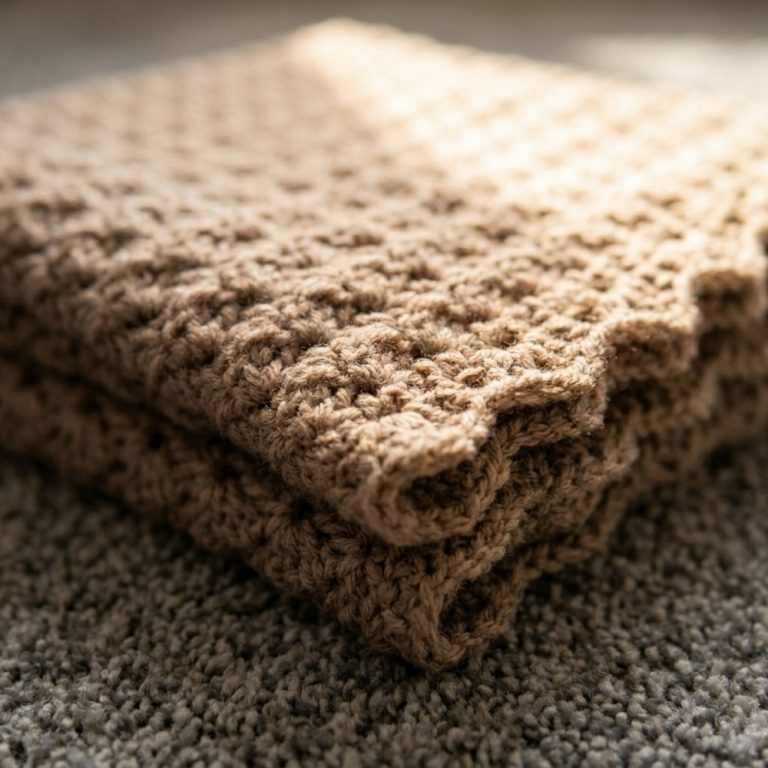
The shoulder bag has a rectangular shape that fits perfectly over the shoulder, making it ideal for daily errands or casual outings. Its texture is soft yet strong, made with stitches that provide durability while keeping a light feel. The open weave adds a delicate and airy appearance, making the bag both functional and attractive.
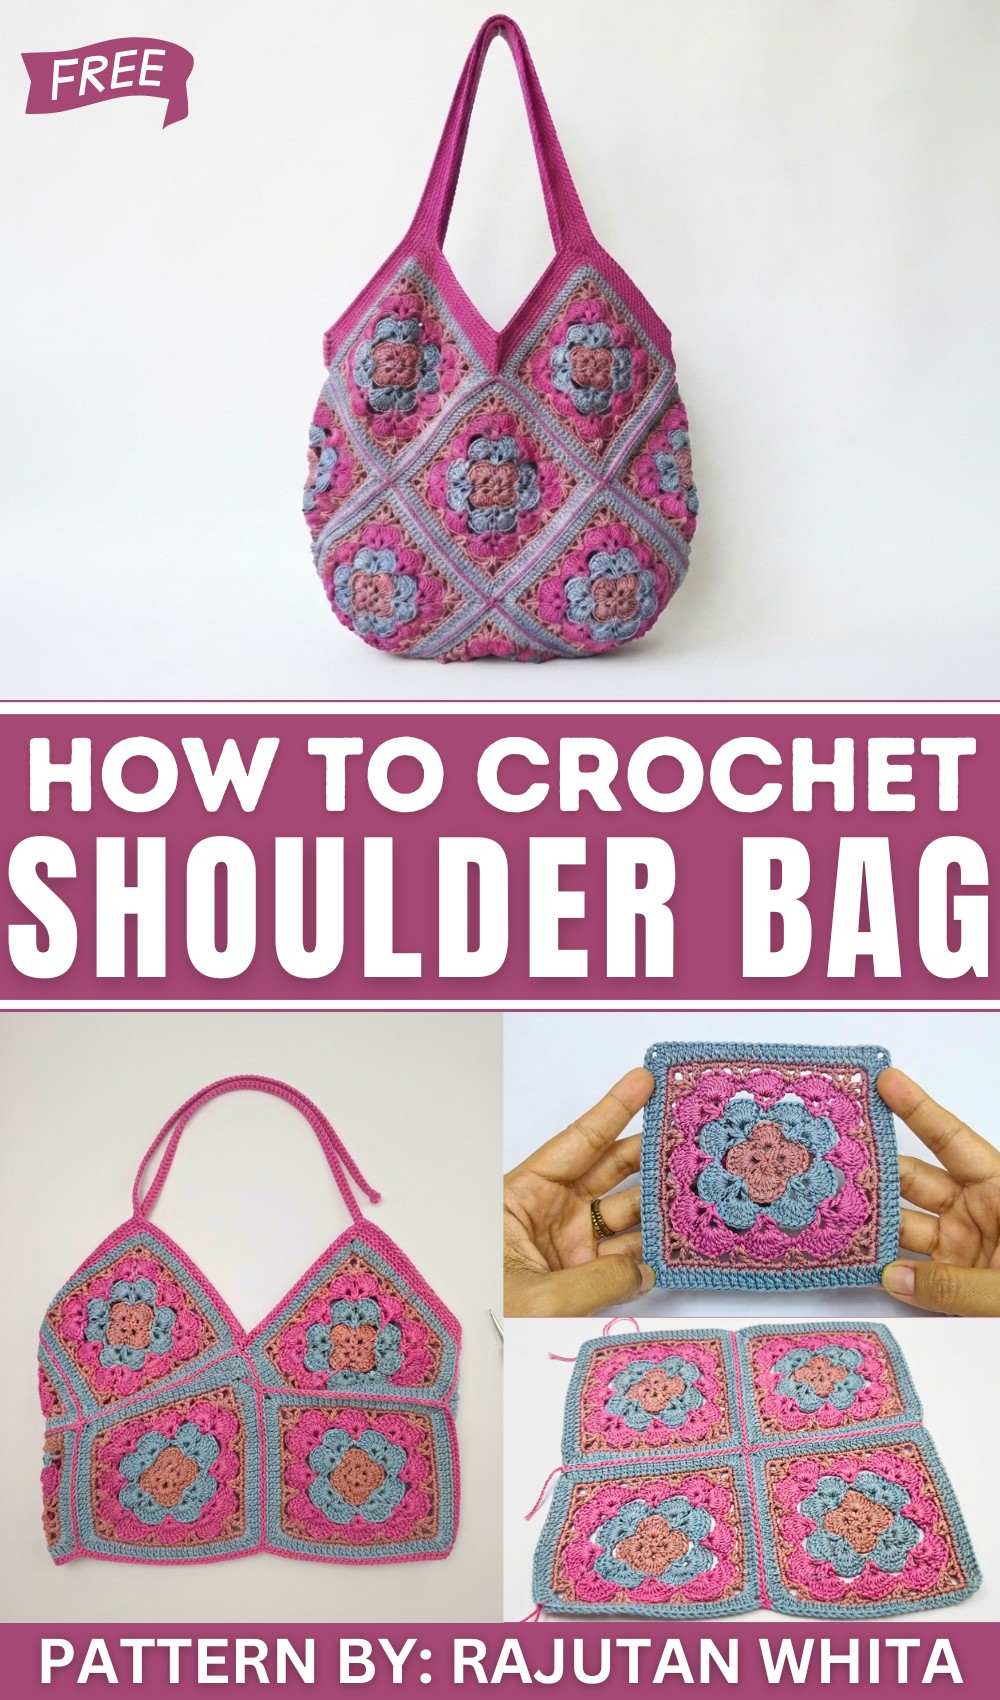
This bag makes a thoughtful present because it offers a personal touch and can suit various tastes. Its simple design and neutral colors can easily match many outfits. The long strap ensures a comfortable fit, and its size is perfect for carrying essentials such as a phone and wallet.
Special details like tidy edges and a smooth finish give the bag a neat and polished look. Rajutan Whita’s clear instructions guide you through each step, making the process approachable and enjoyable for all skill levels.
The free crochet shoulder bag pattern is an excellent choice to create a practical and lovely accessory that adds style and convenience to everyday life.
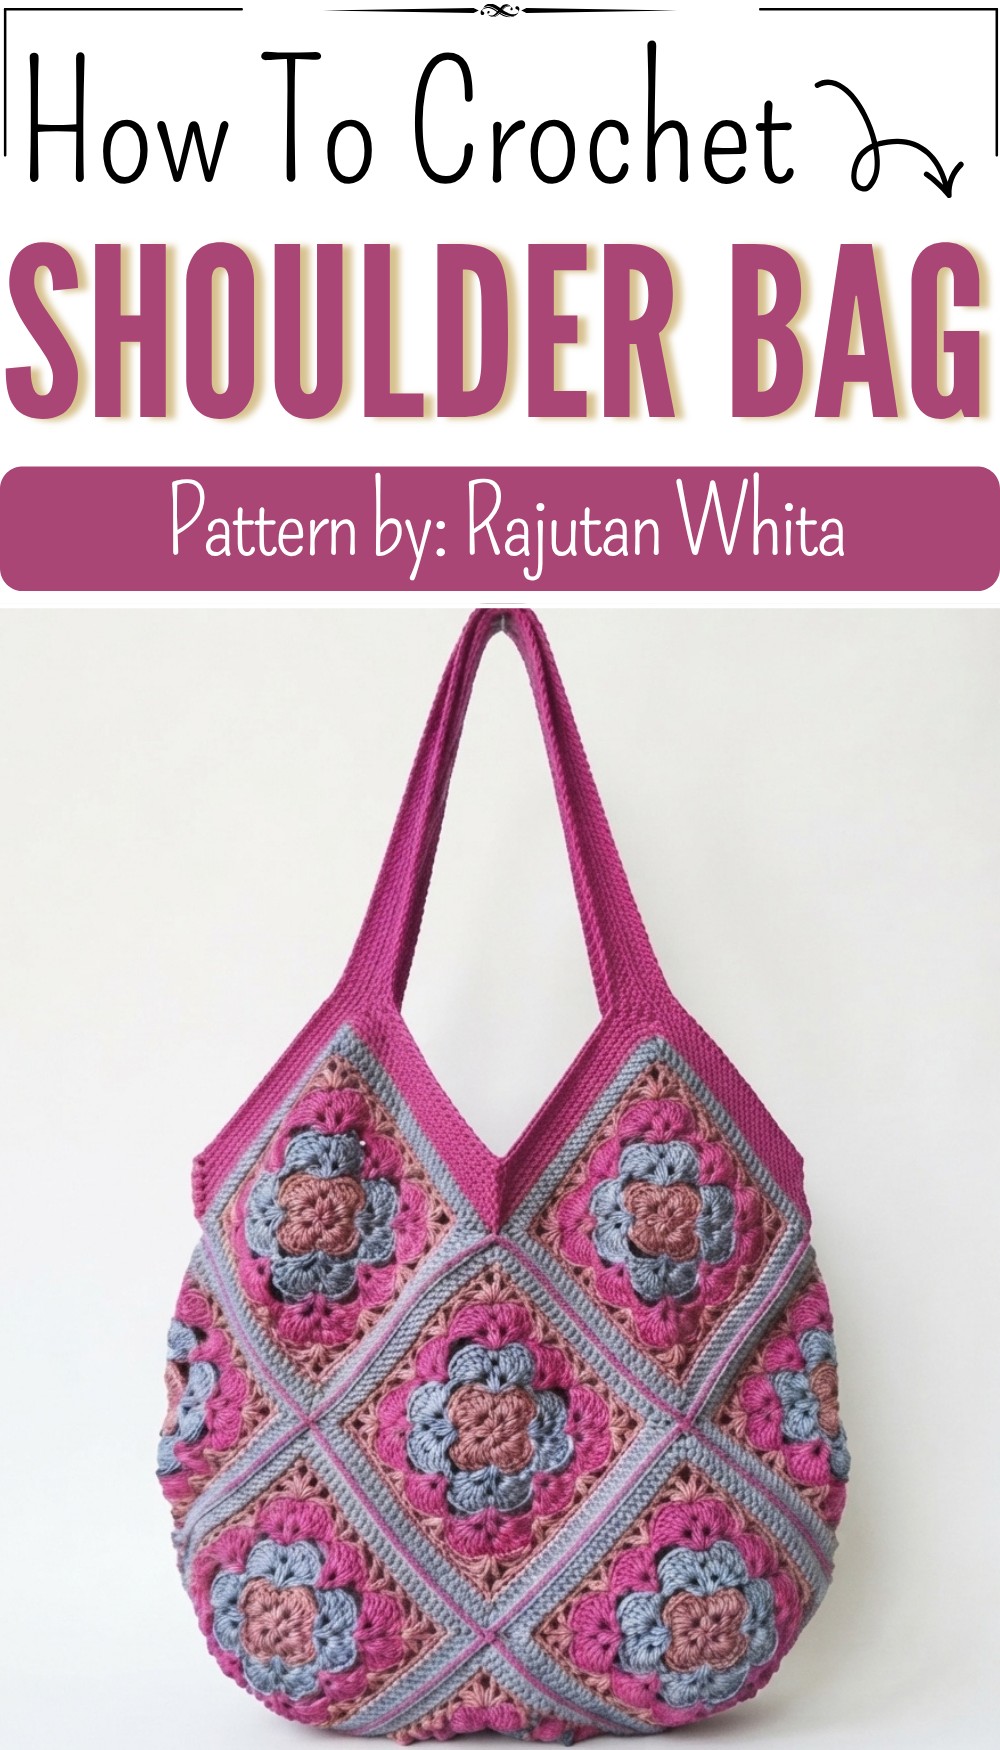
Granny Square Crochet Tote Bag Pattern
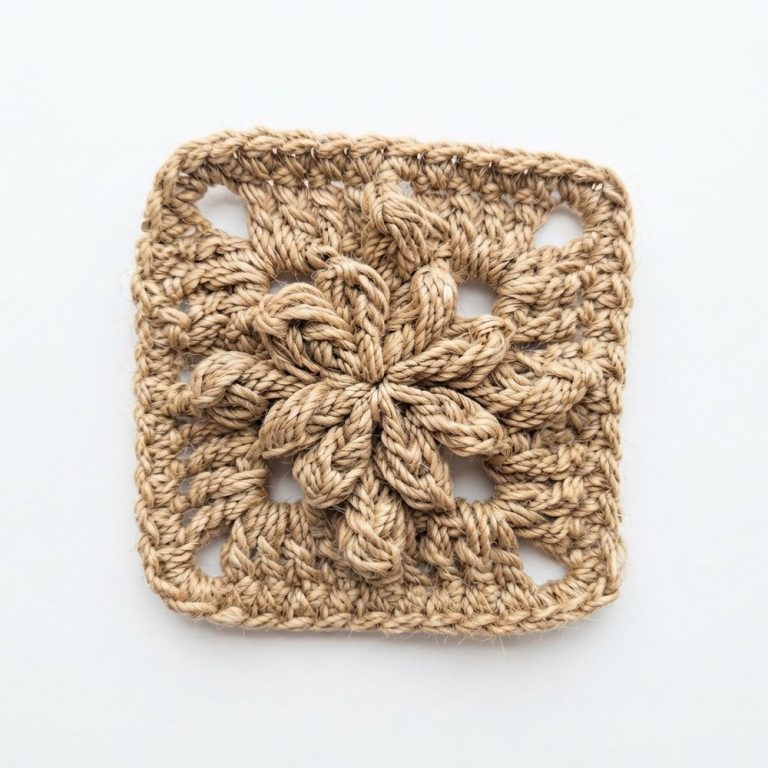
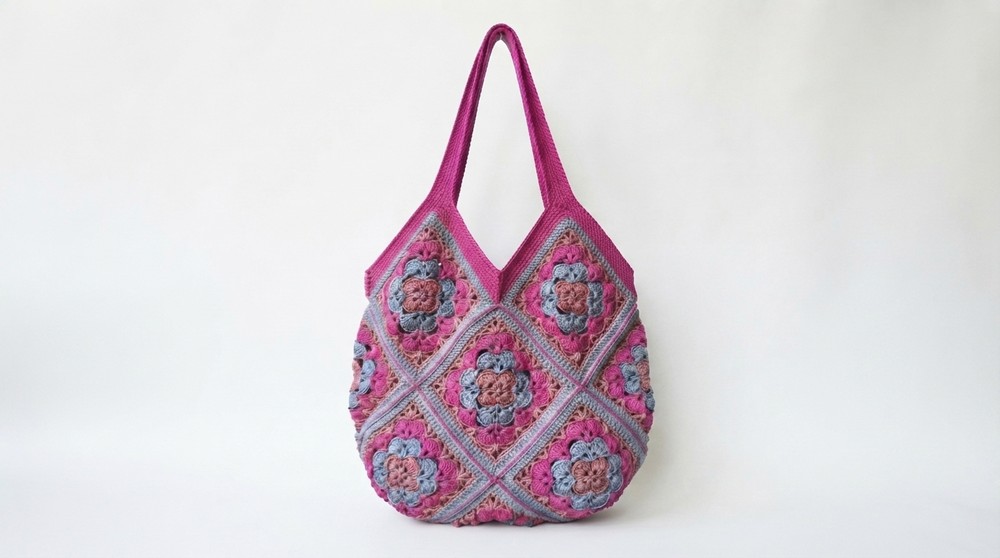
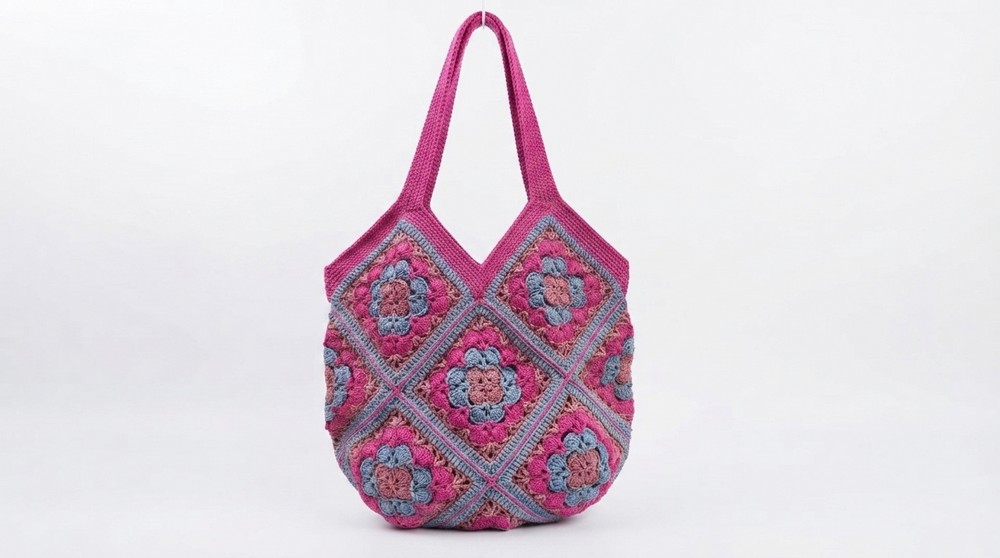
A modern take on the classic granny square, this sturdy and visually captivating tote bag uses integrated assembly and handle techniques, finished with a neat inner border for structure and longevity. Featured in small-ply polyester yarn, the bag is both lightweight and strong, with a striking color palette.
Pattern Basic Points
- 13 uniform granny squares form the tote structure.
- Flat slip stitch joins offer seamless assembly with clean lines.
- Integrated border and handles provide comfort, style, and strength.
- Inner lining border ensures durability and a professional finish.
- Dimensions and handle length easily adapted.
Special Notes
- Work all joins and borders with right sides facing out for a flat, professional appearance.
- Consistent tension and careful stitch placement are critical for even sides.
- Secure polyester ends by weaving in thoroughly, then fusing gently with a lighter.
- Use stitch markers at corners and handle points for accuracy.
- Handles will stretch slightly with use; adjust chain count accordingly.
Skill Level
Intermediate
Requires understanding of granny square motif construction, flat slip stitch joining, integrated handles, and structured border techniques.
Materials
- Yarn: Small-ply polyester in mauve, magenta, and light gray
- 2.0 mm crochet hook
- Scissors
- Lighter (for polyester finishing)
- Measuring tape
- Stitch markers
Measurements / Sizing
- Bag body: 33 cm wide x 32 cm high
- Handles: 42 cm (chain 110 for standard)
- 13 granny squares (sized to fit above measurements)
Gauge & Stitch Pattern
- All granny squares must be equal in size.
- Main stitches: Double Crochet (dc) for squares, Single Crochet (sc) for borders/handles.
- Flat Slip Stitch Join (sl st) used for attaching squares.
Stitch Abbreviations
- ch: chain
- sc: single crochet
- dc: double crochet
- sl st: slip stitch
- sc2tog: single crochet two together
- sc3tog: single crochet three together
Special Stitches
- Flat Slip Stitch Join: Insert hook through back loops of adjoining squares, yarn over, pull through all.
- sc Increase (3 sc in one stitch): At peak corners.
- sc2tog: Decrease at descending/inward corners.
- sc3tog: Decrease in inner border at corners/handle junctions.
Step-by-Step Pattern
Granny Square Preparation
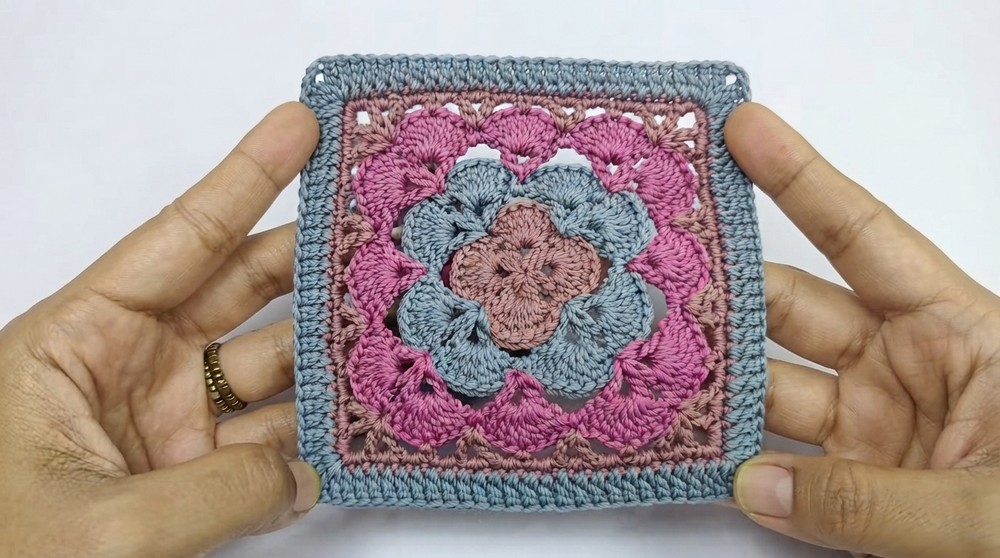
- Make 13 granny squares:
- Use your chosen granny motif and color placement (mauve, magenta, light gray).
- Ensure all squares are blocked (or hand-flattened) for precision.
Joining Squares
Flat Slip Stitch Join
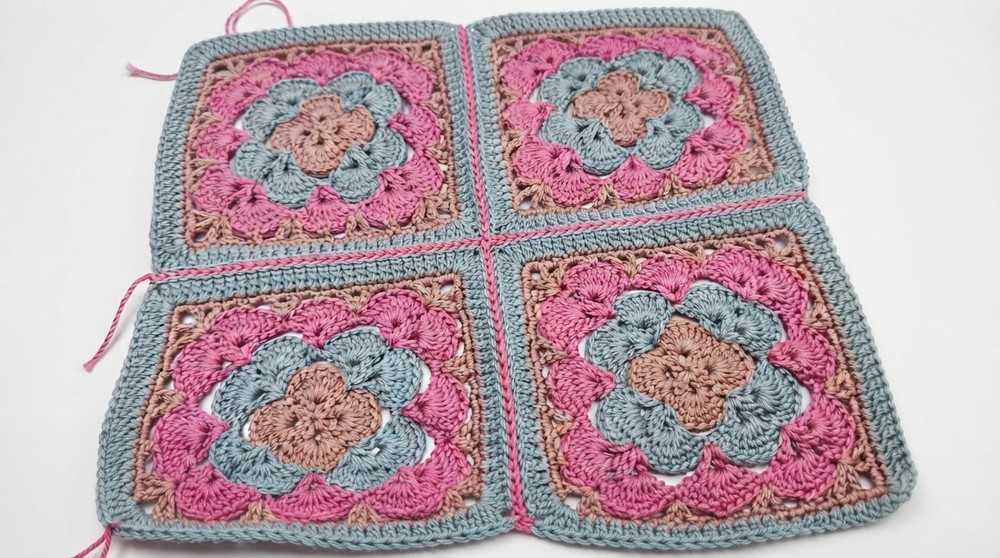
- Arrange squares in the specified tote bag layout.
- With magenta yarn, join squares:
- Insert hook through back loops (or ch spaces) of both squares,
- sl st across the seam, keeping right sides outward.
- When moving between squares, ch 1 (prevents puckering).
- Secure yarn at each section end: tie, weave in, gently melt for polyester.
Border & Handle Construction
Row 1: Border Foundation
- Start at a side peak corner.
- sc in each stitch around bag opening.
- At peak corners (where three squares meet at the bag top): 3 sc in one stitch (increase).
- At descending corners (border ‘dips’ between squares): sc2tog (decrease).
- Continue evenly, sl st to complete round.
Row 2: Shaping & Reinforcing
- sc in each stitch.
- At inside corners, work sc3tog for sharp shape.
- At peaks, work 3 sc in the same stitch.
- At dips, use sc2tog.
- sl st to end round.
Row 3: Handle Integration
- Continue sc to the designated handle placement (side peak).
- At peak, ch 110 (or desired length for 42 cm handle).
- Skip corresponding base stitches, join chain with sc to the next peak.
- Repeat for other side if making two handles.
- sc in each stitch/chain around the bag opening and handle.
- sl st to close round.
Rows 4–6: Handle & Top Edge Stability
- sc in each stitch, including over handles.
- Maintain handle shape:
- At each peak, 3 sc in one stitch (increase).
- At dips, sc2tog.
- Complete up to three rounds, for structural thickness and durability.
- Ensure handles and edges are firm and supported.
Internal Lining Border
- Attach yarn just inside the top opening.
- Work 2–3 rounds of sc around the inner opening and handle base.
- At corners and handle joins, use sc3tog to taper and blend transitions.
- sl st to complete final round.
Assembly
- Weave in all ends thoroughly with tapestry needle.
- For polyester, gently melt yarn ends—press into stitches for secure, neat finish.
- Block bag gently, especially corners/edges.
- Inspect bag for evenness, symmetry, and well-positioned handles.
Conclusion
A tote bag of joined granny squares combines the art of motif work, skillful seaming, and modern border construction. Rows of precisely joined squares, a clean flat slip-stitched seam, and thoughtfully structured handles create an accessory that is enduring, lightweight, and visually striking. The double-layered border not only offers refinement and strength but also elevates the bag to the level of everyday chic. This project rewards intermediate crafters with a long-lasting, multipurpose tote, ready for all seasons.