Creative Crochet Waste Yarn Bag Pattern to Bust Stashes

Got leftover yarn that’s too beautiful to toss? Turn it into something special with this free crochet waste yarn bag pattern! Perfect for using up those small rolls of thread you’ve been saving, this pattern is about creativity and sustainability. Whether you need a lightweight market tote, a colorful lunch bag, or a book carrier, this bag combines function with style.

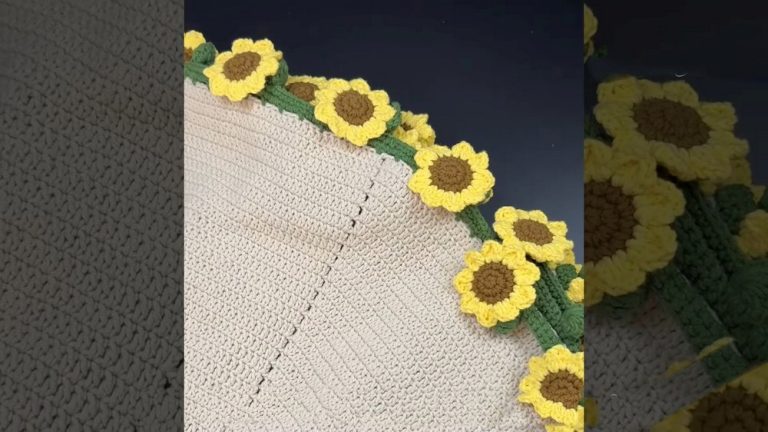
Beautiful Crochet Waste Yarn Bag Pattern Great for Groceries
The unique square motif design allows endless customization based on your yarn stash, while its sturdy yet lightweight construction is great for daily use. Embrace eco-friendly crafting, organize your leftovers, and create something both practical and beautiful. Start crocheting today.

Materials Needed
- Yarn:
- Leftover yarn of various colors for the motifs.
- A consistent-colored yarn (e.g., silver, as used in the video) for the base, top, and strap.
- Recommended yarn weight: Medium (4), though this can vary slightly.
- Crochet Hook:
- 3 mm crochet hook (Tulip #3 is used in the video).
- Optional Materials:
- Stitch Markers: At least two to mark starting/ending points and guide straight rows.
- Measuring Tape: To check dimensions (height and width).
- Scissors: For cutting yarn.
- Tapestry Needle: For sewing and weaving in loose ends.
Skill Level
- Intermediate to Advanced: Ability to work flat and in the round, change colors frequently, and sew parts together.
Key Abbreviations (US Terminology)
- CH: Chain
- ST: Stitch
- SC: Single Crochet
- SL ST: Slip Stitch
Special Notes
- Gauge: Gauge is not critical for this pattern as long as the squares are consistent. A measuring tape will help ensure uniform dimensions.
- Color Changes: Leave yarn tails outside the project to avoid a bulky finish. Weave them in after completing the bag for a clean look.
- Customizable Size: The bag’s size can be easily adjusted by modifying the starting chain number (in multiples of 5) and rows in height.
Finished Bag Dimensions
- Height: ~21 cm.
- Width: ~21 cm.
- Base Width: ~5 cm.
If you prefer a larger or smaller bag, adjust the chains and rows accordingly.
Pattern Instructions
1. Bottom Base with Silver Yarn
- Foundation Chain:
- Create a foundation chain with 40 CH + 1 CH (for turning), using silver yarn.
- Row 1 (SC Row):
- Begin from the second CH from the hook. Work 1 SC in each CH across the row to the end. Use a stitch marker to mark the first SC for maintaining straight rows.
- Total stitches: 40 SC.
- Rows 2-10:
- CH 1, turn your work. Work 1 SC in each ST across. At the end of each row, mark the first SC to ensure straight edges.
- By the end of Row 10, you should have a rectangular bottom with 40 stitches across and 10 rows in height.
- SC Border Around the Base:
- Work SC evenly around the edges of your rectangular base:
- Left and right sides: 10 SC each (1 SC per row).
- Top and bottom sides: 40 SC each (1 SC per stitch).
- Slip stitch to join at the first SC.
- Work SC evenly around the edges of your rectangular base:


Tip: Count all SC stitches to ensure the corners are aligned correctly, avoiding tilts in the square motifs later.
2. Side Panel with Square Motif
- Foundation SC for Square Motifs:
- Use your first leftover yarn color (e.g., purple). From the slip stitch on the SC border, CH 1 and work SC evenly across the first 10 stitches.
- Mark the first ST with a stitch marker.
- Square Motif Rows:
- Continue the square motif by alternating colors:
- Work 10 SC in the first color block. At the last SC, change to the next color yarn (e.g., yellow) and work another row block.
- Adjust the size of each block based on the remaining amount of yarn:
- Small block: 5 SC per row.
- Regular block: 10 SC per row.
- Large block: 15 SC per row.
- Repeat this process until you complete the row.
- Continue the square motif by alternating colors:
- Maintaining Neat Color Changes:
- For color changes:
- Pull the previous color’s tail inward on color change rows so the front remains neat.
- Leave the tails on the inside of the bag; do not crochet them in to avoid stiffness.
- For color changes:
- Back-and-Forth Rows:
- For every row of motifs:
- Work one row in one direction.
- Flip the bag and work the next row by following the SC block pattern for a mirror effect.
- Repeat this process until the desired height (approx. 18-21 cm) is achieved.
- At the end of rows, the square motifs will form large and small colored blocks, depending on the quantity of yarn used.
- For every row of motifs:


3. Top Edge Finish
- Switch to Silver Yarn:
- After completing the motif work, switch back to silver yarn for a clean finishing touch.
- CH 1 and begin working 1 SC in each ST across.
- Repeat for 6 rows, turning at the end of each row for straightness.
- Optional:
- Work 10 rows at the top instead of 6, if you prefer a taller border.

4. Handle/Strap
- Foundation:
- Attach silver yarn to the edge of the bag.
- CH 1, then work 5 SC stitches across.
- Build the Strap:
- CH 1, turn, work 5 SC back across. Repeat this for 28 cm (or preferred length).
- For added strength:
- SL ST around the entire edge of the strap to reduce stretching.
- Attach Strap to Bag:
- Position the strap ends symmetrically along the top edge of the bag.
- Sew the ends using a tapestry needle, and reinforce the attachment with slip stitches around the strap’s base.
Finalizing
- Clean Up:
- Weave in all loose ends on the inside using a tapestry needle.
- Ensure all yarn tails from the color changes are tucked tightly into the work.

Conclusion
The leftover yarn crochet bag is a creative project that allows you to repurpose small yarn rolls into a functional and beautiful piece. By following these step-by-step instructions, you’ll achieve a straight and polished bag with unique color variations. The alternating square motifs create an eye-catching design, and the bag is adaptable for various purposes, from carrying books to lunch storage.
Pattern Corrections (if needed)
- Uneven Tension:
- Be mindful of tension during color changes to avoid puckering.
- Misaligned Squares:
- Always calculate and mark the SC stitches for motif rows to keep them straight.
Tips for Success
- Pre-Plan Color Patterns:
- Lay out your yarn rolls and decide on a color sequence for the motif before starting, ensuring a consistent look.
- Use Stitch Markers:
- This maintains alignment and prevents errors as you work up the sides and rows.
- Reinforce the Strap:
- For strength, add slip stitches around the entire edge of the strap after crocheting.