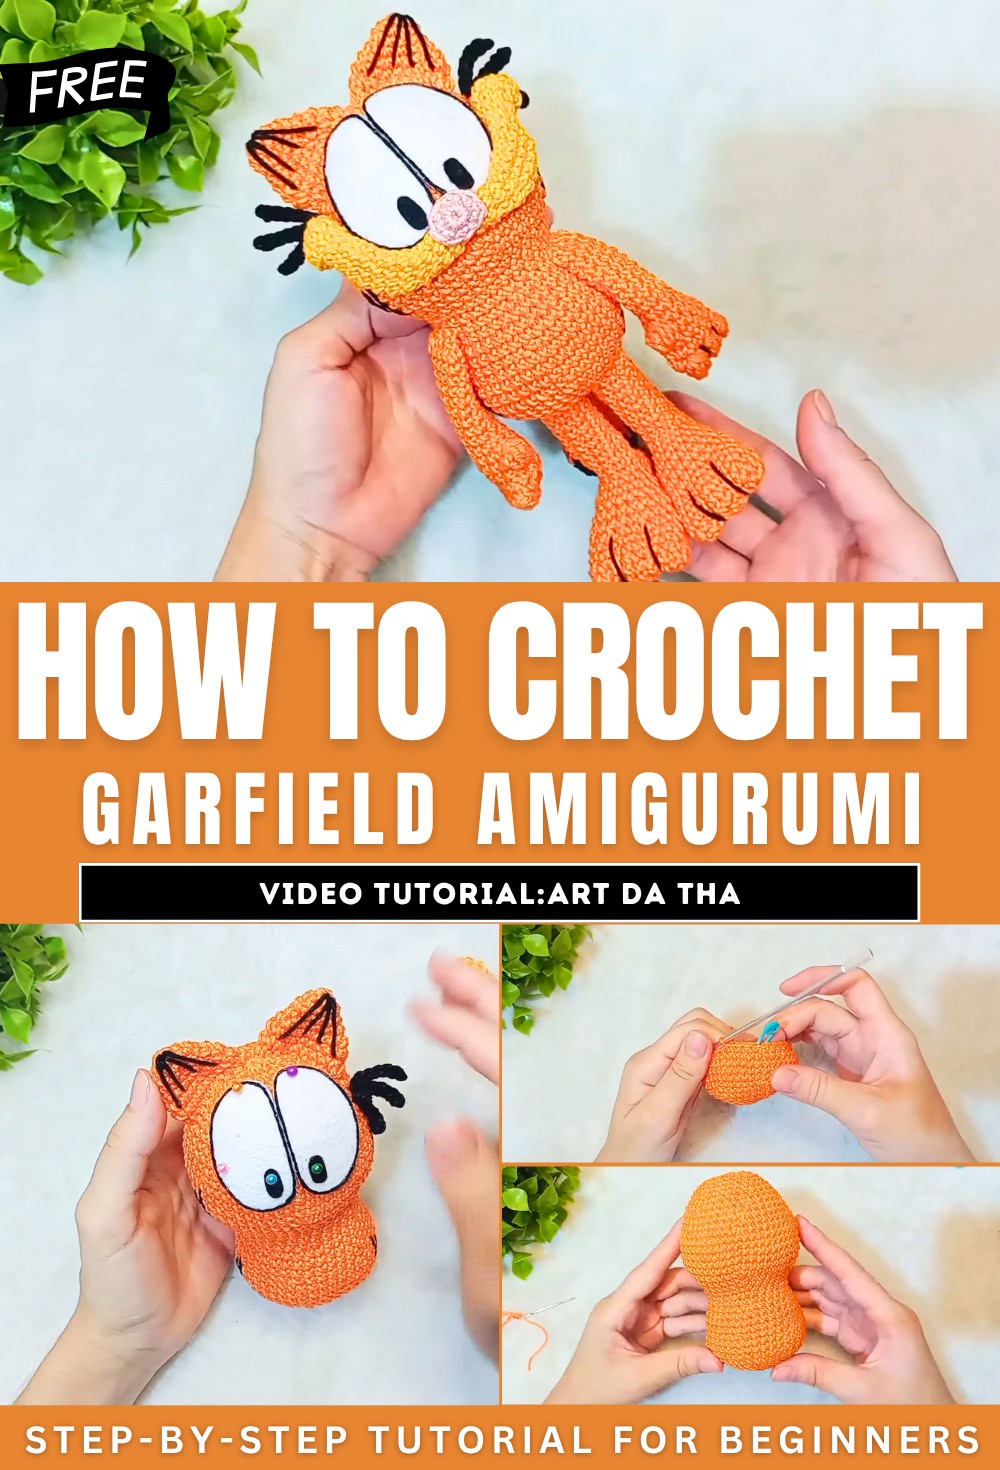
How to Crochet Garfield Amigurumi for Little Ones
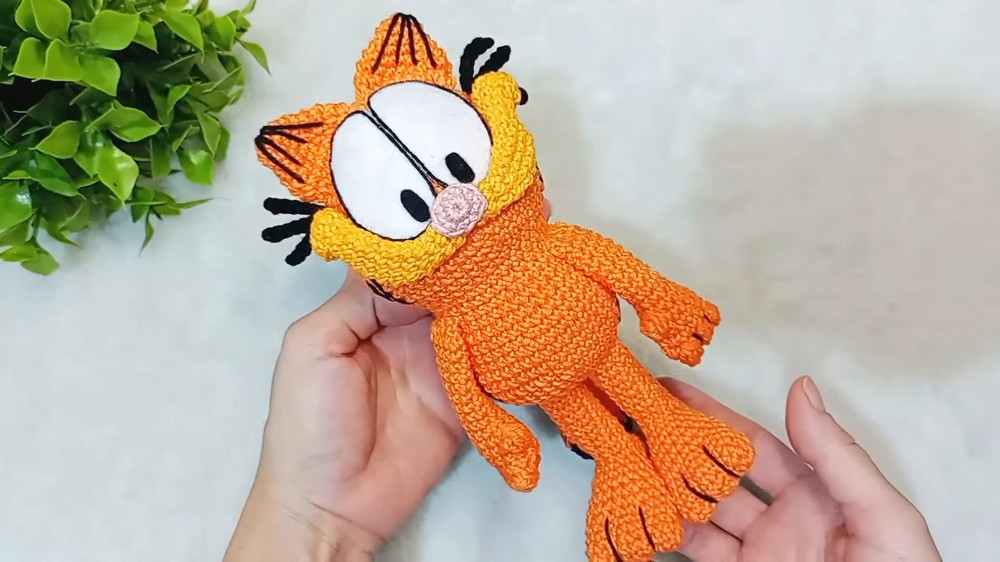
Learn how to crochet an adorable Garfield plushie doll for kids using amigurumi yarn and a 2.5mm crochet hook, perfect for beginners. The video provides clear row-by-row guidance, including increases, decreases, and the assembly process. It also offers tips on embroidery, stuffing, using felt for facial features, and finishing touches to ensure a polished look.
The tutorial is perfect for anyone looking to create a charming Garfield character. From the head, limbs, tail, ears, to other essential parts, you will learn everything. So, follow through with us for the complete tutorial.
Garfield Amigurumi Tutorial
This video provides a detailed tutorial on how to crochet a Garfield amigurumi doll. The final doll measures approximately 20 cm and is made with amigurumi yarn and a 2.5 mm needle.
Construction Steps
The video is divided into sections, each focusing on a different part of the Garfield doll:
-
-
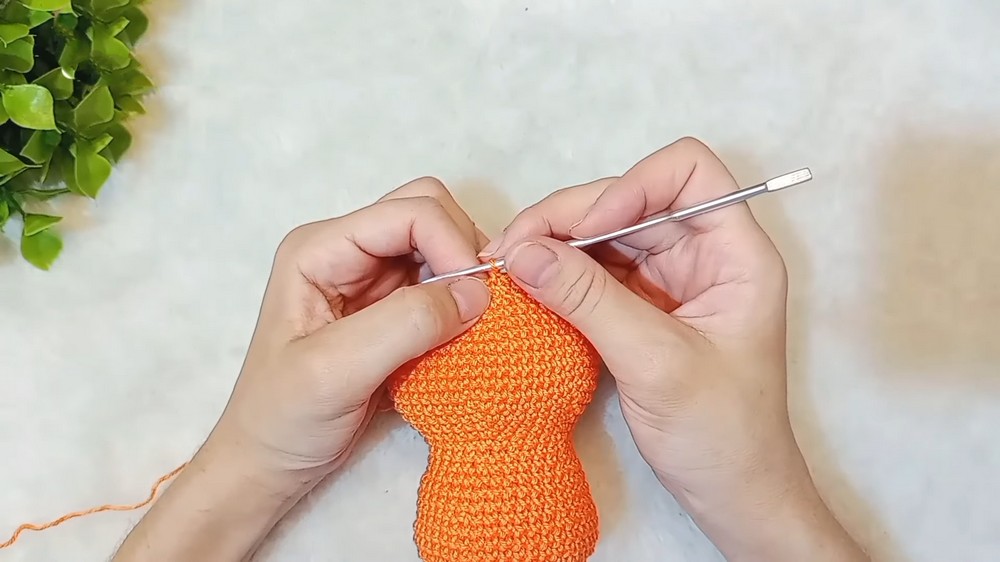
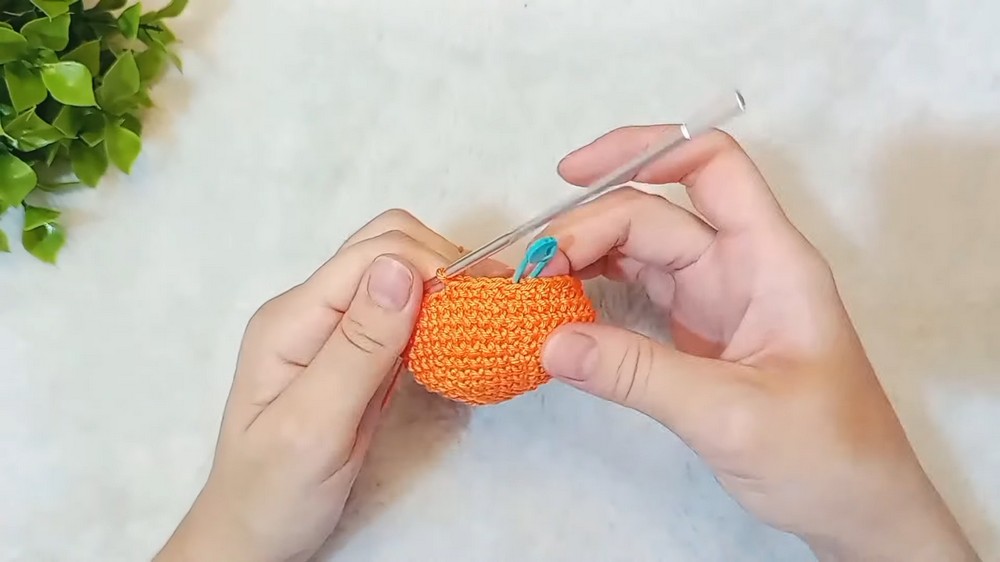
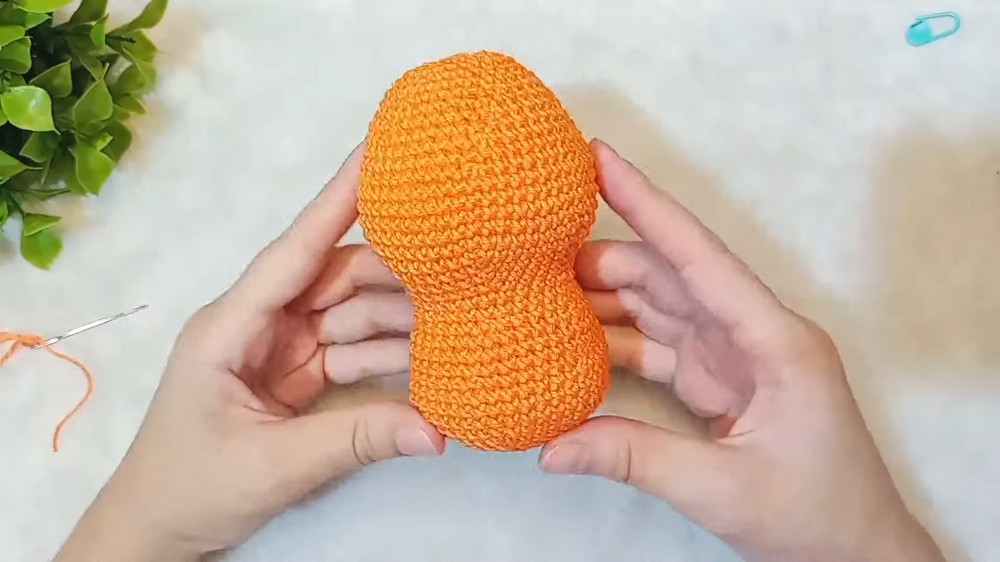
Body: The process begins with the body, starting with a magic ring. The body is worked in rounds, with increases and decreases shaping the form. The creator advises properly filling the head with stuffing to achieve the correct shape.
-
Ears: The ears are simple to make, and the pattern is provided on the screen. A long thread should be left for sewing them onto the head later.
-
-
-
Snout: The snout is created in two identical pieces, starting with a magic ring and then following a series of increases, decreases, and standard rounds. A long thread should also be left on these pieces for sewing.
-
White Eye Parts: The white part of the eyes is made by crocheting a series of chains and then working around them in rounds. The creator shows how to turn the corners with multiple stitches and finish the piece with an invisible join.
-
Feet and Legs: The tutorial for the feet and legs begins with crocheting a chain and then working in rounds. The leg is shaped with decreases and by creating a hole for the leg to extend from. The creator explains that after the stitches for the foot are completed, the ankle area is closed. The leg is then worked upwards from the hole, and a smaller needle can be used to make this part easier. The creator suggests using a hot glue stick or a piece of pool noodle to provide stability to the thin legs, as stuffing alone may not be enough.
-
-
-
Paw Details: The video shows how to create the toes by using a separate thread to tie and create the indents on the paws. The toes are then outlined with black thread.
-
Arms: The arms begin with a chain and are then worked in rounds. The fingers are created using a “bobble stitch,” where multiple half double crochets are worked into the same stitch and then closed together. The arm is then shaped with decreases. The creator notes that one arm is made differently from the other to correctly place the thumb. The final arm is stuffed only in the hand area, and the fingers are separated with black thread.
-
-
-
Tail: The tail is made in two colors, starting with black and then transitioning to orange. The creator demonstrates a technique using a long stitch to create a striped effect. The tail is shaped with decreases and stuffed only at the tip. Black lines are then embroidered onto the orange section.
-
-
-
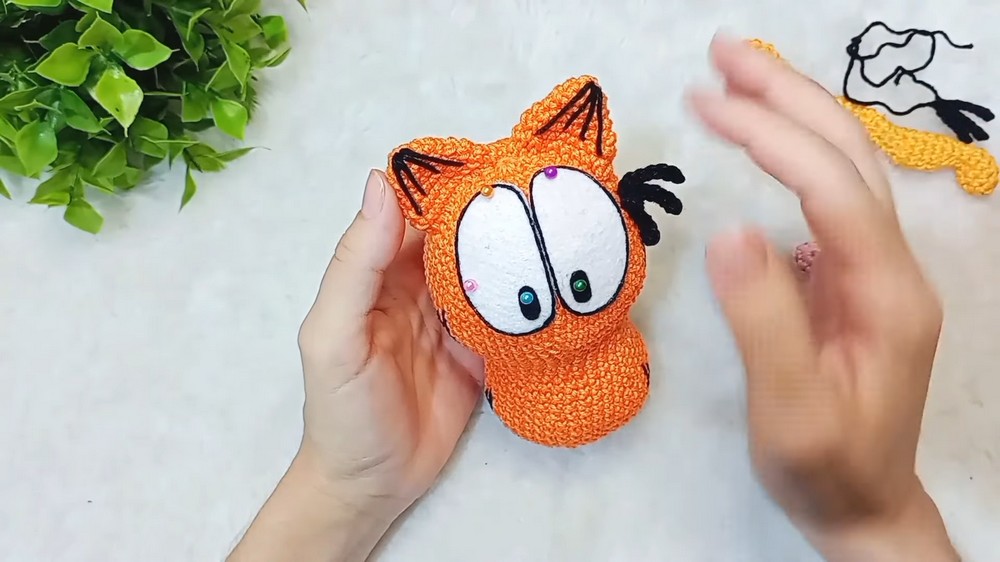
Final Details: The creator shows the final pieces for the face, including the nose and whiskers. The creator notes they opted to use felt for the eyes instead of the crocheted version shown in the video. The final assembly involves sewing the ears and whiskers and positioning the eyes, nose, arms, and legs. The creator notes the importance of a tidy and secure sewing for a professional finish.
-