How to Crochet Granny MUSHROOM Ornament for Christmas
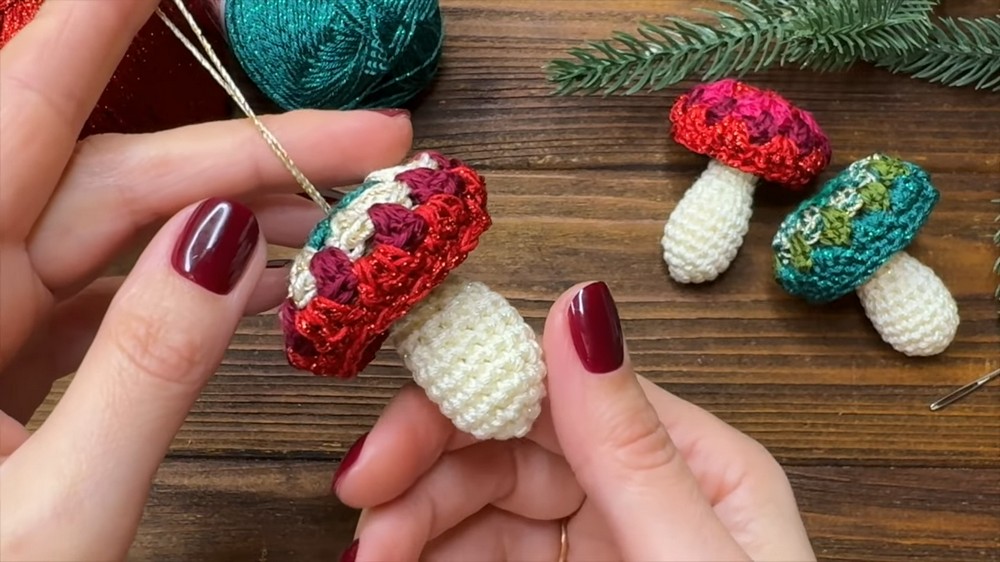
Learn how to crochet a Granny Square Mushroom, perfect as a festive Christmas decoration. Using a 2.1mm hook, the video begins by crafting the stem with single crochet rounds, gradually shaping it and stuffing it with poly filler. The undercap and cap sections are crocheted separately using double crochet stitches, forming distinctive patterns and round shapes. The pieces are then joined together, creating a charming mushroom design.
The step-by-step process is detailed and easy to follow, making it suitable for crochet enthusiasts of all levels. This project is a creative and fun addition to seasonal décor. So, follow through with us for the complete tutorial.

Crochet Granny Square Mushroom Tutorial
The tutorial provides a detailed, step-by-step guide to crocheting a Granny Square Mushroom, making it a unique and festive Christmas decoration. Using easy-to-follow instructions, the project involves creating the stem, undercap, and cap sections, which are then assembled to form the finished mushroom. Below is a breakdown of the tutorial organized using headings and bullet points:

Materials Needed
- 2.1mm crochet hook
- Yarn in different colors for the stem, undercap, and cap
- Poly filler for stuffing
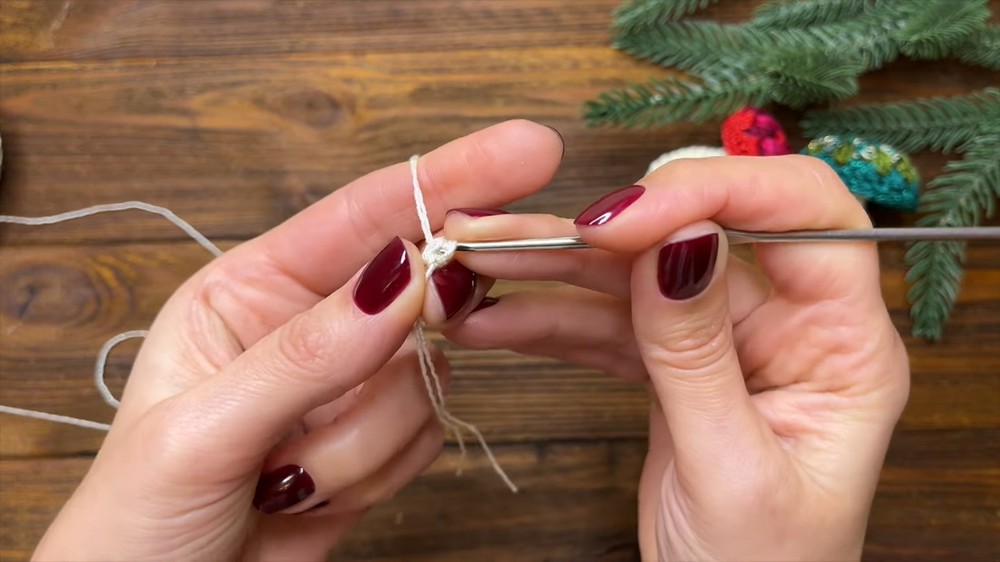
Step 1: Creating the Stem
- Begin with a magic ring.
- Crochet the stem by working rounds to build its cylindrical shape.
- Alternate colors when required to add visual interest.
- The stem is shaped gradually, ensuring consistency in size and texture with evenly spaced stitches.
- Once the stem is completed, stuff it firmly with poly filler to give it structure.
Step 2: Crocheting the Undercap
- Change the yarn color to differentiate the undercap from the stem.
- Start with rounds of crochet stitches and expand to create a flat circular piece.
- The undercap is carefully shaped to ensure it fits perfectly atop the stem.

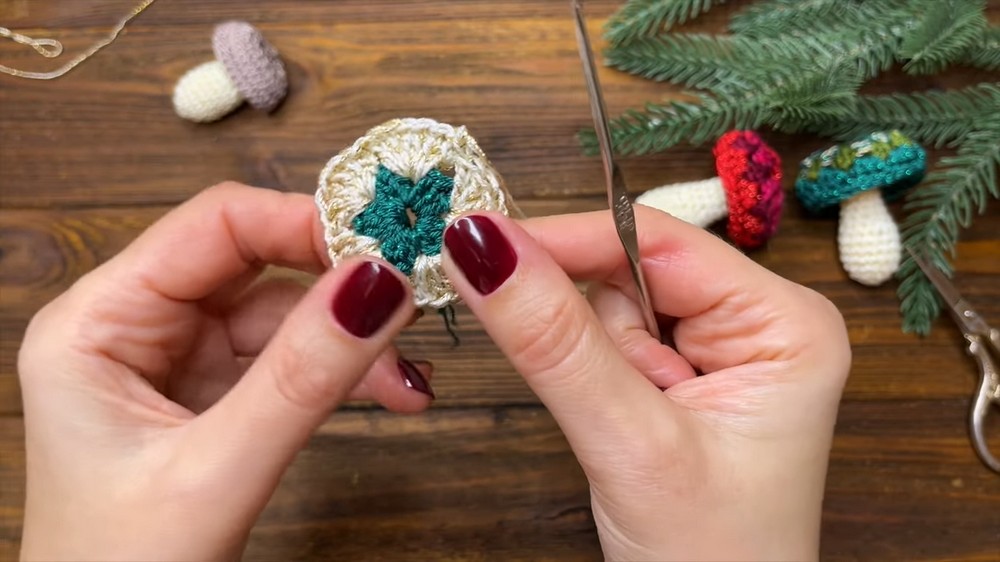
Step 3: Crafting the Mushroom Cap
- Begin with a magic ring and create rounds to form the mushroom’s cap.
- Work in specific sections to give the cap its distinct shape, creating gaps to mimic the texture of mushrooms.
- The cap involves shaping patterns and adding decorative elements to align with the Granny Square aesthetic.
Step 4: Assembling the Mushroom
- Attach the stem to the undercap using single crochet (or as shown in the video).
- Fix the mushroom cap onto the undercap, ensuring it is securely fastened. Use slip knots or stitches to connect the pieces.
- Adjust the shape and design to give the mushroom its final look.
Final Touches
- Straighten and smooth the mushroom to ensure the structure is stable.
- Check for any loose ends and weave them into the project.
- Confirm that all sections (stem, undercap, and cap) are connected seamlessly.
Conclusion
This crochet Granny Square Mushroom tutorial is a creative and versatile project that is perfect for holiday decorations or gifts. The tutorial is beginner-friendly and allows for personalization in the choice of colors and sizes. The finished piece adds a fun and whimsical touch to festive settings and can be easily tailored to suit different themes. By following the step-by-step instructions, crochet enthusiasts at all skill levels can complete this charming mushroom design with confidence and creativity.