Crochet Keyhole Top Free Pattern with Step-by-Step Guide

Style your wardrobe with free crochet keyhole top pattern that blends easy steps with eye-catching design for comfort and everyday elegance.
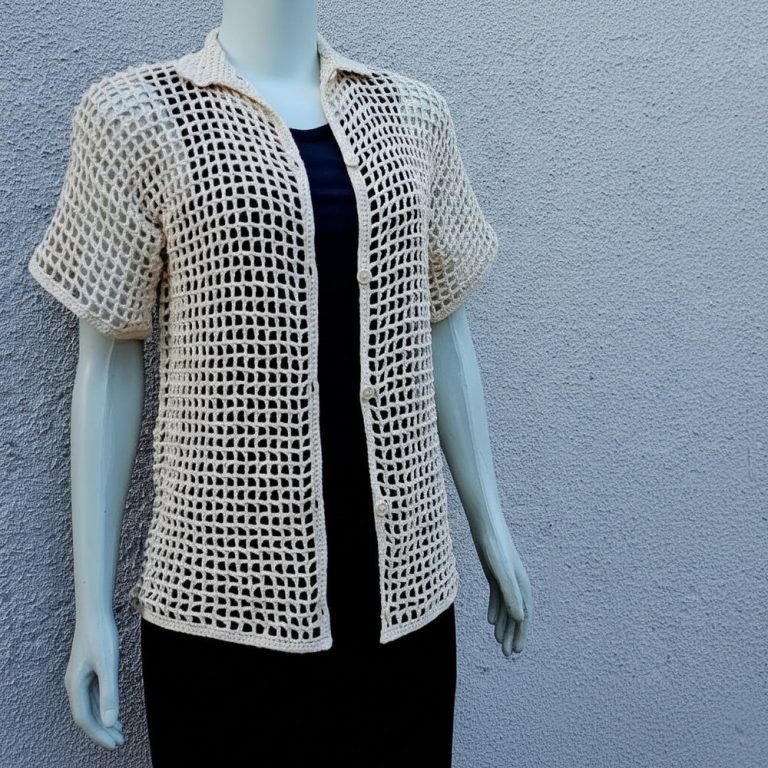
Beautiful little eye-catching detail at the neckline makes this top stand out from the crowd and brings a smile to everyone who sees it. The crochet keyhole top pattern is easy for beginners or anyone who wants to try something simple yet special, using clear steps and basic loops that you can remember easily. With a rounded shape and soft feel, this top keeps you cool in warm weather and matches perfectly with skirts, jeans or even shorts.
Free Crochet Keyhole Top Pattern for Boho-Inspired Style

It looks pretty at family gatherings, friendly meetups, or even while relaxing at home. The open space at the front adds style without being too bold and lets you show off your favorite necklace. Each time you make one, you can use any color you choose so your top is always unique and suits your mood. This pattern gives comfort and joy while helping you build something to wear with pride and happiness.

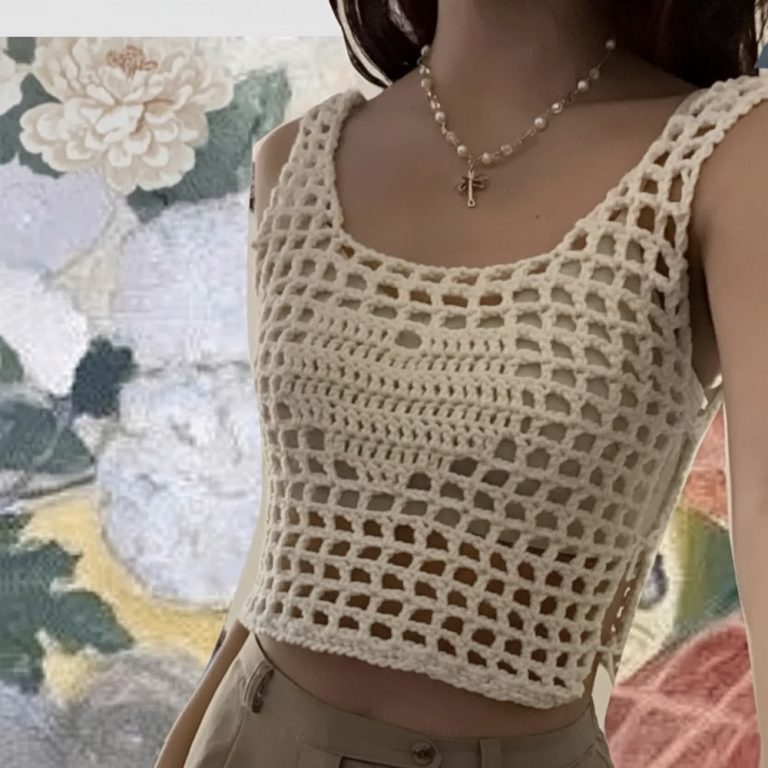
Free Crochet Mesh Top Pattern
Materials
- Yarn: Light worsted weight (category 3) or DK yarn. Any breathable fiber (cotton preferred).
- Hook Size: 5 mm (or size up for a breezier look; follow yarn recommendations if you want a denser fabric)
- Scissors
- Tapestry Needle (for sewing panels and weaving in ends)
- Measuring Tape (essential for made-to-measure adjustments)
- Optional: Buttons, safety pins, charms, or decorative elements for keyhole closure
Key Abbreviations
- ch = chain
- dc = double crochet
- hdc = half double crochet
- sc = single crochet
- st(s) = stitch(es)
- sl st = slip stitch
- BL = back loop
Special Notes
- This pattern is made-to-measure; measure against your body frequently.
- You may substitute stitches (sc, hdc, etc.) depending on desired density.
- The entire pattern is worked using double crochet in the back loop only unless stated otherwise.
- Repeat panel sizing and stitch/row counts for symmetry.
- Count chains and rows carefully; tension will affect finished measurements.
- Make notes while you crochet for easier panel replication.
Instructions
Panel Construction
Panel 1 & 2 (Side Panels)
Step 1: Foundation Chain (Underarm Area)
- Make a slip knot.
- Chain the number of stitches required to reach from your underarm to the desired hem length (lay chain against your body, do not stretch).
- Example from video: 63 ch = ~33 cm (~13 in).
- Add 2 ch for turning.

Step 2: Underarm Rows
- Row 1:
- Dc in the third ch from hook and each ch across.
- Row 2-4:
- Ch 2, turn.
- Dc in BL of each st across.
- Make a note of your row count (example: 4 rows = ~5 cm/2 in).

Step 3: Shoulder Strap Extension
- At the end of the last row, instead of turning, chain the number of stitches to reach from underarm to top of shoulder (measure on yourself).
- Example: ch 36 = ~21 cm (~8 in).
- Add 2 ch for turning.
- Work a dc in BL in each ch back to meet the rest of the panel.

Step 4: Strap Width
- Continue working back and forth in dc BL, building up the strap width.
- Repeat until strap is as wide as desired (measured on shoulder; example: 2-3 rows).
- To create neckline, stop 8 stitches short of the end at your last row before finishing the strap width.
Step 5: Neckline Shaping
- Work back and forth in dc BL, covering only the neckline strip (short row area), until you reach the desired neckline drop.
- Fasten off.

Step 6: Repeat
- Make a second identical side panel.
Panel 3 (Large Front/Back Panel)
Step 1: Foundation Chain
- Chain the same number as your side panels.
- Add 2 ch for turning.
Step 2: Underarm Rows
- Work same number of rows in dc BL as on side panels.
Step 3: Strap Extension
- Chain as many stitches as shoulder strap on side panels.
- Add 2 ch for turning.

Step 4: Strap Width
- Work back and forth in dc BL, until strap width matches side panels.
Step 5: Body Section
- Continue working rows in dc BL until this panel reaches from one middle shoulder to the other (covering chest/back as needed).
- Stop and drop the same number of stitches as you did with the other panels, then finish as with the underarm section.
Step 6: Fasten Off
Assembly
Step 1: Panel Placement
- Lay the large panel flat.
- Place side panels on top as shown in diagram (reference in video or visualize: side panels are joined to large panel at underarm and strap sections).
- Sew or crochet together using slip stitch or tapestry needle along sides and straps.
Step 2: Keyhole Connection
- Try on the top as a vest.
- Create keyholes by connecting the fronts where desired with yarn, thread, buttons, safety pins, or charms.
- Simply tie yarn/thread with double knot at chosen points.
- Evenly space connections from neckline to hem or customize as preferred.
Step 3: Weave In Ends
- Weave in or trim excess yarn for a polished finish.

Pattern Correction & Tips
- Correction: Be sure your row and stitch counts are identical for matching panels; tension can change the length, so always measure.
- Tip: Write down every chain and row count immediately, so you can match panels and avoid confusion.
- Tip: For less see-through fabric, use a smaller hook or switch to hdc/sc.
- Tip: When connecting panels, leave seams flexible to avoid puckering.
Conclusion
This made-to-measure mesh top is light, stylish, and adaptable. With clear panel repetition and easy joining, beginners and experienced crocheters alike can customize their fit and finish with creative closures at the front. Enjoy your new top and share your yarn choices or finished pieces with others!