Crochet a Cute Little Coaster for Beginners
In this tutorial, learn how to crochet a beautiful puffy floral coaster using simple techniques designed for summer use and decor. A detailed step-by-step tutorial makes this project suitable for all skill levels. By the end, you’ll have a lovely handmade coaster perfect for home use

Cute Little Coaster Tutorial
The tutorial is presented by Positivity with Crochet and demonstrates how to create a beautiful handmade coaster using simple crochet techniques.
- The presenter ensures the instructions are beginner-friendly while delivering clear and precise explanations for each step.
- The project involves textured stitches, including the puff stitch and double crochet, making it visually appealing and versatile for home decor.

Materials Needed
- Yarn: Viewers can select any yarn type, ensuring it is suitable for the desired design and functionality.
- Crochet Hook: It is important to use a hook that matches the thickness of the chosen yarn.
- Additional Items: Scissors are needed for trimming the yarn once the project is complete.
Step 1: Creating the Magic Circle
- The tutorial begins with the formation of a magic circle, which serves as the central foundation for the coaster.
- Using the magic circle ensures a neat and adjustable center for the design.
Step 2: First Round – Treble Crochets
- After forming the magic circle, chains are worked to begin the first round.
- Treble crochets are added, separated by chains to create a structured yet open circular pattern.
- The process is repeated until a total of 12 treble crochet segments are formed, including the initial chains.
- Once the round is completed, a slip stitch is used to join the circle, securing the first layer of the coaster design.
- The tail end of the yarn from the magic circle is pulled tightly to reduce the gap in the center, ensuring a smooth finish.

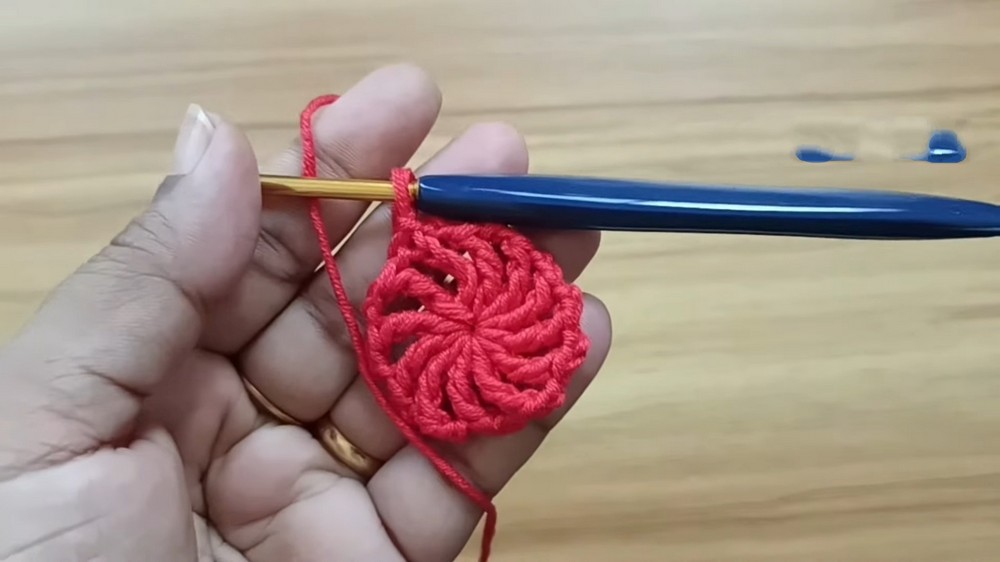
Step 3: Second Round – Puff Stitches
- Moving to the next round, puff stitches are introduced. These stitches add texture and depth to the coaster.
- Each puff stitch is created by pulling the yarn loops multiple times to build up volume before pulling through all loops on the hook.
- After each puff stitch, chains are made to separate the stitches, creating a balanced pattern.
- The puff stitch process is repeated in each chain space around the circle, building a comprehensive design that emphasizes intricacy and texture.
- The round is closed by slip stitching on top of a puff stitch to secure the design.

Step 4: Final Round – Single and Double Crochet
- In the last round, single crochet and groups of double crochet are worked into the chain spaces created earlier.
- Each chain space receives alternating stitches, starting with a single crochet stitch followed by five double crochets, and concluding with another single crochet.
- This pattern is repeated around the coaster’s circumference to add a decorative border and ensure the design is cohesive.
- The round is completed with a slip stitch to join, providing the coaster with a polished finish.
Finishing Touches
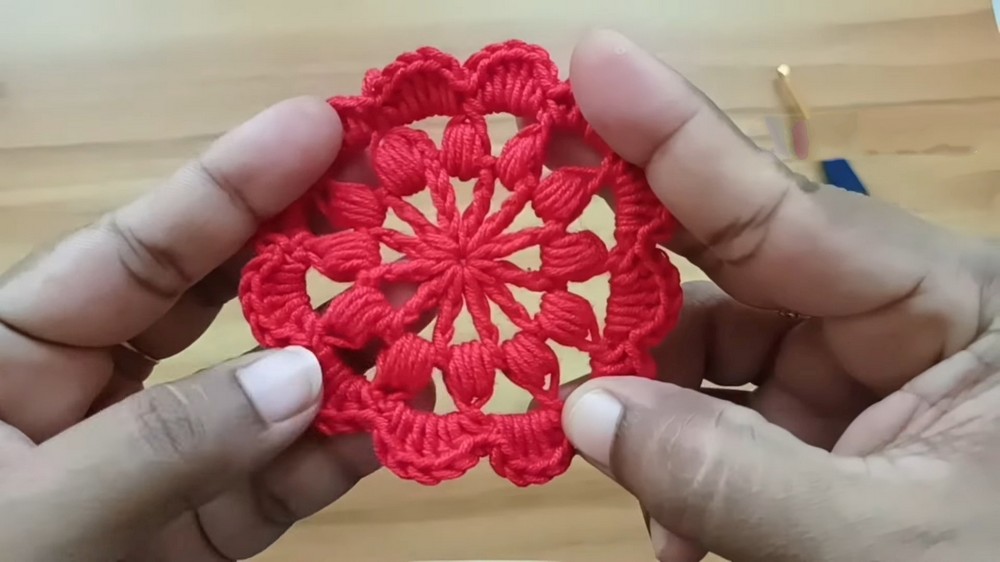
- The yarn is pulled tightly and trimmed to complete the project.
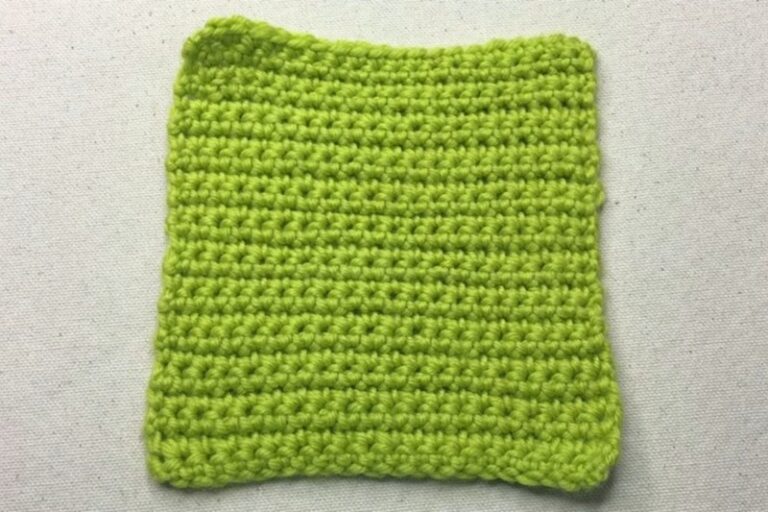
- The finished coaster is compact, textured, and ready for use as an elegant addition to home decor.