Fish Free Crochet Pattern for Home Decor
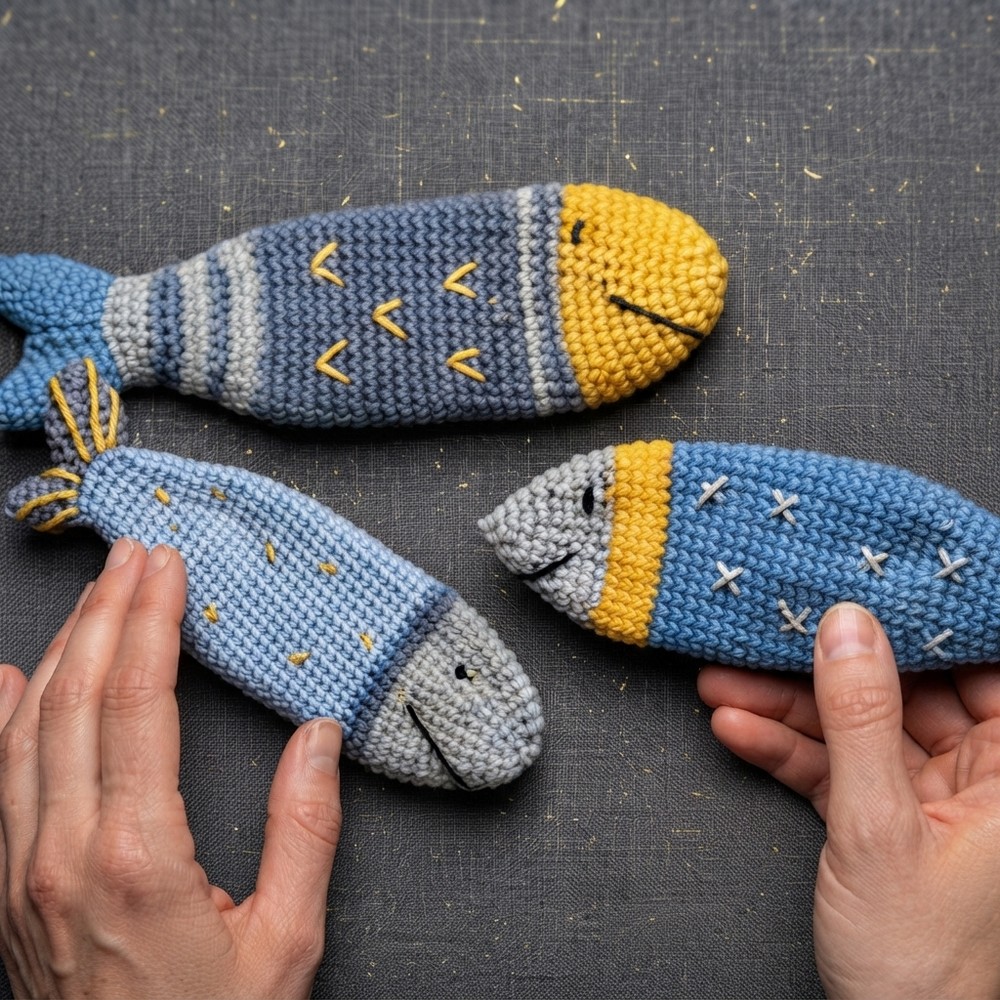
Bring aquatic charm indoors by working the Free Crochet Fish Pattern that delivers playful design and easy instructions for all skill levels.
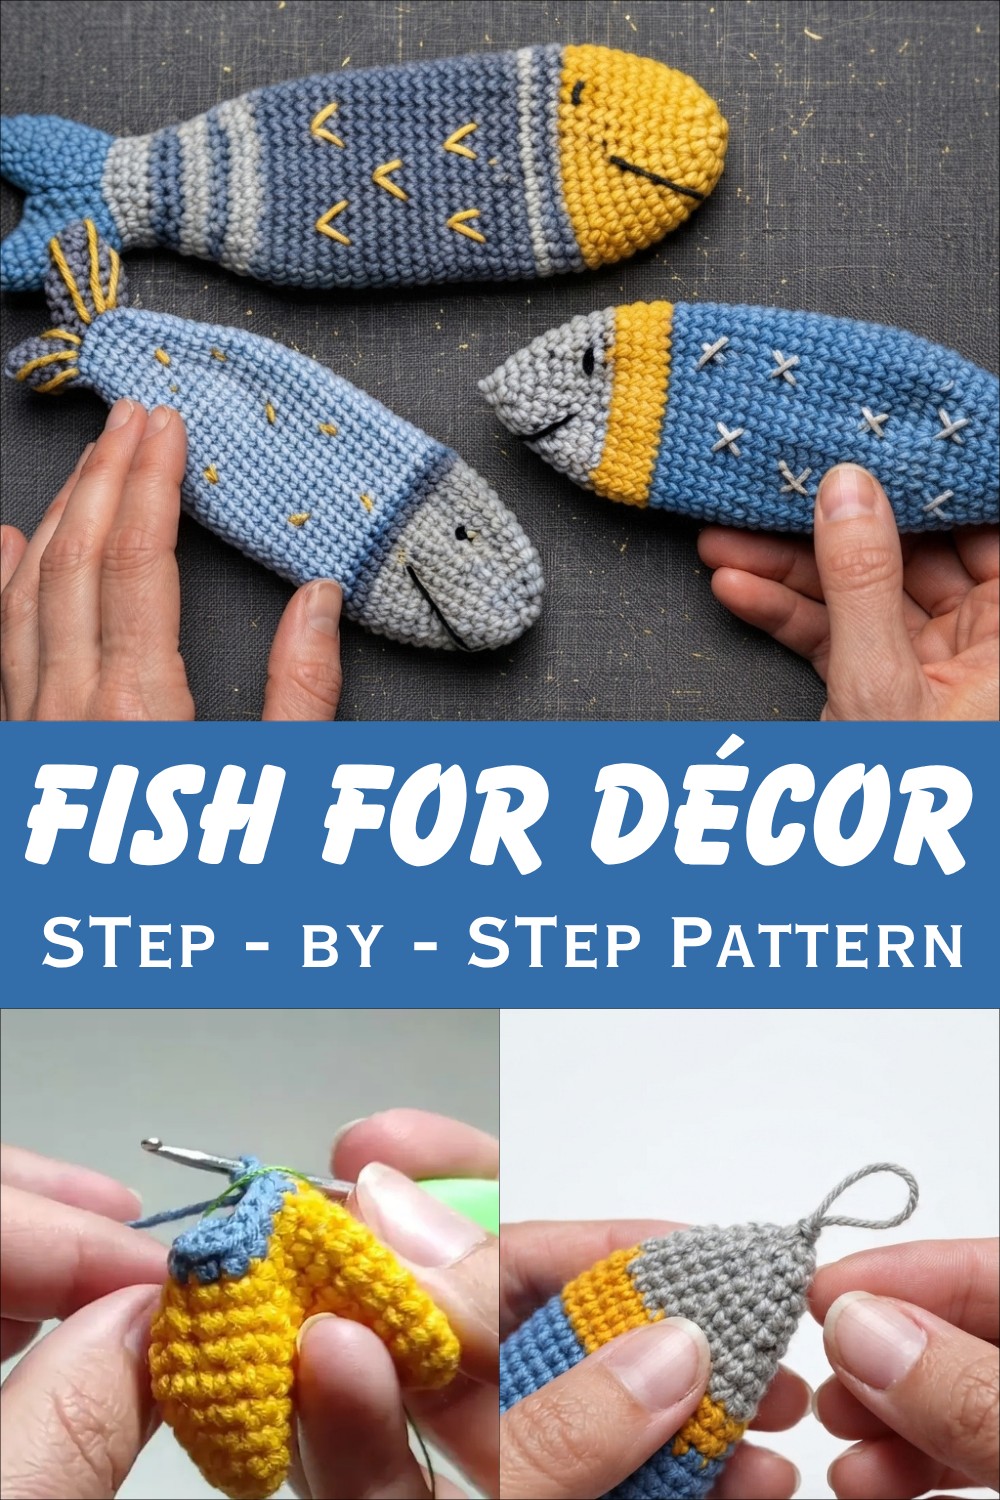
Free Fish Crochet Pattern for Beginners
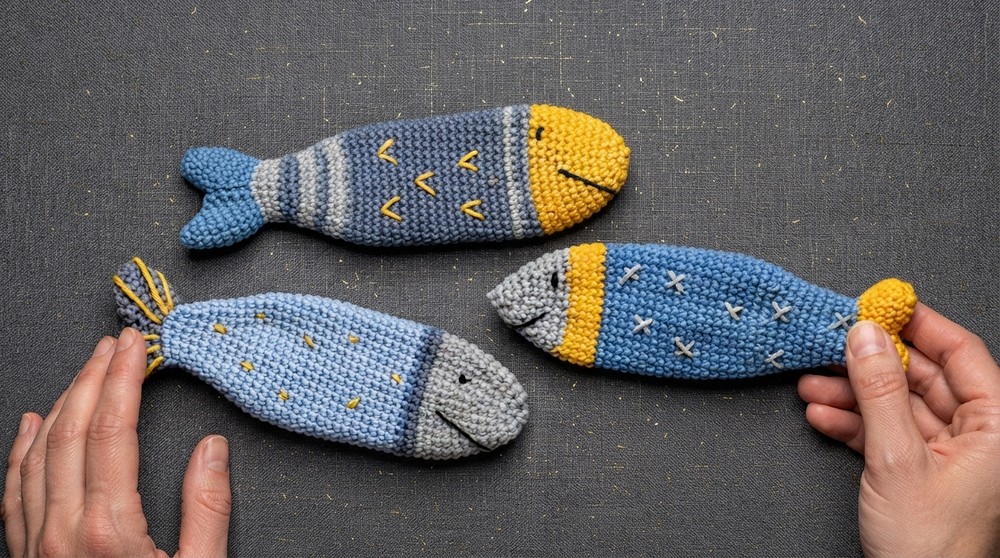
Using leftover yarn scraps for a project of this size makes it an eco-friendly and rewarding way to clear out your stash. Customizing the stripe combinations offers endless ways to personalize each piece, allowing you to match specific room colors or personal preferences. Whether clipped to a backpack zipper, displayed on a shelf, or passed along as a token of appreciation, this charming creation brings simple warmth, bright color, and handmade joy to everyday life.
Decorative Crochet Fish Pattern
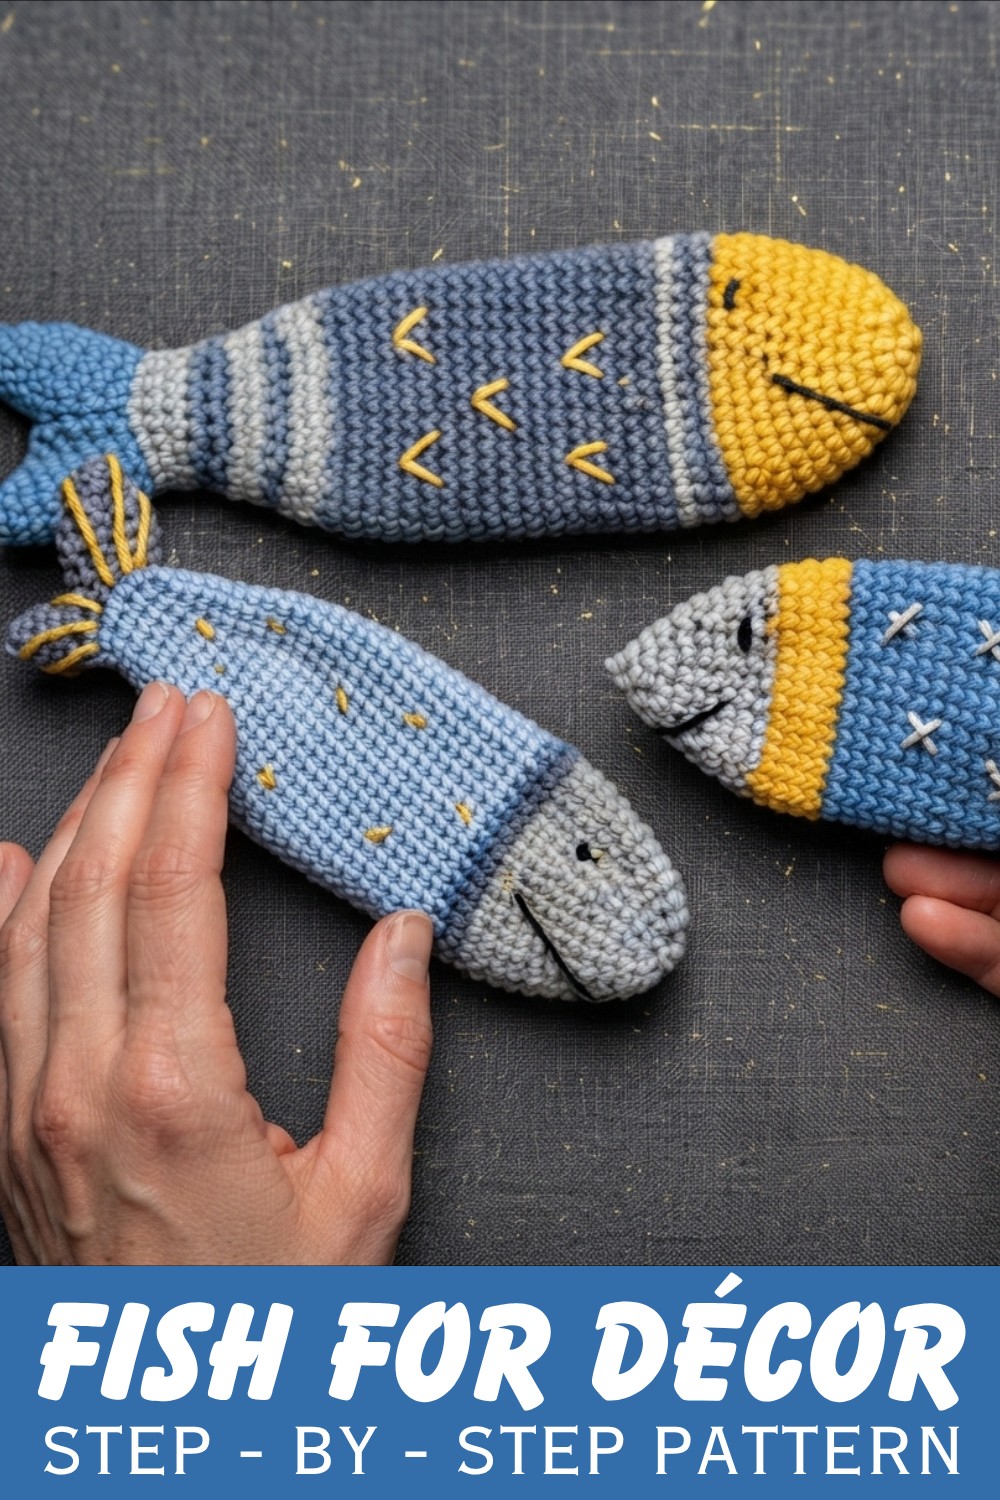
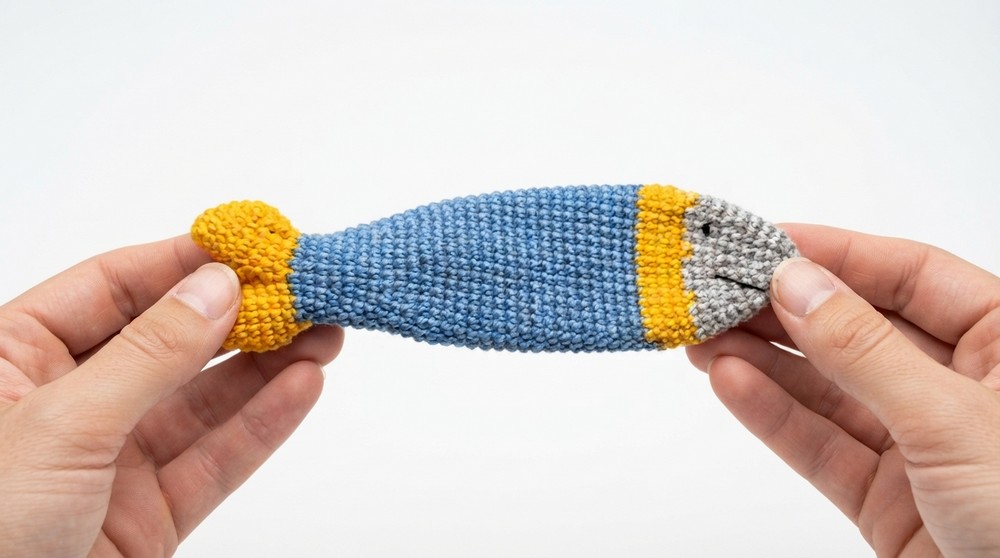
Welcome to this crochet tutorial where we create a beautiful decorative fish, inspired by traditional fisherman’s crafts. This fish is designed to add charm as an ornamental piece, ideal for decorating places like a village bathhouse or country home. The pattern works through all parts step-by-step — starting from the tail fin, progressing through the body and head, and finishing with a delicate embroidered face. Using colorful yarn sections and carefully executed shaping, this ornamental fish combines simplicity and artistry in one fun project.
Pattern Highlights
- Two-Part Tail Fin: Crocheted as two identical pieces joined together to form a distinctive tail.
- Body Shaping: Strategically worked increases and decreases to create a rounded fish body tapering toward the head.
- Color Transitions: Four colors—yellow (tail), blue (body), orange (mid-section), and grey (head)—create vibrant contrast.
- Facial Embroidery: Black yarn used for simple yet expressive eyes and features.
- Amigurumi Technique: Pattern worked in rounds with magic ring starts to form seamless shape.
Notes
- Keep careful count of stitches during increases and decreases to maintain shape accuracy.
- Color changes occur primarily at key row changes to create section highlights.
- Finished size may vary slightly depending on your tension but generally holds a compact amigurumi form.
- Make sure to leave long enough yarn ends at color changes for secure weaving in.
- Use of a stitch marker or contrast yarn to mark rounds is advised to avoid counting mistakes.
Skill Level
Suitable for Upper Beginner to Intermediate crocheters familiar with:
- Magic ring (magic circle) starts.
- Single crochet in the round.
- Increasing and decreasing stitches.
- Changing yarn colors seamlessly.
- Basic embroidery for facial features.
Materials
- Yarn in the following colors:
- Yellow (tail)
- Blue (body)
- Orange (mid-section)
- Grey (head)
- Black (for face embroidery)
- Crochet hook size 2.0 mm.
- Scissors.
- Yarn needle for weaving ends and embroidery.
Measurements / Sizing
- Approximately medium amigurumi size: body length about 11–13 cm.
- Tail fin expands to about 5 cm width.
- Head diameter roughly 3–4 cm.
- Size may vary according to yarn weight and tension.
Gauge and Stitch Pattern
- Work in single crochet (sc) stitches in continuous rounds to produce dense fabric.
- Aim for tight stitches to avoid gaps and hold shape firmly.
- No formal gauge but uniform tension essential for consistent sizing.
Stitch Abbreviations
| Abbreviation | Meaning |
|---|---|
| ch | chain |
| sc | single crochet |
| inc | increase (2 sc in same stitch) |
| dec | decrease (single crochet two stitches together) |
| slst | slip stitch |
Special Stitches
- Magic Ring (Magic Circle): Starting technique to create a tight round beginning without a hole.
- Increase (inc): Two sc stitches worked into the same stitch to widen the work.
- Decrease (dec): Single crochet two stitches together to narrow or shape the piece.
The Crochet Pattern
1. Tail Fin (Make Two Identical Pieces)
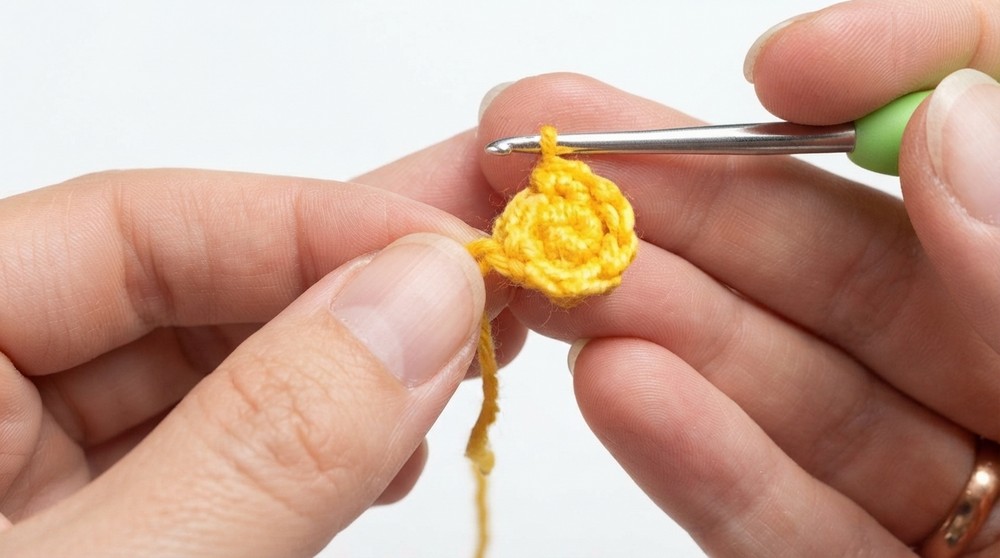
- Using yellow yarn, create a magic ring.
- Round 1: Crochet 6 single crochet (sc) into the ring. Tighten the ring to close.
- Round 2: Increase in every stitch to get 8 stitches. This means 2 sc into each stitch around.
- Round 3: Work 3 sc, 1 inc, 3 sc, 1 inc around to total 10 stitches.
- Round 4: Work 4 sc, 1 inc, 4 sc, 1 inc for 12 stitches.
- Round 5: Work 5 sc, 1 inc, 5 sc, 1 inc to reach 14 stitches.
- Finish this piece by cutting the yarn and setting it aside.
- Repeat the exact process to make the second tail piece, but leave the yarn attached for joining.
2. Joining Tail Pieces & Beginning of Body Shaping
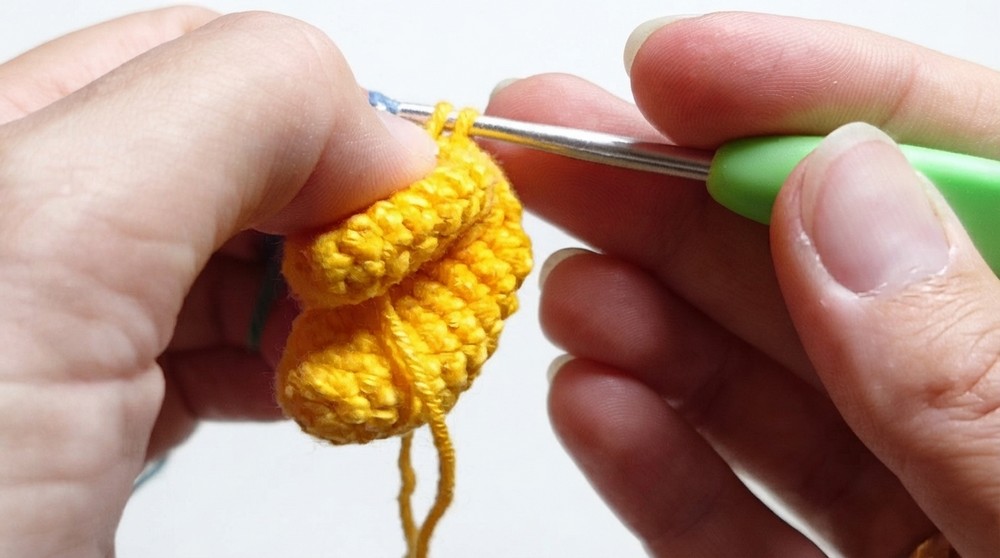
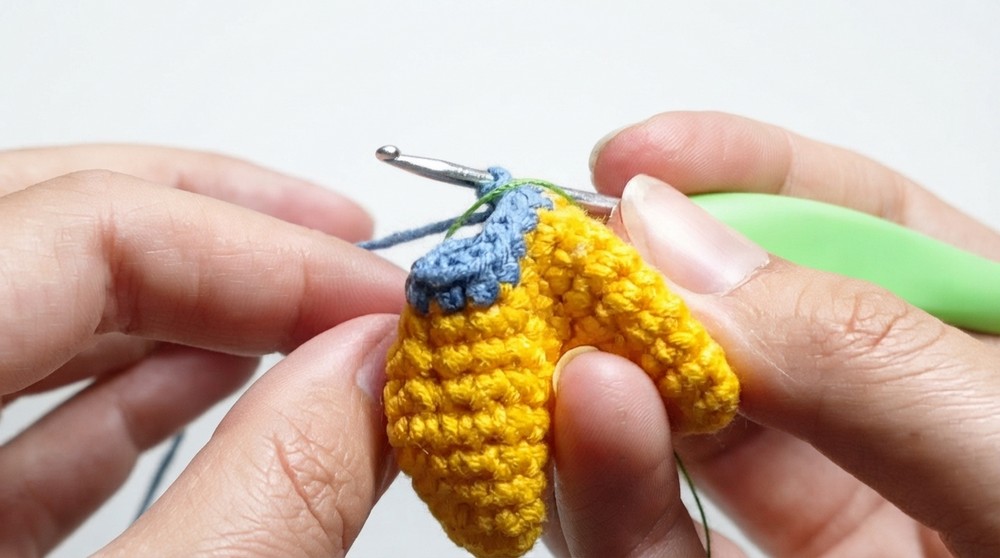
- Attach the second tail piece to the first by inserting the hook where the first piece ended.
- Crochet a row joining both pieces together:
- Work 14 sc into the first tail piece edge.
- Then work 12 sc into the second tail piece edge.
- Begin shaping the body by making decreases:
- Perform 4 decreases placed evenly: one in the middle and one near each side of the joining section.
- Work decreases by inserting the hook into two stitches consecutively, pulling loops together, then completing the stitch as one to reduce stitch count.
- Continue working decreases until the stitch count reduces to 16 stitches.
- After the decreases, work 3 single crochet stitches and then change yarn color to blue for the next section.
3. Body
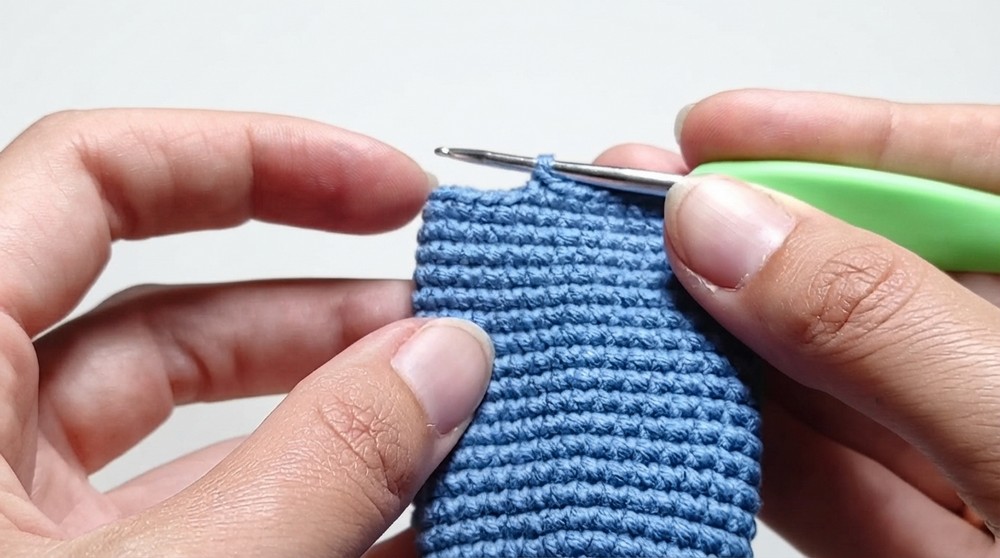
- Rows 1–3 (with blue yarn): Work 16 single crochet (sc) stitches each round. Keep rounds consistent.
- Row 4: Increase round by repeating 3 sc, inc four times to reach 20 stitches.
- Rows 5–7: Crochet 20 sc stitches each round.
- Row 8: Increase round by repeating 4 sc, inc four times to make 24 stitches.
- Row 9: Work 24 sc stitches evenly.
- Row 10: Increase round with 3 sc, inc repeated six times to total 30 stitches.
- Rows 11–28: Work 30 sc stitches in each round, maintaining body length and shape.
- Change yarn color to orange, and continue with 4 rounds of 30 sc stitches to form the mid-body section.
4. Head Shaping and Closing
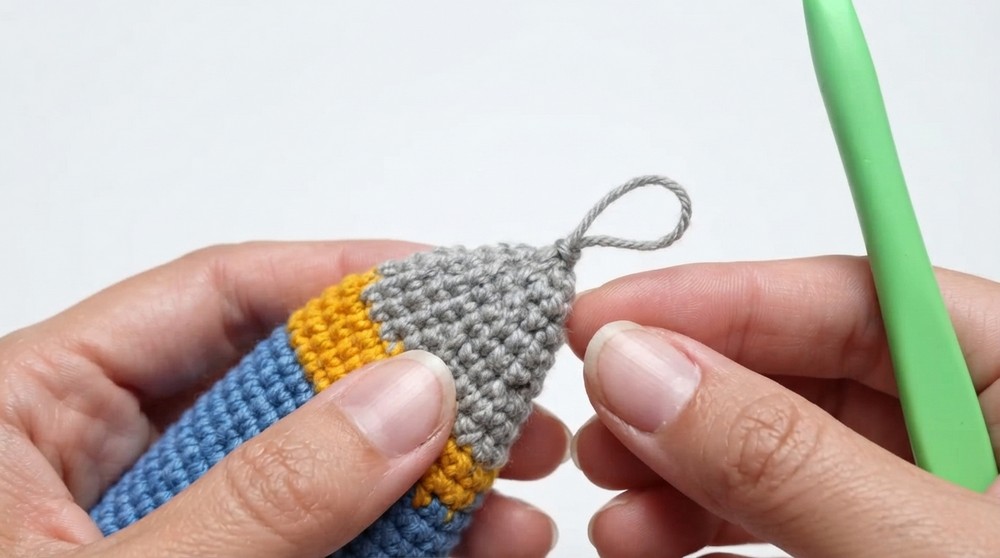
- Switch yarn to grey for the head section.
- Row 33: Work decreasing round: (3 sc, dec) repeated 6 times, decreasing stitch count to 24 stitches.
- Rows 34–35: Work 24 sc stitches each round to stabilize shape.
- Row 36: Decrease round with (2 sc, dec) repeated 6 times for 18 stitches.
- Rows 37–38: Work 18 sc stitches each round.
- Row 39: Decrease round repeating (1 sc, dec) six times for 12 stitches.
- Row 40: Work 12 sc stitches evenly.
- Row 41: Final decrease round: work 6 decreases to leave 6 stitches remaining.
- Close the opening by pulling the yarn through the remaining stitches and secure tightly. Weave in ends.
5. Finishing Details – Face Embroidery
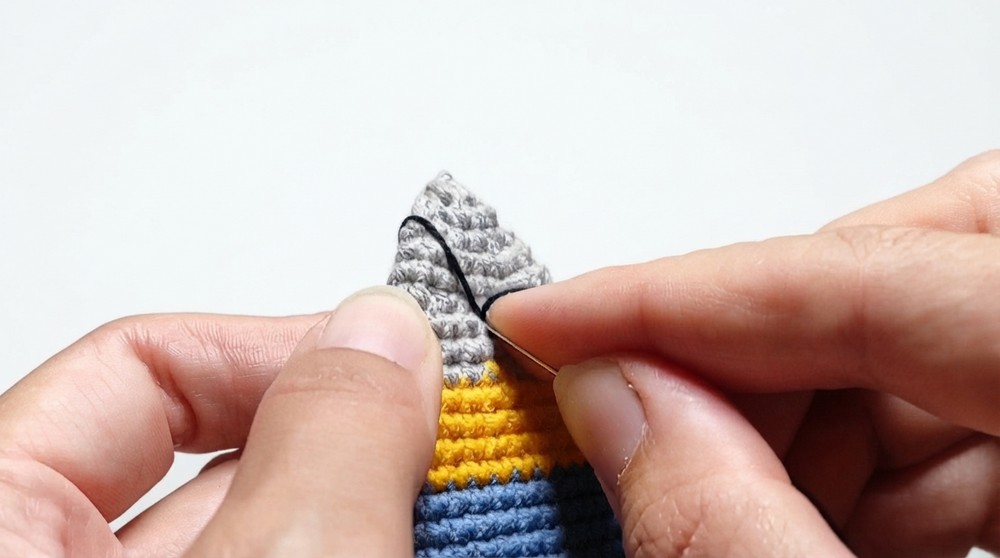
- Using black yarn or thread, embroider the fish’s eyes and any desired facial details.
- Use a yarn needle or embroidery needle to make neat, symmetrical stitches for the eyes.
- Secure and hide all embroidery ends carefully.
Assembly & Finished Size
The fish measures approximately 11–13 cm long from tail to head tip. The tail fins create a width around 5 cm, and the head diameter approximately 3–4 cm. This size makes it perfect as an attractive ornamental piece to hang or display. The joined tail pieces and tapered body create a lifelike fish shape with structural integrity thanks to consistent stitches and shaping.
Conclusion
This decorative crochet fish is easy to make, even for ambitious beginners who are developing skills in rounds, shaping, and color transitions. The careful balance of increases and decreases ensures a well-defined body shape, while the simple surface embroidery adds personality to the finished piece. With just a modest supply of yarn and a 2.0 mm hook, you can create a vibrant, charming fish that brightens your home or makes a thoughtful gift. Enjoy following this structured, detailed pattern to confidently bring your fish to life through crochet.