Crochet Free Pattern Christmas Candle for Holiday Decor
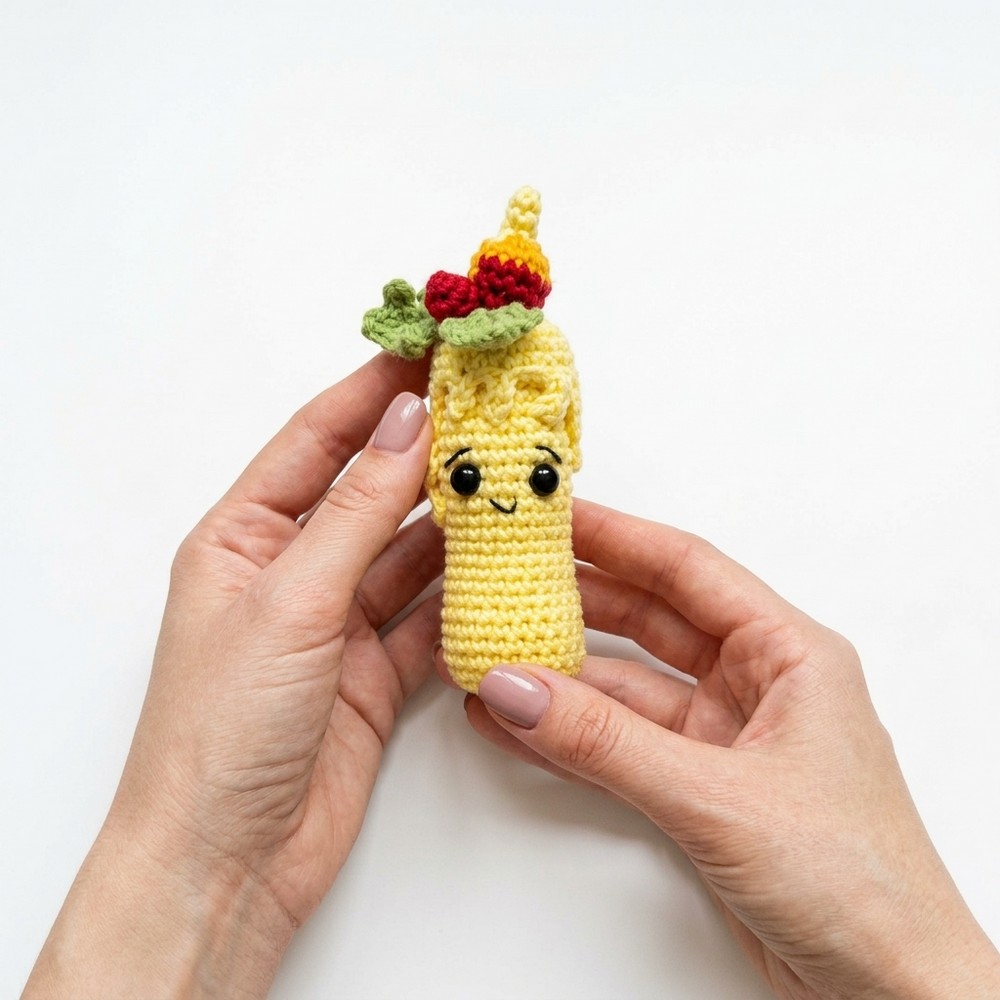
Light up your holiday decor beautifully with the Free Crochet Christmas Candle Pattern that brings cozy charm and festive spirit to any setting.
Holiday decorations bring a warm, cheerful vibe to any living space during the winter season. Working on a Free crochet Christmas Candle pattern offers a lovely way to create handmade holiday decor, festive ornaments, or cute stocking stuffers. With helpful video tutorials from the Наташа Болди /вязание крючком channel, yarn lovers can craft unique festive items that add cozy charm to homes while making thoughtful gifts for family and friends.
This adorable candle design captures a classic holiday aesthetic complete with a soft flame top, dripping wax accents, and green holly leaves with tiny red berries. Its structured columnar shape keeps it standing tall as an indoor accent piece, table centerpiece, or tree hanging. The gentle textures and sweet face details give it a friendly, playful look that brightens up any holiday setup.
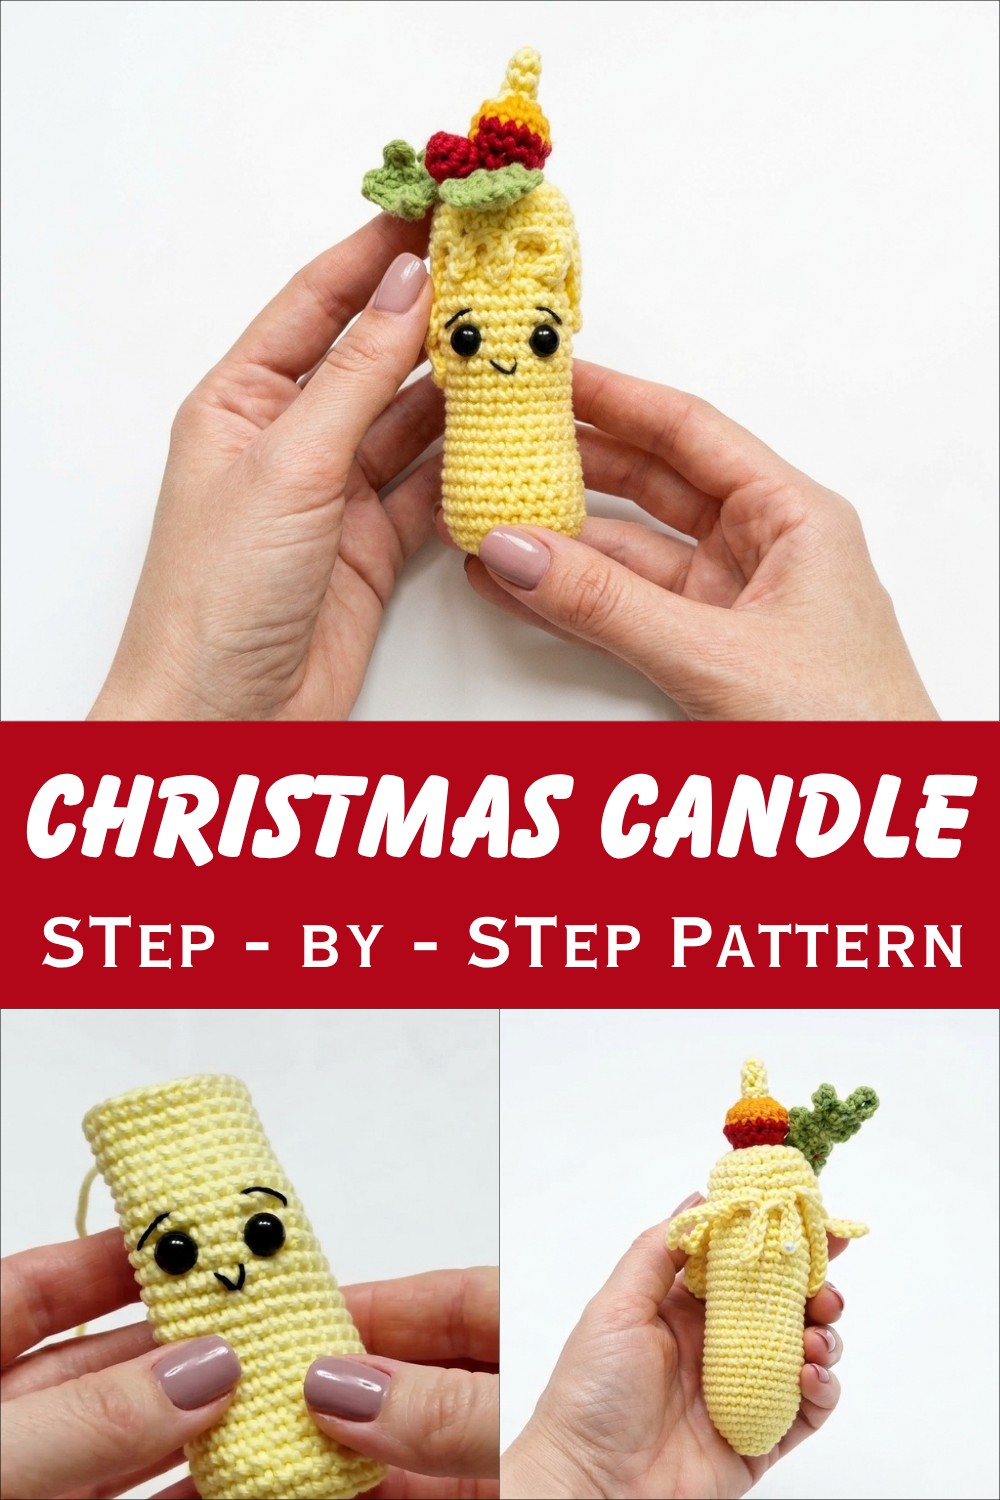
Christmas Candle Free Crochet Pattern Perfect Gift Idea
Beyond serving as a festive display item, this plush candle works wonderfully as a seasonal desk accessory or a special present for holiday hosts. Its soft feel and durable build ensure it stays a cherished keepsake year after year.
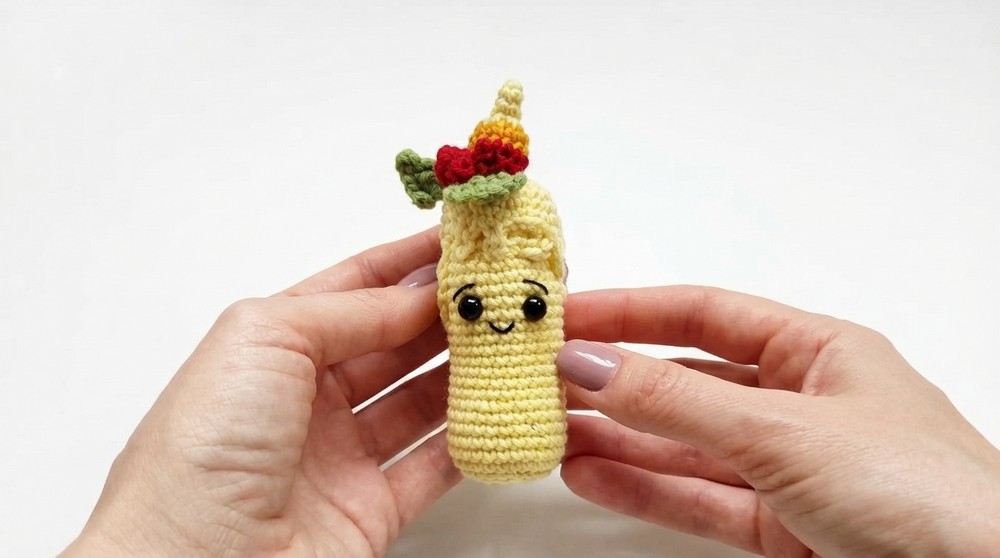
Creating holiday pieces with leftover yarn brings extra fun and relaxation to cold winter evenings. Customizing the colors lets you match any holiday theme, bringing cozy, handmade joy to your seasonal celebrations.
Decorative Christmas Candle Crochet Ornament Pattern by Natasha Boldi
Add a handmade sparkle to your holiday décor with this charming decorative Christmas candle crochet ornament, designed by Natasha Boldi. This intricately crafted piece features a candle base, a wax drip-covered candle top, a vibrant flame, and classic festive accents like berries and leaves. Created with YarnArt Jeans and Iris thread, this pattern blends vivid colors, textured stitches, and thoughtful detail work to produce a unique holiday keepsake or gift. Its step-by-step instructions guide crocheters through each stage clearly, building skills while delivering beautiful results.
Quick Overview of Pattern
This pattern consists of six main parts:
- Candle Base: Crocheted cylindrical shape with detailed back loop edging.
- Face Decoration: Safety eyes and embroidered facial features to personalize the candle.
- Candle Top with Wax Drips: A round piece mimicking melting wax through chain loop drips.
- The Flame: Worked in gradient colors (yellow, orange, red) to create a glowing effect.
- Decorative Berry and Leaf: Small detailed components adding festive charm.
- Assembly: Secure attachment of all parts forming a cohesive ornament.
Notes
- The pattern uses specific color changes emphasizing visual contrast and realism.
- Back loop crochet for the candle base edge produces definition and shape.
- Wax drips are formed by chain stitches and slip stitches to add texture and a melting appearance.
- Safety eyes should be inserted securely and spaced evenly for best facial effect.
- The flame has progressive increases and decreases shaping it into a teardrop form.
- Leaves incorporate picot stitches in varying lengths to mimic natural oak leaf jagging.
- Stuff all pieces lightly with fiberfill to maintain shape.
- Finished ornament is sturdy when all pieces are sewn firmly.
Skill Level
Intermediate: Requires knowledge of magic ring, increasing (inc), decreasing (dec), working in rounds, chain loops, picot stitches, color changes, simple embroidery, and safe use of safety eyes.
Materials
- Yarn: YarnArt Jeans in yellow, red, green, and a little orange.
- Thread: Black Iris thread for embroidered face details.
- Crochet Hook: 2.0 mm.
- Safety eyes.
- Fiberfill stuffing.
- Scissors and yarn needle.
Measurements / Sizing
- Candle height: Approx. 8–10 cm (after assembly), including flame and wax drip top.
- Diameter of candle base: About 4–5 cm.
- Diameter of the candle top (with drips): Approximately 5 cm.
- Flame height: About 3–4 cm.
- Small berry diameter: 1.5 cm approx.
- Leaf length: 3–4 cm.
Gauge
- Single crochet (sc) stitches worked tightly to hold structural form.
- Back loop only (BLO) crochet creates texture on the candle base edge.
- Maintaining consistent tension ensures uniform shape and fit of parts.
Stitch Abbreviations
| Abbreviation | Term |
|---|---|
| ch | chain |
| sc | single crochet |
| inc | increase (2 sc in same stitch) |
| dec | decrease (single crochet two together) |
| slst | slip stitch |
| BLO | back loop only |
Special Stitches
- Magic Ring: Creates a tight, closed center to work in the round.
- Back Loop Only Crochet (BLO): Working loops on the back side of the stitch for edge definition.
- Picot Stitch: Chain several stitches, then slip stitch or single crochet into the base of the chain creating a small point or bump used in the leaf.
The Crochet Pattern
Part 1: Candle Base
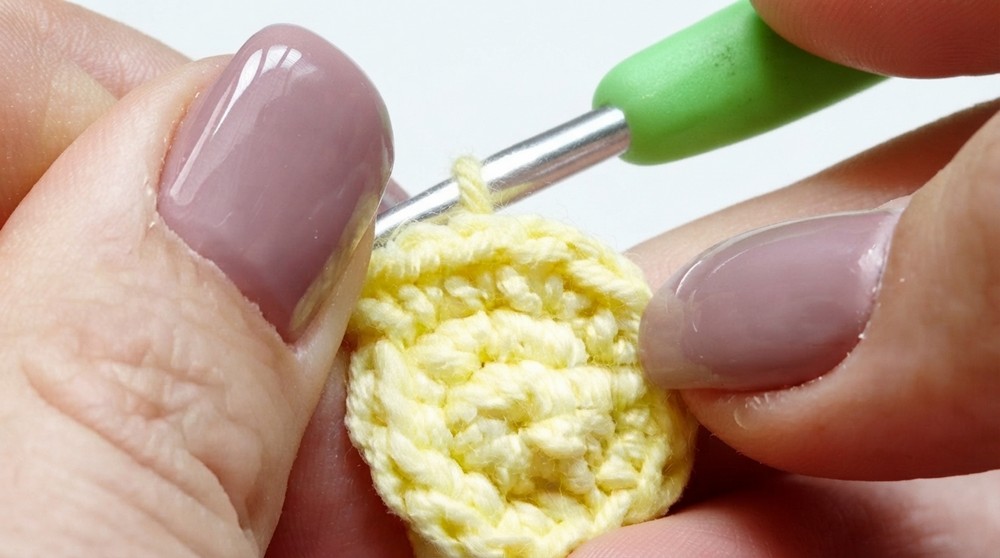
- Row 1: Begin with a magic ring. Work 6 single crochet (sc) into the ring. (6 sts)
- Row 2: Increase in each stitch around: 2 sc in every stitch (inc every st) to get 12 sts total.
- Row 3: Repeat pattern: 1 sc, inc around (sc one stitch, then increase) to get 18 sts.
- Row 4: Repeat pattern: 2 sc, inc around (sc two stitches, then increase) to get 24 sts.
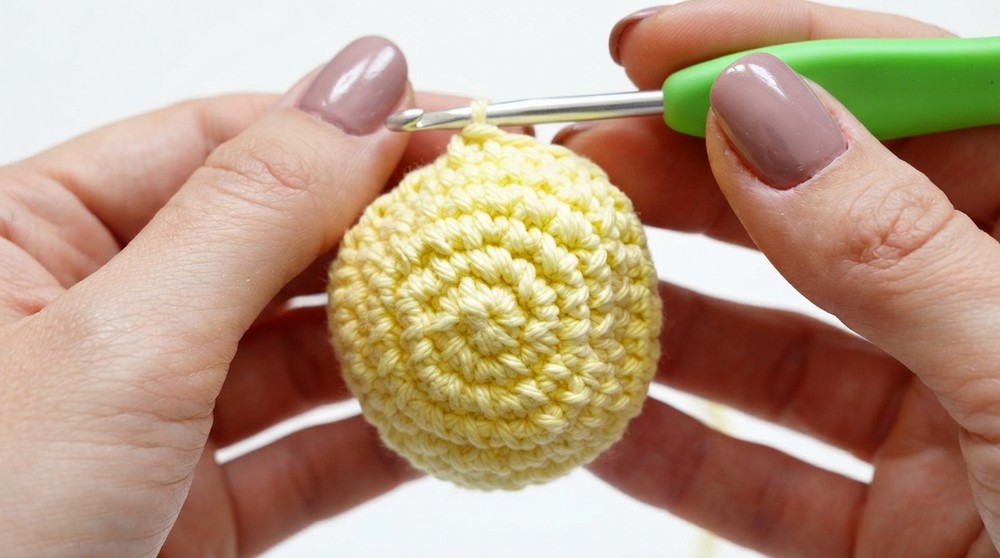
- Row 5: Work 24 single crochet (sc) stitches in the back loop only (BLO). This forms a defined base edge to the candle.
- Rows 6–27: Work 24 sc stitches in each round, building the candle’s height. Keep a consistent tension for a smooth cylindrical shape. Stuff lightly when almost complete to maintain form.
Part 2: Face Decoration
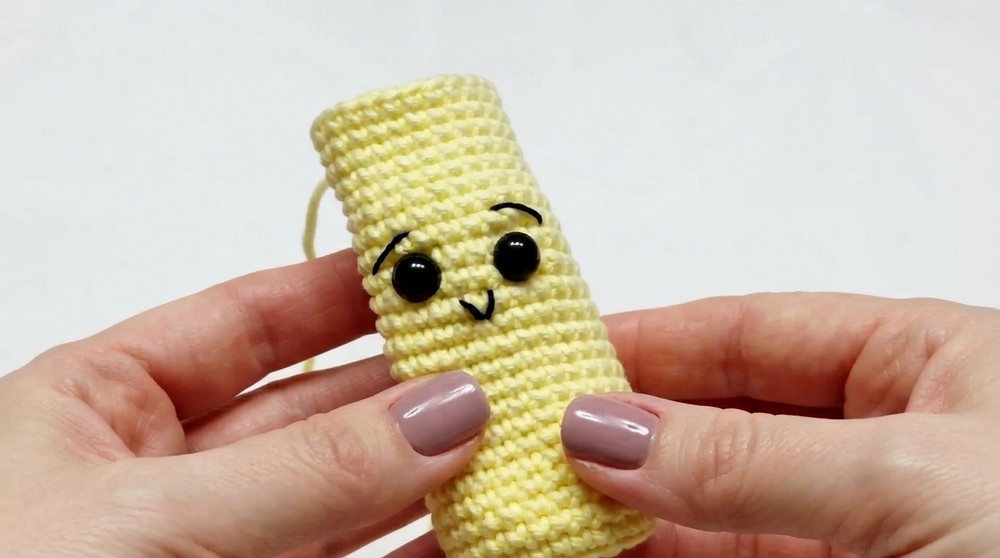
- Insert safety eyes between rows 14 and 15 of the candle body, spacing approximately 4-5 stitches apart for symmetrical placement. This placement defines the candle’s eyes.
- Using black Iris thread, embroider two eyebrows above the eyes and a simple mouth below to give the candle a friendly expression. Use embroidery techniques you are comfortable with but keep it neat and proportionate.
- Before closing off the candle base, add fiberfill stuffing to keep its shape firm and rounded.
Part 3: Candle Top with Wax Drips
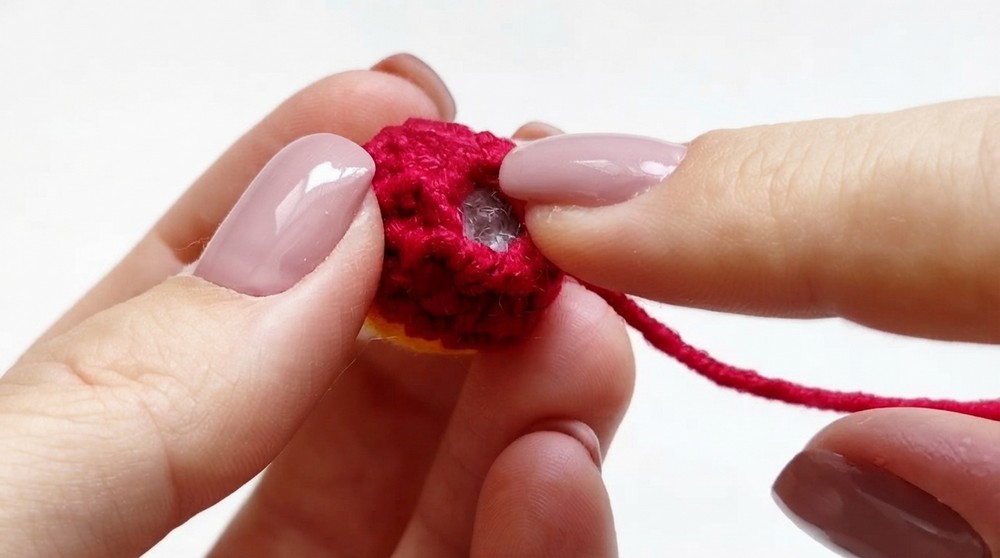
- Work the candle top beginning with a magic ring:
- Row 1: 6 sc into the ring.
- Row 2: Increase (inc) around to 12 sts.
- Row 3: Increase every alternate st to get 18 sts.
- Row 4: Increase every third st to reach 24 sts.
- Rows 5–6: Work flat 24 sc stitches in a round to build thickness for the top piece.
- Wax drips are created around the edge:
- For a long drip, chain 10 and slip stitch (slst) back along the chain.
- For a shorter drip, chain 7 and slip stitch back.
- Alternate the length of these drips around the circle edge, making the top look like melting wax.
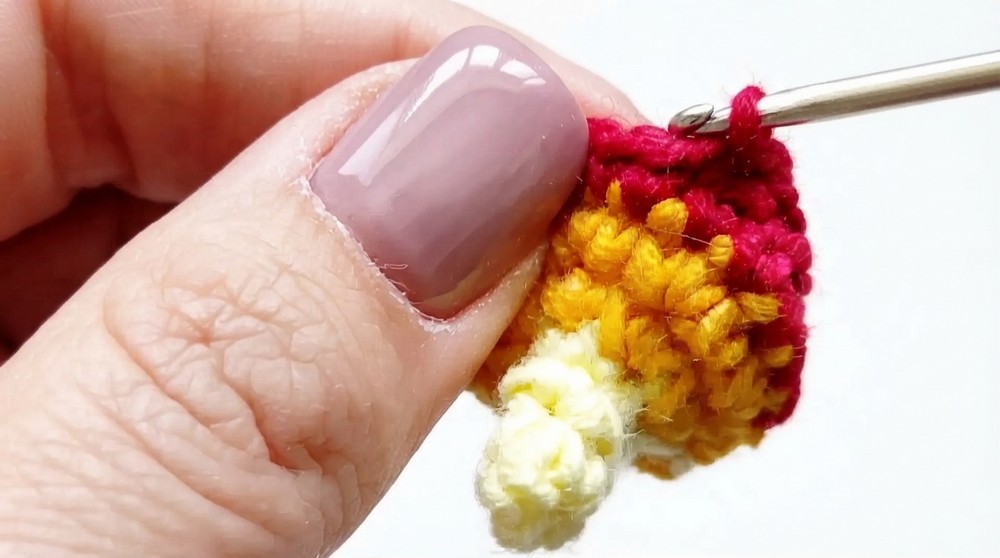
Part 4: The Flame
- Use yellow yarn to begin the flame:
- Row 1: Magic ring, 4 sc.
- Row 2: 4 sc.
- Row 3: 1 sc, inc repeat for 6 sts total.
- Row 4: 6 sc.
- Row 5 (change to orange yarn): 6 increases (inc) for 12 sts.
- Row 6: 1 sc, inc repeat to 18 sts.
- Row 7 (change to red yarn): 18 sc.
- Row 8: 1 sc, dec repeat to 12 sts.
- Row 9: 6 decreases (dec) to 6 sts.
- Stuff the flame gently and sew closed securely.
Part 5: Decorative Berry and Leaf
- Berry:
- Row 1: Magic ring, 6 sc in ring.
- Row 2: 1 sc, inc around to 9 sts.
- Row 3: 1 sc, dec around to 6 sts.
- Close off and stuff lightly.
- Leaf:
- Chain 6 to create the leaf length.
- Work around the chain with picot stitches of different lengths, alternating chain 3, chain 5, and chain 7 picots. This builds a jagged oak leaf shape typical of Christmas greenery.
- Make two leaves.
Part 6: Assembly
- Sew the flame securely to the top of the candle’s wax drip piece.
- Arrange the berries and leaves around the flame base as desired, sewing each piece in place thoughtfully to create a realistic and neat arrangement.
- Finally, sew the entire top piece (wax drip section with flame and decorations) to the main candle body, ensuring all parts are securely attached.
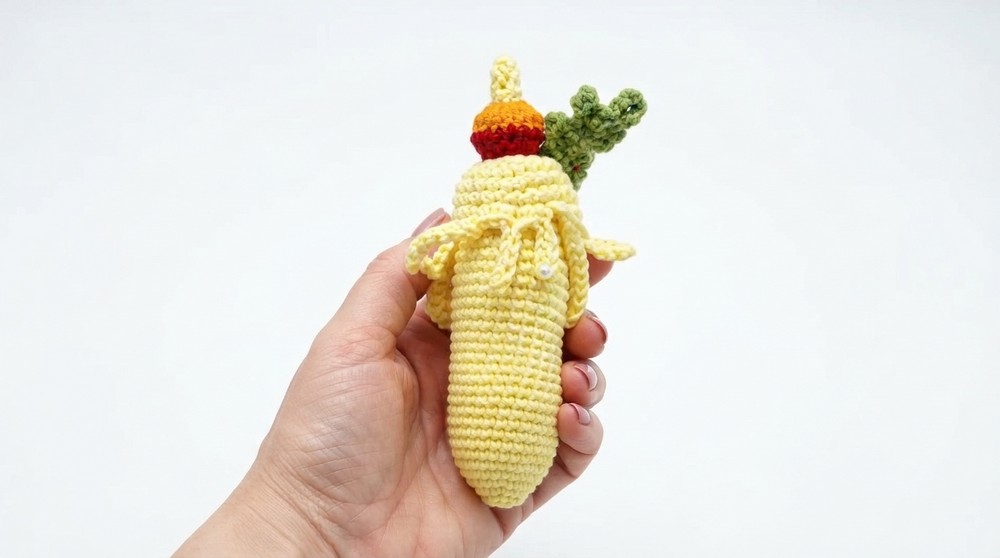
Assembly & Finished Size
After completing all parts, your ornament will stand approximately 8–10 cm tall, with a base diameter of about 4–5 cm, making it perfect for hanging on a Christmas tree or displaying as part of festive décor. The layered construction with the wax drip top, flame, and colorful berry and leaf accents creates dimension and visual interest.
Conclusion
This decorative Christmas candle crochet ornament pattern by Natasha Boldi combines beginner-friendly stitches with creative design elements such as layered color changes, detailed facial embroidery, and textured wax drips. The stepwise instructions with magic rings, increases, decreases, and picot stitches guide you in producing a detailed and attractive holiday decoration. This project is ideal for intermediate crocheters wanting to enhance their amigurumi skills while creating a festive keepsake to enjoy year after year.