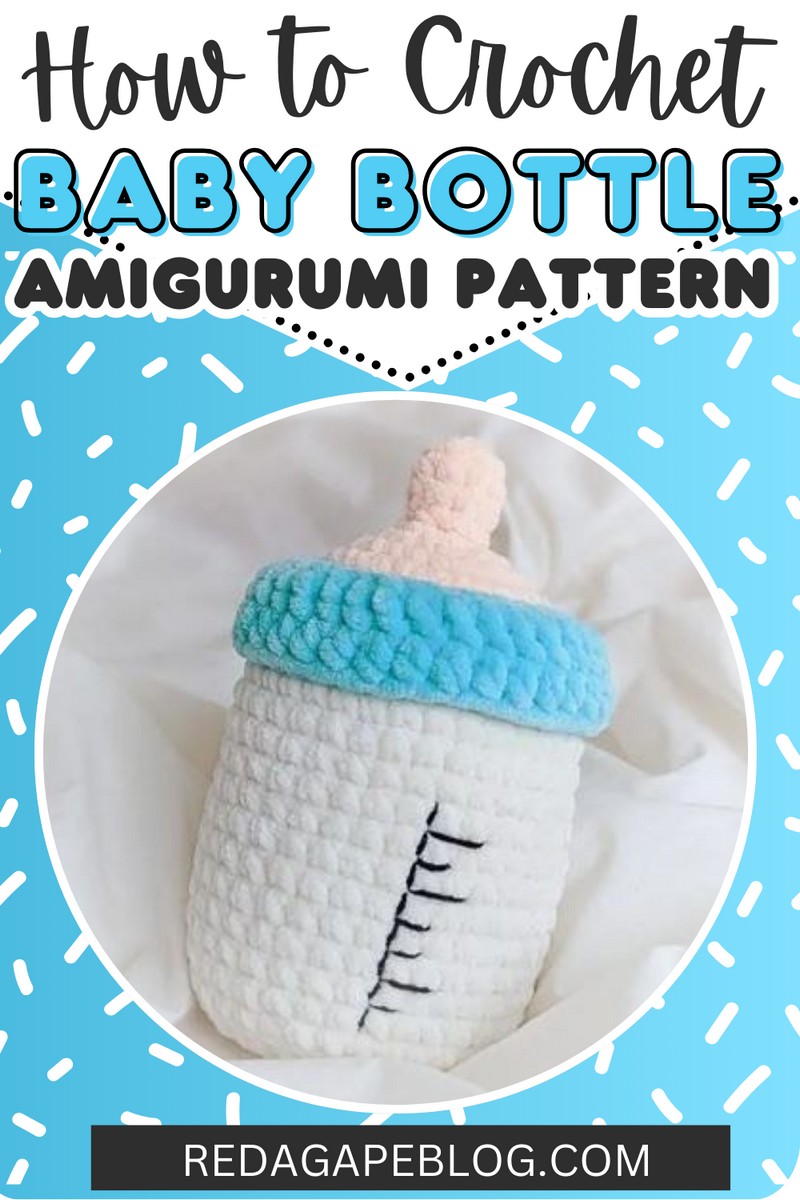
Free Crochet Baby Bottle Amigurumi Pattern For Baby Gifting
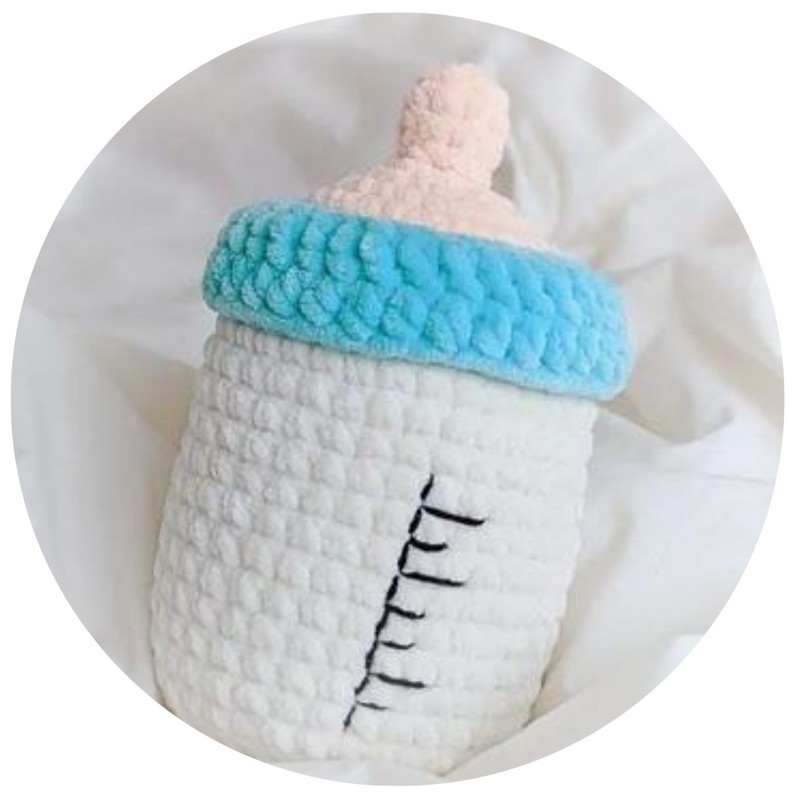
This Crochet Baby Bottle Amigurumi Pattern offers a unique and thoughtful gift idea for new moms, creating a plush, cuddly version of an essential baby item. This adorable crochet project is surprisingly straightforward, involving the bottle’s body and top, along with the nipple, all made from soft plush yarn. A special touch is added with beautiful embroidery that mimics the measurement markings found on actual baby bottles.
Its ease of creation makes it perfect for beginners looking to crochet a meaningful, handmade gift. Ideal as a nursery decoration or as a comforting toy for babies, this crochet baby bottle amigurumi combines utility with the heartfelt warmth of a personalized gift. You can also turn it into a rattle.
Pattern and design by @lilcrochetedthings
Materials and Tools
Make your preparation for the crochet baby bottle pattern complete by gathering the following crochet supplies as recommended by the designer of this pattern. These will help you get a similar swatch and results for the amigurumi:
- 6mm crochet hook
- Super bulky (6) yarn Cream (Pink/Blue/Or Others)
- White Yarn
- Worsted (4) black yarn
- Fiberfill
- Tapestry needle
- Scissors
Abbreviations
These crochet abbreviations have been used in the written pattern below. The pattern has described the meanings for each:
- MR-magic ring
- ch-chain
- st(s)-stitch(es)
- SC-single crochet
- hdc-half double crochet
- dc-double crochet
- slst-slip stitch
- inc-increase
- dec-decrease
- BLO-back loop only
- FLO-front loop only
How to crochet a baby bottle
The Crochet Baby Bottle Amigurumi is a delightful crafting project that combines the practicality of baby items with the whimsy of amigurumi. This pattern allows crocheters to create a soft, plush replica of a baby bottle, complete with intricate details like embroidered measurement markings to mimic the real thing. Here is a free pattern for it:
Top/Collar

- Start with cream color yarn
- R1. 6 sc in MR (6)
- R2. [sc, inc] x 3 (9)
- R3-4. sc all around, for 2 rounds. (9)
- R5. [sc, dec] x 3 (6)
- R6. FLO inc x 6 (12)
- R7. [inc, sc, inc] x 4 (20)
- R8. [inc, 3 sc, inc] x 4 (28)
- R9. [3 sc, inc] x 7 (35)
- Change to pink/blue/or any other main color for the collar
- R10. FLO sc all around (35)
- R11. Ch 2 (not counted as st), dc all around, end with a slst to the first stitch to level out the row, this does not count as a st. (35)
- R12. Ch 1, hdc all around, end with slst to the first stitch to level out the row, fasten off and cut the yarn. Hide the yarn tail in the piece. (35)
- Using white yarn to make the bottle
- R13. Start with a slip knot on the hook, attach to the BLO <of R10 to sc all around. Make sure you are working on the outside of the piece, meaning your hook is going from the outside toward the inside.
- You are working on the underside of the collar. Once you are done, the collar should wrap on the outside of the bottle.
Bottle
- R14-27. sc all round, for 14 rounds. (35)
- You can make more or fewer rounds, depending on how tall you want the bottle to be. The next 4 rounds will be the same to close the piece.
- R28. BLO [3 sc, dec] x 7 (28) Stuff as your go.
- R29. [2 sc, dec] x 7 (21)
- R30. [sc, dec] x 7 (14)
- R31. Dec x 7 (7) Stuff the piece well before closing. Fasten off and cut the yarn. To close the remaining gap, use a tapestry needle to take the yarn tail through the front loops of the last 7 sts and then pull tight to close
Measurement Lines
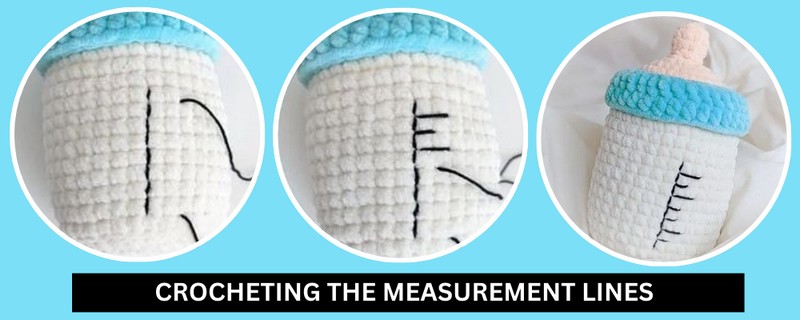
Using black yarn Starting between R27 and R26, sew a vertical line up the body of the bottle using a backstitch to between R19 and R18. Do not pull the yarn too tight, or else it might disappear among the fluffy yarn! Sew increment lines horizontally along the vertical line, alternating between 2 st wide and 1 st wide in length.