How to Free Crochet Hat Pattern for a Cozy Touch

Soft textures and classic style await with a free crochet hat pattern that’s designed to bring warmth and charm to everyday outfits.
A handmade soft hat is comfortable to wear and gives protection from cold wind or strong sun making it useful throughout the year for any age. By following a crochet hat pattern you can create a hat that fits any head size which is helpful for babies kids or adults. This hat is made using yarn and a small hook and you can pick any color or style to suit what you or your family likes best.
Cute Free Crochet Hat Pattern for Maximum Comfort

A crochet hat is not only warm and gentle on your head but it also stretches to fit snugly without feeling too tight. The hat is washable and strong so you can use it many times without it losing its shape or color. Using a crochet hat pattern is a simple way to make each hat look unique whether you add a flower a stripe or a pom-pom on top giving you a special and lasting hat to wear.

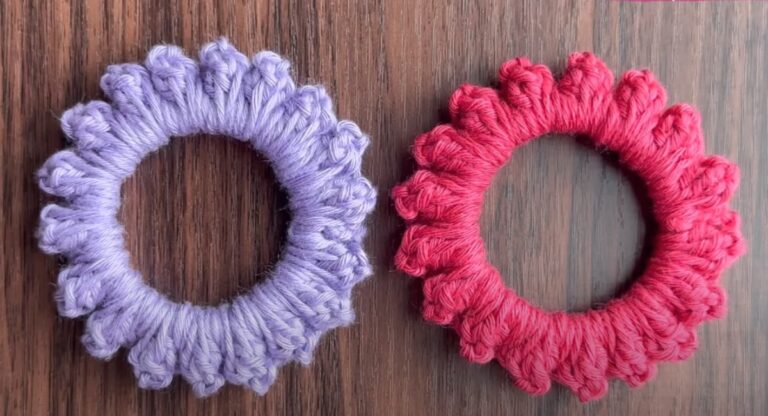
Crochet Hat with Pom-Pom Pattern
Materials
- Yarn: 80g acrylic yarn, approximately 2 mm strand (sport or DK weight recommended)
- Hook: 6 mm crochet hook (US J/10)
- Scissors
- Tapestry needle
- Pom-pom (optional, see instructions below for attaching)
- Stitch markers (optional, for ease)
Key Abbreviations (US Terminology)
- ch = chain
- hdc = half double crochet
- sl st = slip stitch
- st(s) = stitch(es)
- rep = repeat
Special Notes
- Pattern is worked first in rows to create the hat’s elastic band, then in rounds to shape the hat.
- The unique texture (“relief”) is created by alternating stitches into the third loop and front loop of the hdc.
- Pattern instructions are for adult women’s size (approx. 22.5 cm wide × 23 cm tall; pom-pom 6 cm).
- Adjust the number of chains and rounds for other sizes.
Step-by-Step Pattern
1. Elastic Band
a. Foundation:
- Make a starting knot.
- Ch 9 (for elastic band height; adjust for other sizes).

b. Elastic Rows:
- Starting from the second ch from hook, work hdc across.
(You should have 8 hdc; adjust for your preferred height.) - Turn. Ch 1, work hdc in each st across, taking only back loop.
- Rep until you have 56 rows (for adult size; enough to wrap comfortably around your head; not too loose or tight).
- Use stitch markers if necessary to keep ends aligned.
c. Joining Elastic:
- Align first and last row. Sl st across to join.
For each st: (insert hook in both stitches’ loops, pull through and complete a loose sl st). - You should have 9 joined sts.
- Turn fabric; the seam should be invisible and lies neatly on the inside.

2. Hat Body (Relief Pattern Section)
a. Set-up Round:
- With working yarn, ch 1 (does not count as a st).
- For each elastic row end, hdc around.
(Total 56 hdc.)
b. Relief Stitch Rounds:
- Begin next round: Remove hook from last stitch, insert in first hdc, pull through, and ch 1 (to avoid visible join, work a tall loose chain).
- For each round, alternate:
- 1 hdc into the third loop (the strand behind the hdc; creates relief texture)
- 1 hdc into the front loop (the strand at the front of the hdc)
- Continue alternating third loop and front loop hdc until end of round.
- At round’s end: remove hook from last st, insert into first hdc, pull through, and make a loose ch.
- Repeat this round until the hat measures 18–19 cm from elastic band, or until you get desired height (typically 14 rounds for adult size).

3. Hat Shaping (Decreases & Closure)
a. Begin Decreases:
- Work hat decrease rounds as follows:
- Work hdc2tog using the same strand pattern (third loop or front loop as appropriate).
- At decrease rounds:
- Insert into third loop, yarn over, pull up loop (leave unworked on hook).
- Next st, insert into front loop, yarn over, pull up loop (now 3 loops on hook).
- Yarn over, pull through all 3 loops (hdc2tog).
- Repeat for entire round.
- Your stitch count halves each decrease round:
- First decrease round: 56 → 28
- Second decrease round: 28 → 14
- Next decrease round: 14 → 7

b. Final Closure:
- Fasten off, leaving a long tail.
- With tapestry needle, pass yarn through each of the remaining 7 stitches.
- Pull tight to close the crown, bringing yarn to inside of hat.
- Secure with a knot.

4. Finishing
a. Weave in Ends:
- Use tapestry needle to weave yarn tails behind stitches on inside of hat.
- Trim any excess.
b. Pom-pom Attachment (Optional):
- Place pom-pom centered on crown.
- With a strand from the pom-pom, thread through to inside of hat (do not pass both strands through same spot; offset them for strength).
- Repeat with second strand; ensure pom-pom is well centered.
- Tie strands inside with firm knot.
- For extra security, thread each strand through pom-pom and hat again, knot.
- Hide strands as before.

Pattern Correction
- For a looser fit or other sizes, adjust the foundation chain and number of elastic rows.
- If at any point the elastic is too tight/loose, increase/decrease rows in the band.
Tips
- Use stitch markers for easier alignment when joining the elastic.
- Make slip stitches loose at the join to avoid a tight seam.
- The relief round is the trickiest; take your time to find the third loop.
- Repeat rounds with careful alternation to ensure beautiful texture.
- Pom-pom placement: offset anchor points for stability.
Conclusion
This crochet relief hat pattern creates a stylish, textured, and modern accessory suited for varied skill levels. Its unique alternating relief stitches add elegant detail, and the finished project is beautifully neat inside and out. Attach a pom-pom for extra flair, and enjoy comfortable warmth all season. Adjustments are simple for custom sizes.