Crochet Daffodils Flower Free Pattern
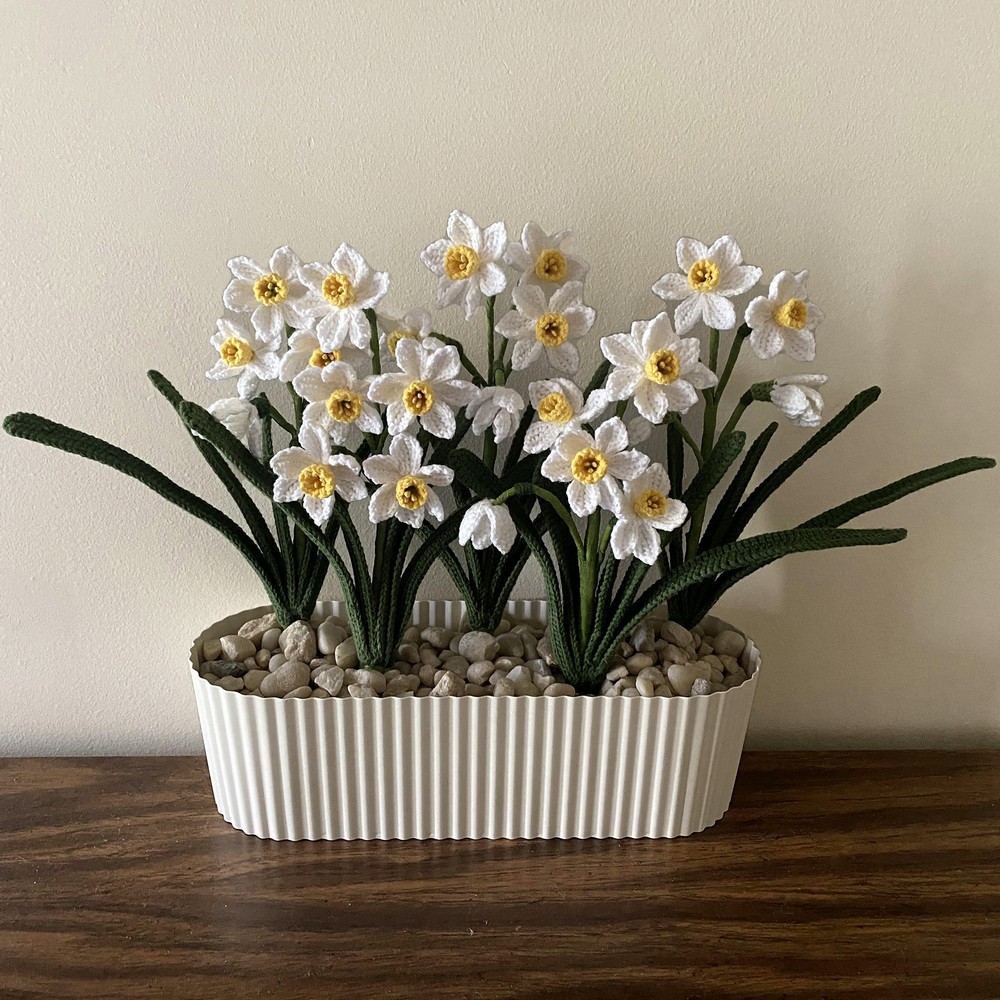
Daffodils are a delightful sign of spring, bringing a bright splash of color to any room. Imagine having a bunch of charming, sunny daffodils that never wilt a perfect touch of permanent spring in your home. With the crochet decor pattern provided below, you can create your own bunch of daffodils complete with wired leaves, stems, and vibrant flowers. This craft not only enhances your home decor but also lets you enjoy the beauty of daffodils year-round, all made with your own hands. Whether decorating a corner of your room or giving a handmade gift, these crocheted flowers are sure to bring joy and a hint of the changing seasons into any space.
Crochet Daffodils Flower Pattern
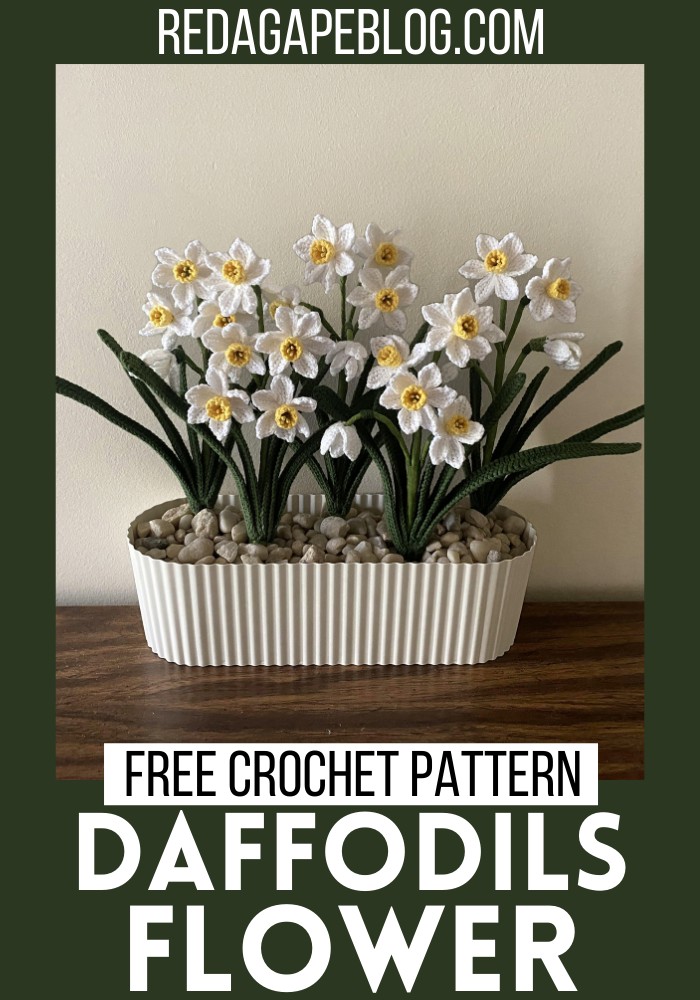
Making Your Crochet Daffodils Flower
Materials:
- Kalors Sport Yarn:
- Color #01, 2 skeins
- Color #26, 2 skeins
- Color #73, 1 skein
- Flower Tape: Green, 1 roll
Craft Wire:
- 26 AWG, 1 roll/55 yards
- 24 AWG, 1 roll/44 yards
- Fake Flower Stems: 14 pieces
- Crochet Hook: 1.8 mm, 1 piece
Step by step Pattern
Flower Petal
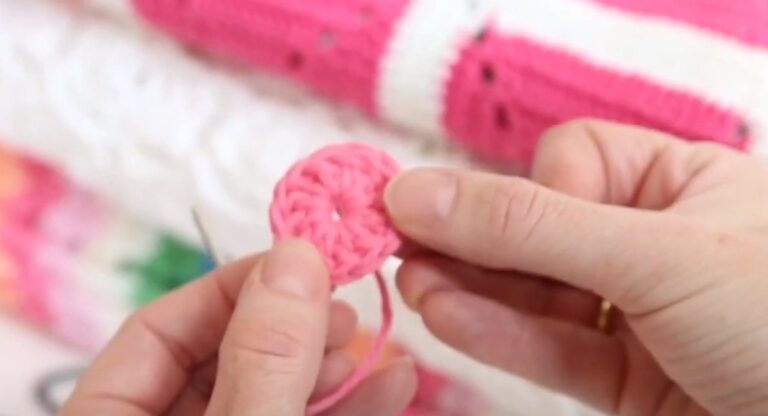
- Start with a Magic Ring.
- Petal Creation:
- Chain 6 (6ch).
- Work 1 thermal single crochet (tsc) on the 1st bump from the hook, then 1 tsc on each of the next 2 bumps.
- Slip stitch 2 together (sl2tog) until one loop is left.
- Chain 1 (1ch), then 1 tsc on each of the 6 bumps.
- Slip stitch (1sl) into the magic ring.
- Repeat the sl2tog until only one loop is left.
- Chain 2 (2ch), then slip stitch to the 2nd bump (forms the tip of the petal).
- Work 1 tsc on each of the 6 bumps.
- Slip stitch (1sl) into the magic ring.
- Repeat the sl2tog until only one loop is left.
- Slip stitch to the 1st bump, then 1 tsc on each of the next 3 bumps.
- Repeat sl2tog until one loop is left.
- Slip stitch (1sl) in each of the 5 bumps, then 1 slip stitch to the magic ring.
- Repeat from the beginning of the petal creation step 5 more times to create a total of 6 petals.
Corona (With Yellow Yarn)
- Round 1 (R1): Start with a magic ring, and make 7 single crochets (7sc) in the magic ring.
- Round 2 (R2): Chain 1 (1ch; does not count as a stitch), 1 single crochet in each of the next 5 stitches, 2 single crochets in the next stitch, 1 single crochet in the last stitch. Slip stitch to the first single crochet to join. Total of 8 stitches.
- Round 3 (R3): Chain 1 (1ch; does not count as a stitch), 1 single crochet in each of the next 2 stitches, 2 single crochets in the next stitch, 1 single crochet in the next 5 stitches. Slip stitch to the first single crochet to join. Total of 9 stitches.
- Round 4 (R4): Perform (1 chain, 1 slip stitch) 9 times.
Flower Bud
- Make 2 pieces. The Outer Piece: Follow the pattern for the flower, adjusting to only create 3 petals.
- The Inner Piece Pattern:
- Start with a Magic Ring.
- Chain 5 (5ch), then 1 tsc on the 1st bump from the hook, followed by 1 tsc on each of the next 2 bumps.
- Slip stitch 2 together (sl2tog) until only one loop is left.
- Chain 1 (1ch), then 1 tsc on each of the 5 bumps.
- Slip stitch (1sl) in the magic ring.
- Repeat the sl2tog until only one loop is left.
- Chain 2 (2ch), slip stitch to the 2nd bump (forms the tip of the petal).
- 1 tsc on each of the 5 bumps, then slip stitch into the magic ring.
- Repeat the sl2tog until only one loop is left.
- Slip stitch to the 1st bump, then 1 tsc on each of the next 3 bumps.
- Repeat sl2tog until one loop remains.
- Slip stitch in each of the 4 bumps, then slip stitch to the magic ring.
- Repeat from the start of the inner piece pattern once more to create 2 small petals.
Leaves
- Sizes: Small (40 ch), Medium (50 ch), Large (60 ch). Make 2 pieces for Small and Medium, and 1 piece for Large.
- Pattern:
- Chain the required number based on size, and add a wire for structure.
- Start with 1 single crochet (sc) on the first bump, 1 double crochet (dc) on the next bump, 1 tsc through the 2 loops in the middle of the dc stitch, continue with 1 tsc on the next bump, then slip stitch 2 together (sl2tog) twice.
- Follow the video for the detailed pattern continuation and repeat until 2 bumps are left.
- Finish the leaf by adjusting the wire and performing single crochets on the last bump, then work on the reverse side of the chain as instructed.

