How to Crochet a Crop Blouse with a Free Pattern & Tutorial
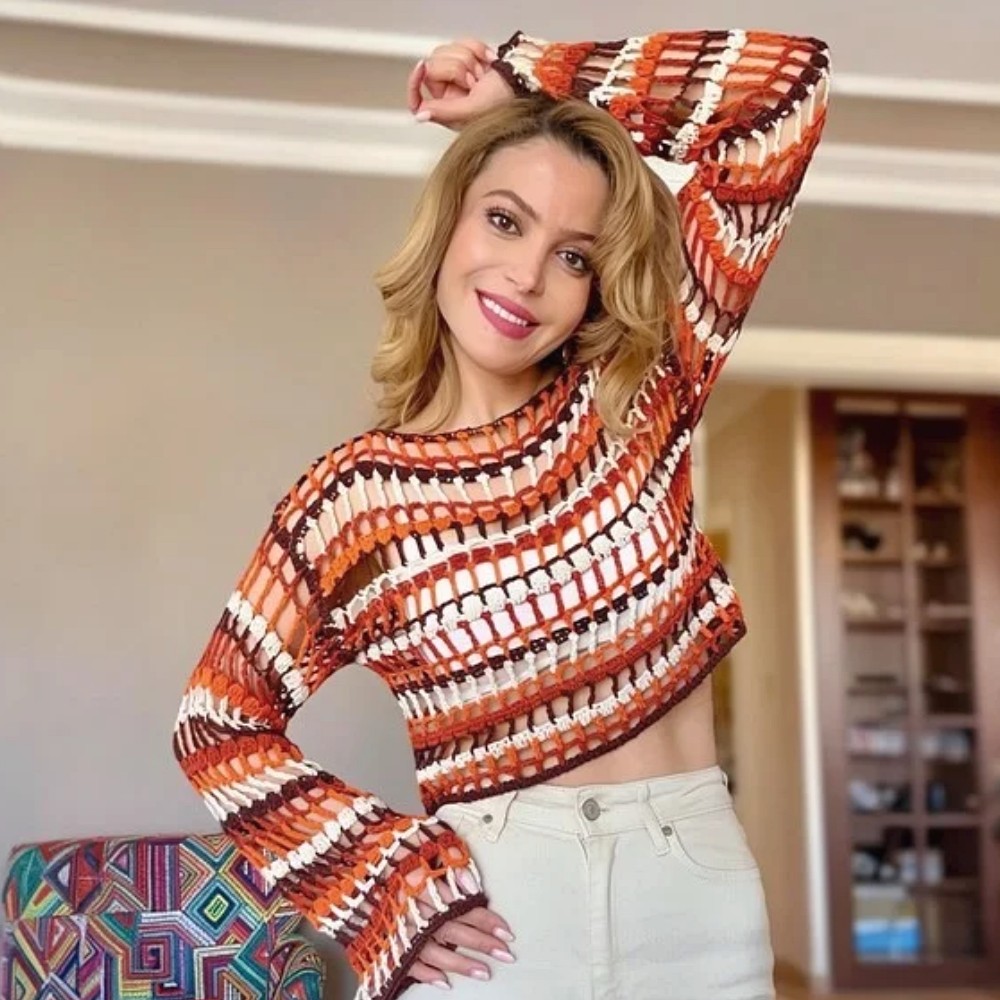
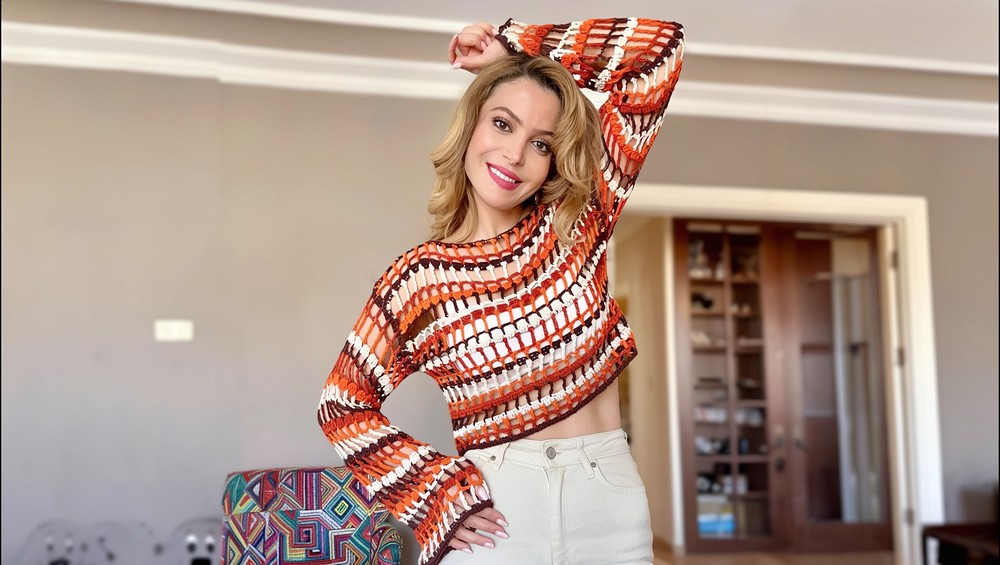
Style your favorite jeans with this Free Crochet Crop Blouse Pattern, a lovely way to wear a short handmade top for casual days and relaxed weekend plans.
Plain outfits can feel unfinished when every top in the wardrobe looks the same. This Crop Blouse Free Crochet Pattern offers a fresh way to wear something personal without choosing a complicated outfit. A short blouse has a playful shape that works well with high-waisted jeans, wide-leg pants, or a simple skirt. It can become the piece you reach for when a basic shirt feels too ordinary.
Stylish Crop Blouse Free Crochet Pattern for Everyday Outfits
One nice thing about a crochet crop blouse is how easily it fits into different looks. Pair it with relaxed bottoms for a casual afternoon, or wear it over a fitted inner top for extra coverage. A soft color can keep the outfit calm, while a stronger shade can stand out against plain trousers. Small changes in styling give the same blouse a different feel, so it does not have to stay in one part of your wardrobe.
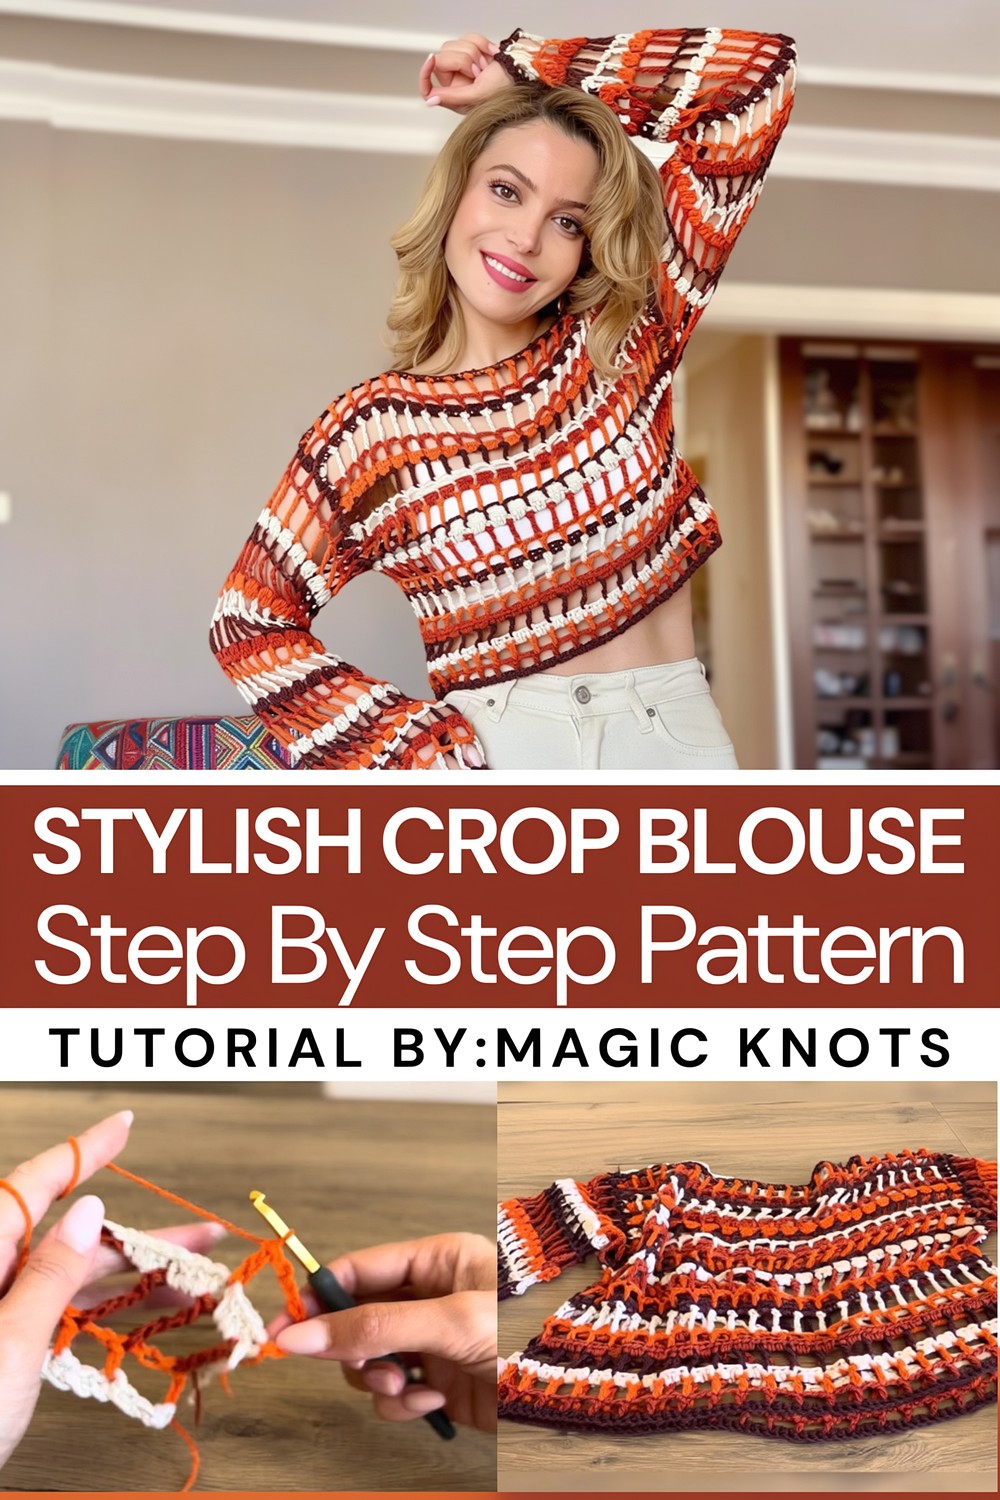
Working on a top also gives you a chance to pay attention to fit. Check the width against a blouse you already wear, and think about where you want the hem to sit. Keeping the neckline and edges neat helps the finished piece feel comfortable and easy to wear. The result is a short crochet top that feels special because it suits your taste.
Behind the Crochet Designs
Clothing is one of the many interests featured on magic knots. The creator shares crochet and knitting projects that suit people who like personal style and practical yarn ideas. From tops to other wearable pieces, the channel offers a friendly place to find inspiration for everyday outfits and thoughtful gifts.
Video: Crop Blouse
Crochet Crop Blouse Pattern
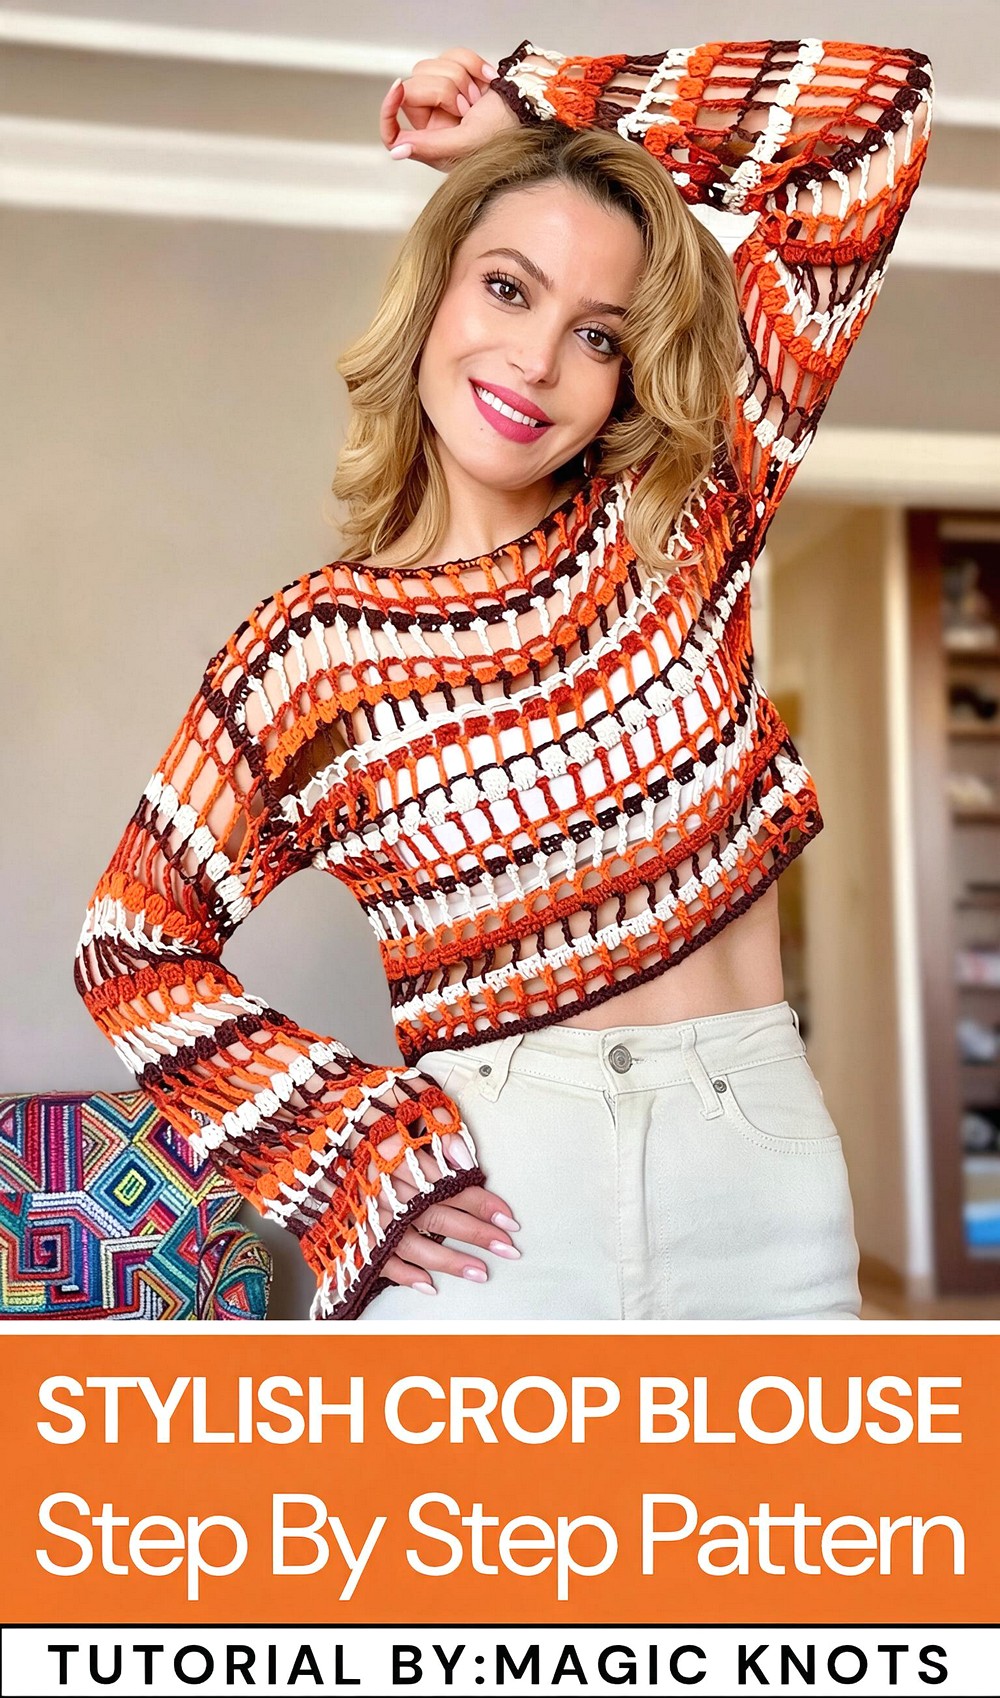
This crochet crop blouse is a breathable and lightweight garment designed for a subtle, slouchy fit in size Small (S). It features a repeating stitch pattern for a delicate texture and is designed with a relaxed fit, half sleeves, and an open neckline. This blouse is worked in separate panels for the front and back and includes seamless sleeves worked in the round. While this pattern is written for a single size, it can be easily adjusted to fit other sizes.
Skill Level
Intermediate
This pattern requires familiarity with both basic and intermediate stitches such as single crochet, double crochet, treble crochet, and half-double crochet. It also includes shaping techniques for sewing, assembling panels, and working in rounds.
Materials
Required Supplies
- Yarn: 200g of lightweight cotton yarn (4 skeins of 50g each).
- Crochet Hook: 3.5 mm.
- Tools:
- Scissors.
- Yarn needle (for weaving in ends and sewing panels).
- Measuring tape (to ensure the armhole and length dimensions are consistent).
Stitch Abbreviations
- ch – Chain
- sc – Single Crochet
- dc – Double Crochet
- tr – Treble Crochet
- hdc – Half-Double Crochet
Useful Tips
- Consistent Tension: For the blouse to achieve a loose and slouchy fit, maintain consistent, slightly loose tension when crocheting the foundation chains and beyond.
- Check Measurements: Regularly measure your piece as you go to ensure the panels and sleeves are the desired size.
- Yarn Substitution: If using a different yarn, test with a small swatch to ensure the drape and gauge are suitable for a relaxed fit.
- Seaming: Lay the panels flat and make sure the top seams are even to ensure symmetry before sewing the front and back together.
- Adjusting Size: To modify for a larger size, increase the foundation chain and adjust the stitch count proportionally.
Step-by-Step Pattern
1. Foundation (Main Body Pieces)
Front and Back Panels
Both panels are identical and worked using the same steps.
- Foundation Chain:
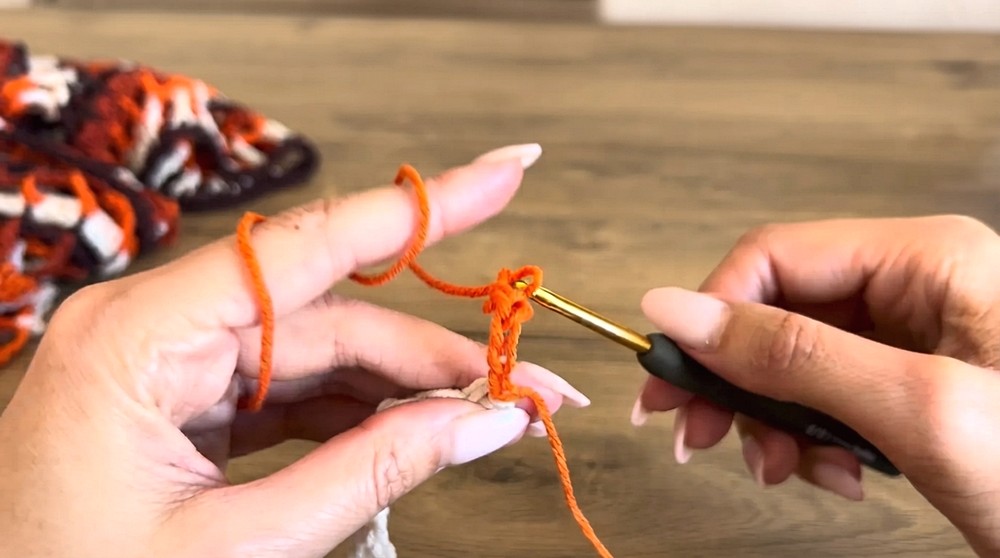
- Ch 71 to create the foundation chain for the front or back panel. Keep the chains loose to allow a slouchy effect.
Row 1: Single Crochet Row
- Work 70 sc across the chain row, starting in the second chain from the hook.
- Ensure the stitches are even and slightly loose.
2. The Pattern Sequence (Repeating Rows)
This blouse consists of a 3-row repeating stitch pattern.
Row 2: Double Crochet Row
- Begin with ch 6, which counts as 1 dc + 1 ch 2.
- Skip the next 2 stitches and place 1 dc into the 3rd stitch.
- Ch 2, skip 2 stitches, and repeat this pattern across the row.
- You should end the row with a dc in the last stitch.
Row 3: Treble Crochet Row
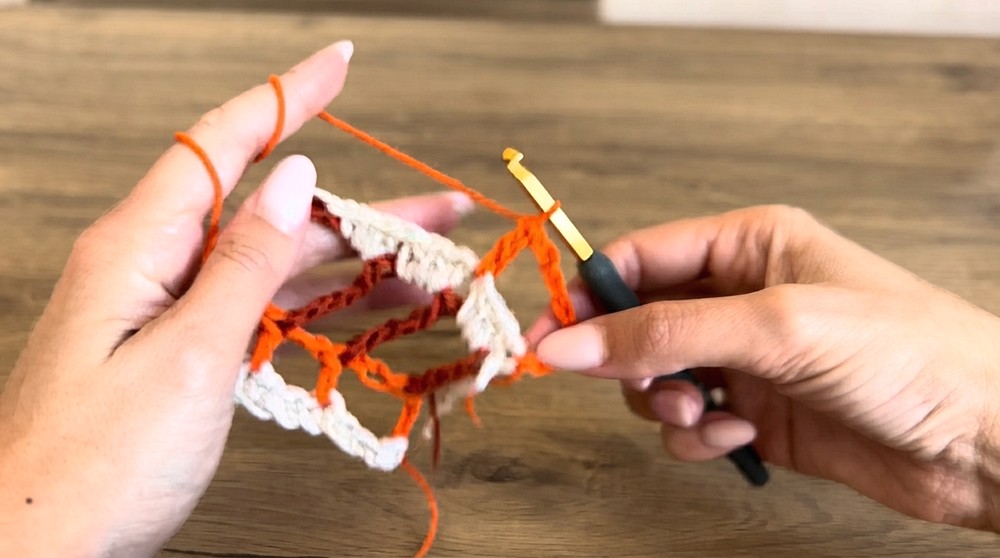
- Start by ch 6 to represent 1 tr + ch 2.
- Yarn over twice, insert the hook into the top of the previous row’s dc stitch, and work a tr.
- Ch 2, then repeat: yarn over twice and work tr into the next dc from the previous row.
- Continue this treble crochet sequence across the row.
Row 4: Half-Double Crochet Row
- To start this row, ch 2.
- Work 3 hdc into each ch-2 space from the previous row.
- Continue this pattern until the row is complete.
Repeat Rows 2–4
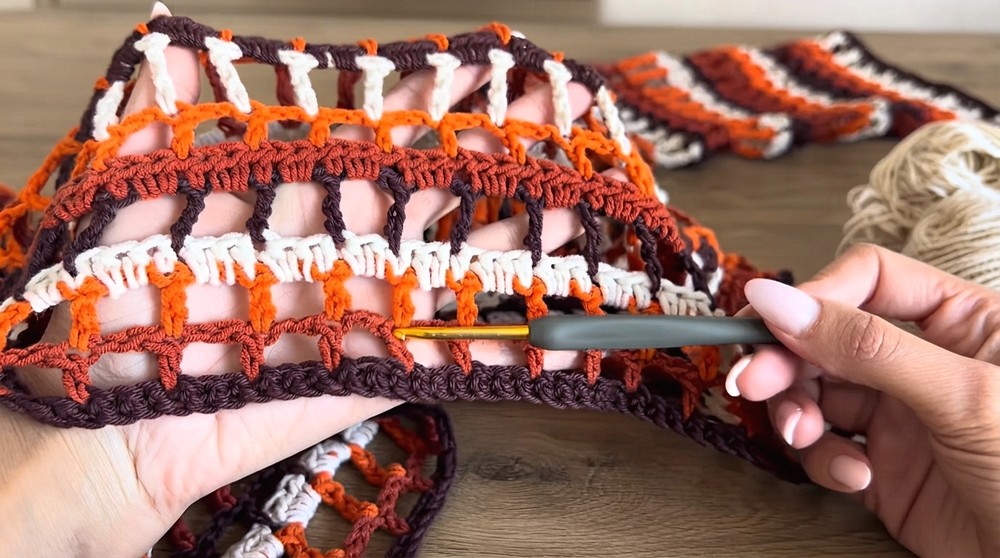
- Repeat Rows 2, 3, and 4 in sequence until the panel measures your desired length.
- For this size, the pattern creator followed this sequence until the panel reached a length of about 40–45 cm.
- Fasten off and weave in the ends for each panel.
3. Assembly
Once both the front and back panels are completed, assemble them as follows:
Step 1: Sewing the Top
- Lay the two pieces flat with the right sides facing outward.
- Sew the top edges of the front and back panels together, leaving an opening for the neckline.
- Tips for the Neckline Size: Sew approximately 4 stitches (or traban sections) on each side, leaving the central area open.
- Fasten off and weave in the ends.
Step 2: Armhole
- After sewing the top, measure approximately 24 cm down each side seam for the armhole. Mark this measurement on both sides.
- Sew the sides of the panels together below the armhole marks. This ensures the armholes remain open for the sleeves.
4. Sleeves
The sleeves are worked directly onto the armhole in seamless rounds.
Step 1: Starting the Sleeve
- Join yarn at the bottom of the armhole.
- Use the same Row 2–4 sequence as the main body panels:
- Double crochet row (Row 2): Work 19 dc per round. Use ch 6 to start and work in the round.
- Treble crochet row (Row 3): Continue with 19 tr per round, ensuring stitch counts remain consistent.
- Half-double crochet row (Row 4): Fill each space with 3 hdc, just as in the main body section.
Step 2: Sleeve Length
- Repeat the 3-row sequence (dc, tr, hdc) until the sleeve reaches your desired length.
- For this blouse, sleeve length is typically short to mid-length (about 15 cm).
- Complete a final round of sc or hdc stitches around the edge of the sleeve for a neat finish.
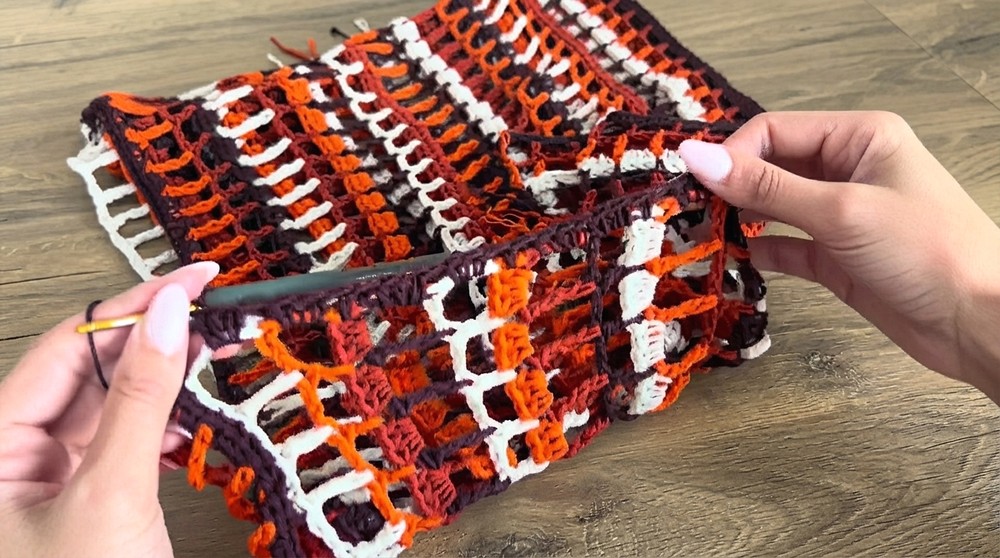
5. Finishing Touches
- Trim Work: Add any final details to the neckline, bottom edge, or sleeve edges using single crochet for reinforcement.
- Weaving Ends: Use a yarn needle to weave in all ends securely to prevent unraveling during wear.
- Ensure the blouse is symmetrical and check for any uneven edges or loose ends before finishing.
Conclusion
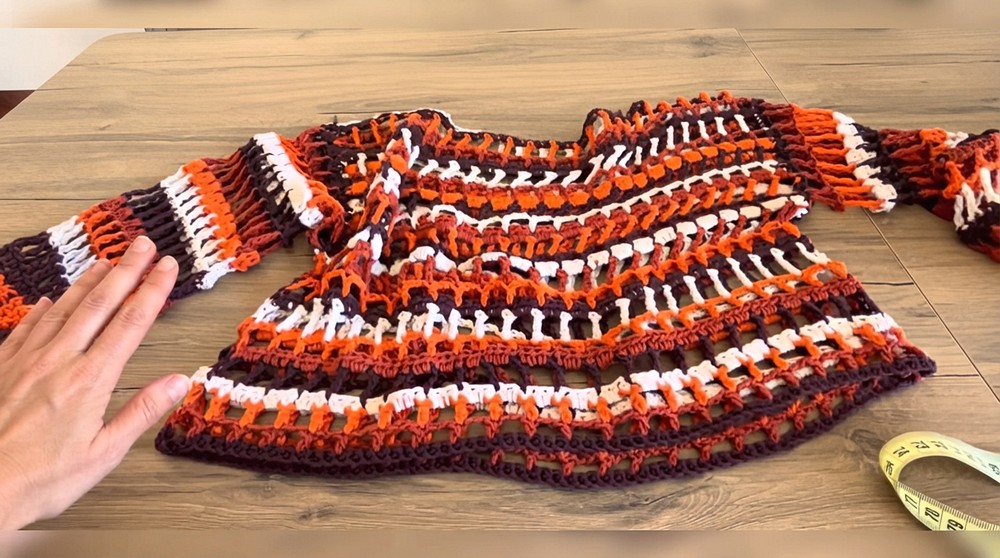
This crochet crop blouse comes together using a simple but effective stitch sequence that results in a chic and wearable garment. The lightweight design makes it ideal for warm weather or layering over another top. With easy adjustments to the foundation chain, stitch count, and sleeve length, this pattern is adaptable for other sizes or styles. Enjoy experimenting with yarn colors, textures, or pattern variations to create a unique and personalized blouse.