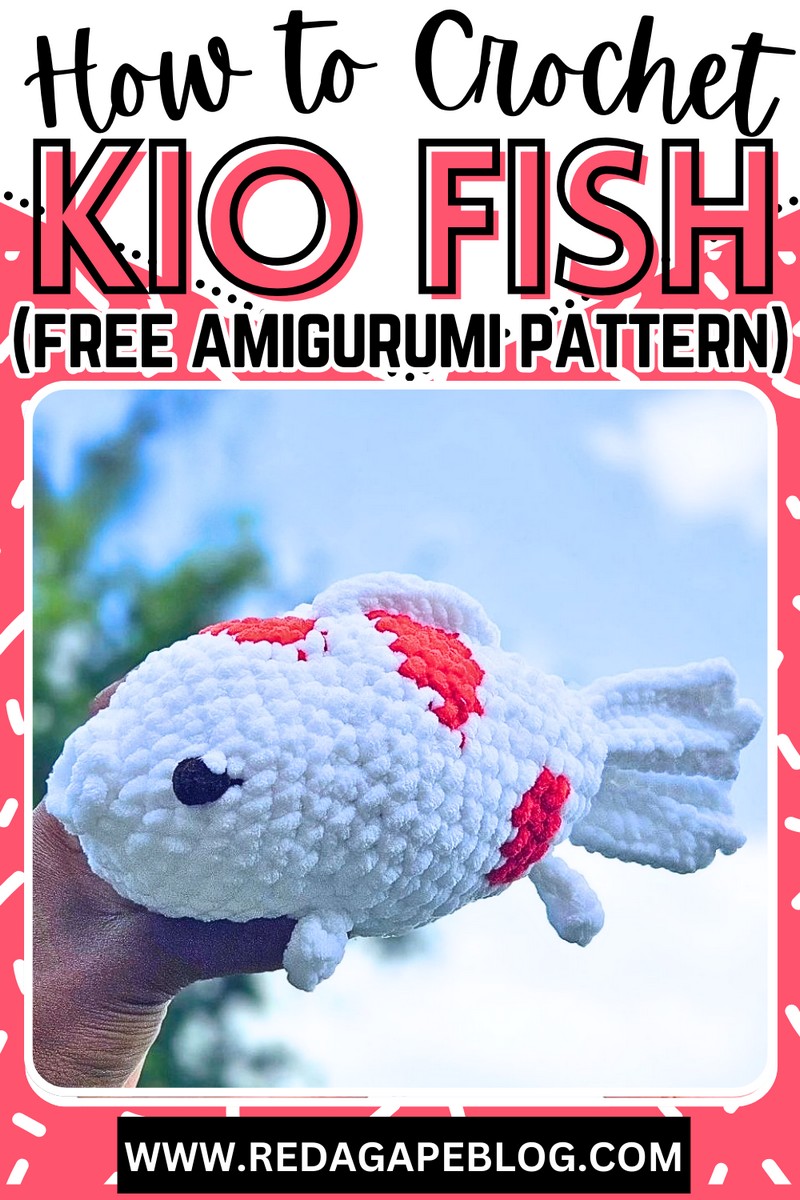
Free Crochet Koi Fish Pattern For Beginners
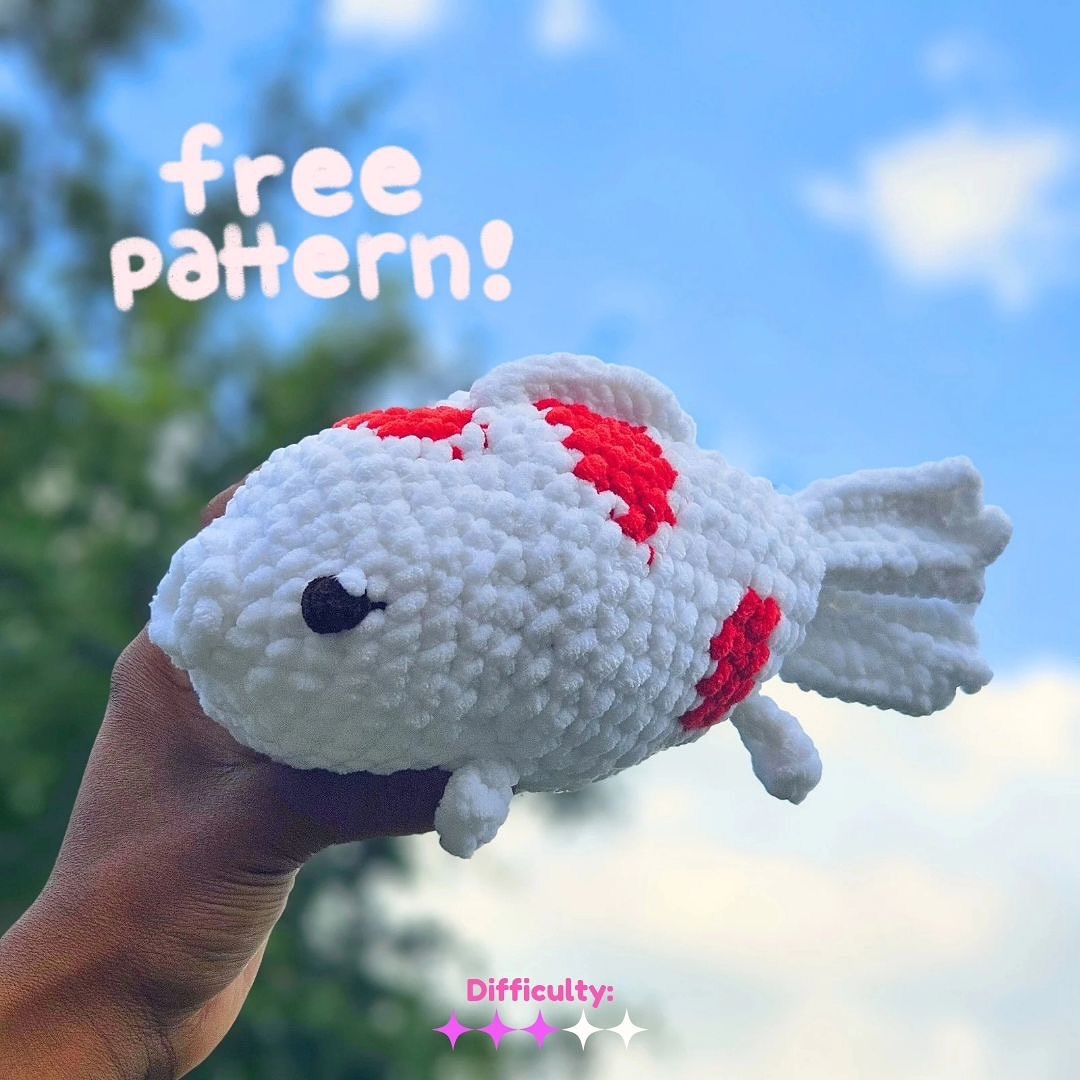
This Crochet Koi Fish Pattern is a fun summer project that produces a cuddly amigurumi of this beloved ornamental fish. Crocheted with chunky yarn, it features safe, yarn-crocheted eyes, which are perfect for children’s toys, ensuring both durability and child-friendliness. The design boasts a realistic style, capturing the natural, random color patterns that koi are known for. With this in mind, the pattern might be best suited for those with moderate crochet experience, though determined beginners can certainly give it a try with patience and care. In this post, we are going to share with you a free and complete koi fish pattern.
As a finished product, the crocheted koi fish makes for a splendid decorative piece for indoor spaces, especially enchanting for those with an appreciation for aquatic life or a splash of creativity in their home decor.
Design and pattern by @craftinginglory
Supplies Needed
The following supplies will be needed each in a specific type for crocheting this crochet koi fish amigurumi for your dear one. It is as easy as it is cute.
- Premier Yarns “Parfait Chunky” in colors “White” (MC, 1/2 skein), and “Poppy’ (C1, ½ skein)
- Crochet hook in size 4mm
- Polyester Filling
- Safety eyes 3mm (optional)
- Sewing needle
- Stitch Marker
Abbreviations
To follow through with this crochet koi fish pattern, you must master the following amigurumi techniques and also understand how they are written in pattern as follows:
- Dec: decrease; crochet 2 sc together into 1
- Sc: single crochet
- Hdc: half double crochet
- Dc: double crochet
- FLO: Front Loops Only and BLO: Back Loops Only
- Sl st: Slip Stitch
- MR: magic ring
- Ch: chain
- Sts: stitches
- Inc: increase; crochet 2 sc in one stitch
- () x times = represents a sequence of sts. The number after represents the x amount of times you repeat that sequence in that row.
Crochet Koi Fish Pattern
Creating a crochet koi fish amigurumi is a wonderful idea for several reasons. For crocheters looking for a project that combines simplicity with the potential for customization, the koi fish amigurumi offers an excellent chance. The variety in color patterns of koi fish allows for endless creativity, letting crocheters play with hues and textures. Moreover, these crocheted creations make for unique, thoughtful gifts and can serve as educational tools for children, teaching them about different species of fish in a fun and engaging way. Here is a free pattern to start crocheting koi amigurumi in an orange pattern:
Body

- With MC, make an MR, and sc 8 into the MR (8 sts).
- Rnd 1: in the BLO, inc 8 (16 sts). Place a stitch marker on the FL of the first st of Rnd 1.
- Rnd 2: (Inc, sc) 8 times (24 sts).
- Rnd 3: sc 6, (inc, sc 2) 4 times, sc 6 (28 sts).
- Rnd 4: sc 6, (inc, sc 3) 4 times, sc 6 (32 sts).
- Rnd 5: Sc in each st (32 sts).
- Rnd 6: With MC, sc 17. With C1, sc 4. With MC, sc 11 (32 sts).
- Rnd 7: With MC, sc 17. With C1 sc 5. With MC, sc 10 (32 sts).
- Rnd 8: With MC, (dec, sc 2) 4 times, dec. With C1, sc 2, dec. With MC, (sc 2, dec) 2 times, sc 2 (24 sts).
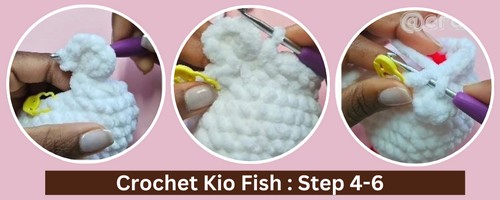
- Rnd 9: With MC, ch 3 (image 1), 3 dc in the third ch away from hook (image 2), ch 2 (image 3). Sl st in the same st the 3 dc were worked in (image 4). In the next sts of the Body, in the FLO, inc, sc 2, inc, sc. Ch 3, 3 dc in the third ch away from hook, ch 2. Sl st in the same st same st the 3 dc were worked in. In the next sts of the Body, in the FLO, sc, (inc, sc 2) 6 times (32 sts; The 3 dc clusters do not count in the final st count.).
- Rnd 10: With MC, sc in each st (32 sts). When crocheting around the 3 dc clusters, make sure that when working around them, they stay on the right side of the Body (images 5-8). These are the Front Fins.
- Rnd 11: With MC, sc 16. With C1, sc 9. With MC, sc 7 (32 sts). Attach Safety Eyes to Rnd 3, 14 sts apart.
- Rnd 12: With MC, sc 15. With C1, sc 12. With MC, sc 5 (32 sts).
- Rnd 13: With MC, sc 16. With C1, sc 11. With MC, sc 5 (32 sts)
- Rnd 14: With MC, (dec, sc 6) 2 times, dec. With C1, sc 6, dec. With MC, sc 6 (28 sts).
- Rnd 15: With MC, sc in each st (28 sts).
- Rnd 16: With MC, dec, sc 5, dec. With C1, sc 3. With MC, sc 2, dec, sc 5, dec, sc 3. With C1, sc 2 (24 sts).
- Rnd 17: With C1, sc. With MC, sc 6. With C1, sc 4. With MC, sc 11. With C1, sc 2 (24 sts).
- Rnd 18: With C1, sc 2. With MC, sc 6. With C1, sc 3. With MC, sc 12. With C1, sc (24 sts). Start to stuff the Body.
- Rnd 19: With C1, dec. With MC, sc 4, (dec, sc 4) 3 times (20 sts). Break C1.
- Rnd 20: With MC, sc 2. Ch 6, 2 dc in the 3rd ch away from hook, hdc in the next ch, sc in the next ch, and sl st in the last ch. In the next sts of the Body sc 4. Ch 6, 2 dc in the 3rd ch away from hook, hdc in the next ch, sc in the next ch, and sl st in the last ch. In the next sts of the Body, sc 14 (20 sts). Depending on your yarn/tension, you may need to adjust the Fins as needed.
- Rnd 21: (Dec, sc 3) 4 times (16 sts). In the same way we worked Rnd 10, when crocheting around the dc/hdc/sc clusters, make sure that when working around them, they stay on the right side of the Body. These are the Side Fins. Finish stuffing the Body.
- Rnd 22: Sc in each st (16 sts).
- Rnd 23: (Dec, sc 2) 4 times (12 sts).
- Rnd 24: Dec 6 (6 sts).
- Fasten off, and sew the hole closed. To finish off the Body, we’ll start on the Mouth: Place your hook into the FLO on the first st of Rnd 1 (image 9). Draw up a loop (image 10), ch 1, and sc into the same st (image 11). Working from right to left, sc into the remaining 7 sts (image 12). Sl st into the first sc.
- Fasten off, and weave in the remaining ends.
Top End:
With MC, ch 12. Sl st in the second ch away from the hook. Sc in the next 9 chs, and sl st in the remaining ch (11 sts). Fasten off, and leave a 6-in/15-cm tail for sewing.
Back Fin (make 2):

- For the Back Fins, we will be working in rows, not rounds. Additionally, every Row will be worked in the BLO, With MC, ch 11. Sc in the second ch away from hook, and the remaining 9 chs (10 sts). Ch 2, and turn.
- Row 1: Sc in the second ch away from hook. Sc in the remaining 10 sts (11 sts). Ch 1, and turn.
- Row 2: Sc 10. Leave the remaining st unworked (10 sts). Ch 1, and turn.
- Row 3: sl st in each st (10 sts). Fasten off, and leave a 6-in/15-cm tail for sewing.
Assembly:
Sew the Top Fin vertically across the Body, spanning from Rnd 9-16. Sew the bottom of the Back Fins vertically across the Body, spanning from Rnd 22-24. If you opted out of Safety Eyes, embroider Eyes on Rnd 3 of the Body, 14 sts apart.